Portals for Tableau 101 shares the basics of interacting with InterWorks' embedded analytics solution, Portals for Tableau.
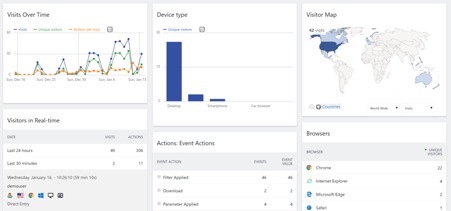
If you have a portal for Tableau, then you’re certainly interested in analytics, but are you interested enough to get analytics on your analytics solution? I know I am! Fortunately, your portal makes it is easy to add in Google Analytics or Matomo to begin tracking your traffic. It’s worth noting that Google Analytics and Matomo will track internal and external-facing sites, so whether you have a client-facing portal or one just for internal use, this functionality will be useful. This post will review how to set up each and begin viewing all that beautiful data:
Setting up Google Analytics
Go to https://analytics.google.com/ and hit Sign Up. Fortunately, Google Analytics accounts are free:
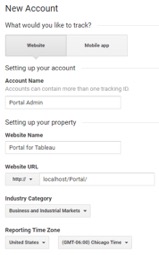
Fill out the fields with your applicable portal information, choose Google Analytics data-sharing settings and accept the terms of service:
Once you land on the account page for your portal, copy the Tracking ID:

Navigate to the backend of your portal, choose Settings from the top menu, then choose Portal Settings from the left menu:
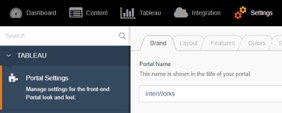
Enter the tracking ID in the box under Google Analytics Tracking ID:

Begin tracking your portal traffic from your Google Analytics account!
Setting up Matomo (Formerly Piwik) – Cloud Service
Go to https://matomo.org/ and hit TRY IT FOR FREE:

Fill out the form with your portal URL and click the big green button:
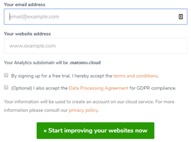
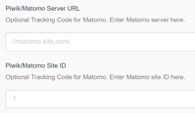
When you receive the confirmation email, log in with the credentials they give and note the URL. It’ll look something like https://yourPortal.matomo.cloud. This will be what you enter into Piwik/Matomo Server URL on the portal backend:

If this is your initial use of Matomo, your site ID will automatically be 1. If you are tracking several sites already and the portal is an addition, go to your Matomo account site (https://yourPortal.matomo.cloud usually), and navigate to your settings (the typical settings gear logo on the top right of your screen). You can select Manage under Websites in the left menu, and it’ll display all your sites and all the site IDs. Find the ID for the portal and enter it into Piwik/Matomo Site ID:

The Matomo cloud service unfortunately isn’t free forever, but it does allow you to skip configuring and managing the on-premise service on your server. Find the pricing for Matomo’s cloud service here.
Matomo – On-Premise
If your business prefers to keep all analytics on a server on premises or self-managed in a cloud service like AWS, Matomo also offers their web analytics solution for free and downloadable from here:

Here’s a thorough guide on how to install and configure Matomo on your server.
Once Matomo is installed, we follow the same process as the cloud service. Find your server URL (usually //matomo.site.com/) and specific site ID, and enter them into the backend of your portal under Settings > Portal Settings > Piwik/Matomo Server URL and Piwik/Matomo Site ID:
