
The Portals for Tableau New Features series is designed to keep users up to date with all the latest features being added to InterWorks' embedded analytics solution, Portals for Tableau.
Please note that Portals for Tableau are now officially known as Curator by InterWorks. You can learn more at the official Curator website.
Who has two thumbs and loves Slideshows in Portals for Tableau? You, after reading this blog post! I apologize to those reading that don’t have two thumbs—you can love Slideshows, too. This post will go through the whole process of creating a slideshow that can be displayed on monitors in your conference room or used in a presentation to your executives.
Get Started with Slideshows
Before you begin, make sure you have Tableau Desktop, Tableau Server and Portals for Tableau. If you don’t have those things, feel free to continue reading to get an idea of the possible benefits for your business.
The first thing you need to do is publish your dashboards to your portal. To do this, publish your dashboards from Tableau Desktop to the Tableau Server that is connected to your portal. Then you can add dashboards to your portal by navigating to the Dashboards menu under Content and selecting New Dashboard:

Set up Your Slideshow on Portals
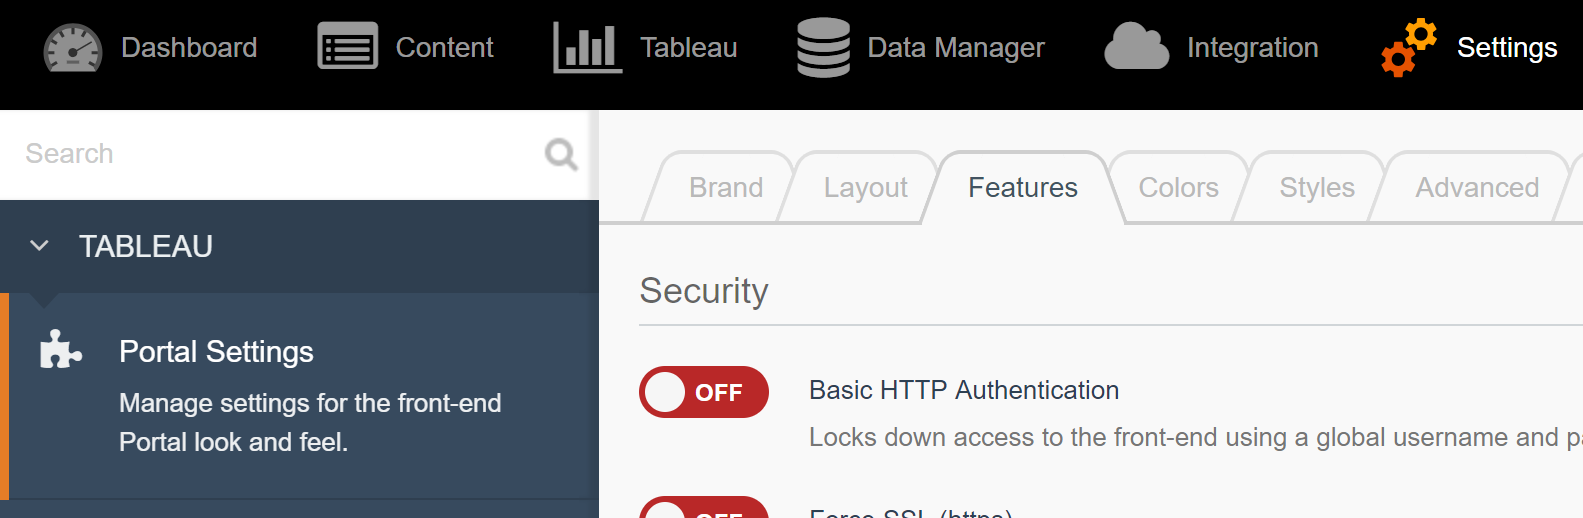
Your dashboards are officially embedded, congratulations! Now, let’s set up the slideshow. We like to keep your backend interface nice and clean, only showing the features you need out of the box. However, there are several features you can activate and begin to incorporate in your Portal. To see these features, navigate to the Portal Settings menu under Settings and select the Features tab. For slideshows, scroll down and turn the associated switch to on, and select Save at the bottom of the page.
Navigate to the Slideshow menu by selecting Tableau from the top menu and then Slideshow from the left:

Let’s create a slideshow! To begin, select the blue New Slideshow button at the top:

This is your canvas. The possibilities are limitless! Well, they’re limited by the number of dashboards you’ve uploaded, but you get the point.
Choosing Slideshow Details
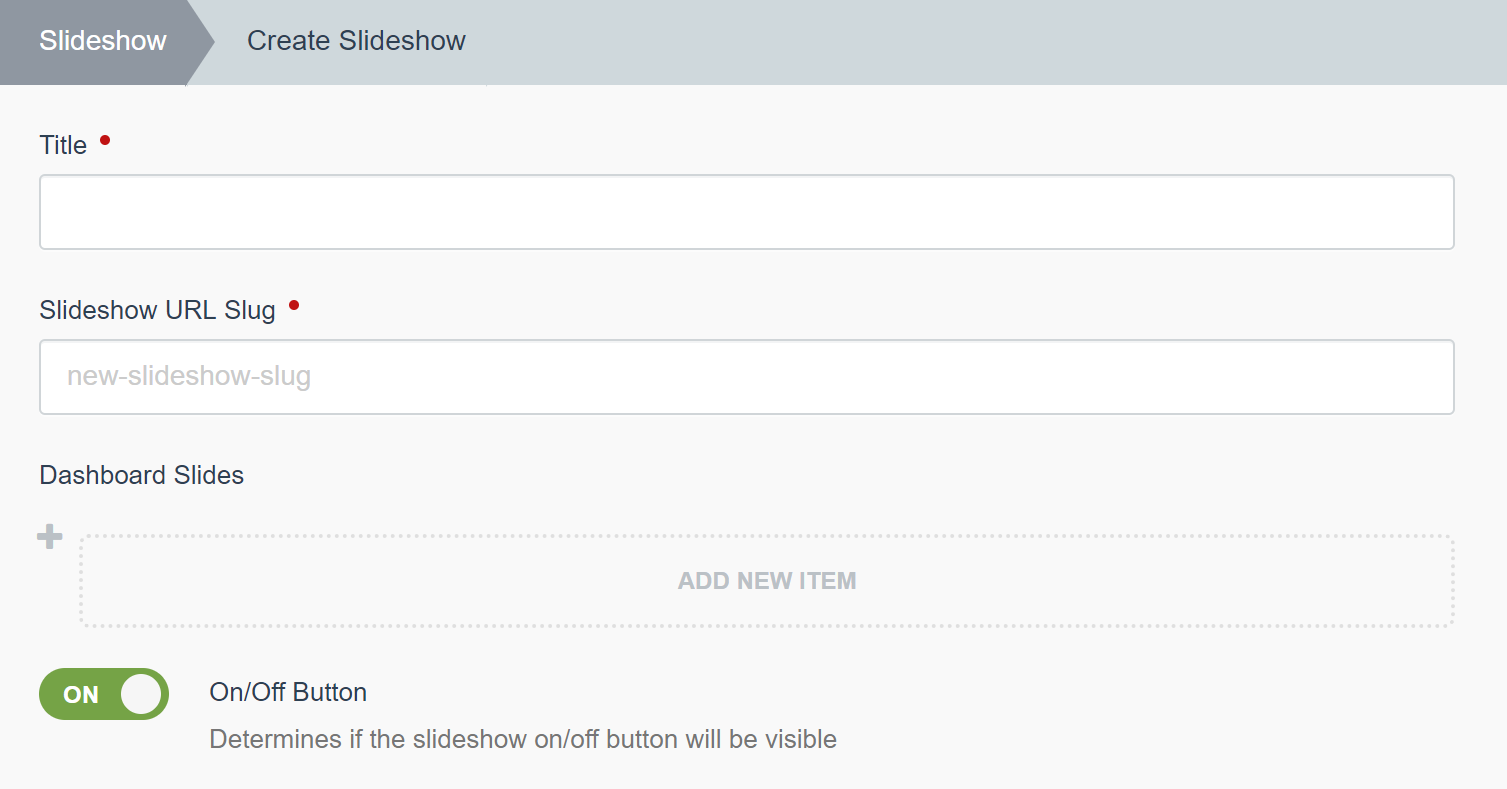
Give your slideshow a title and the URL slug will automatically be filled (remember this slug for later). Next, select ADD NEW ITEM underneath the Dashboard Slides section. You simply choose from a list of dashboards you have published to your portal. Then you can choose the duration the slide will be visible for before automatically moving to the next slide. This is useful for the case with a more complex visualization where a few seconds isn’t enough time to understand what’s being shown. Keep in mind the time is in milliseconds. The final option is whether the On/Off Button for automatically moving through the slides will be visible on your slideshow:
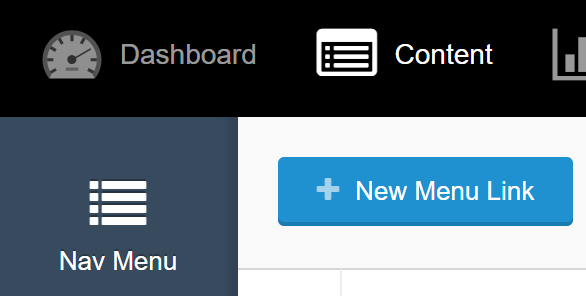
Hit Create, and let’s create a menu link for simple navigation. Select Content in the top menu, and the Nav Menu menu is already visible. Select New Menu Link to begin:
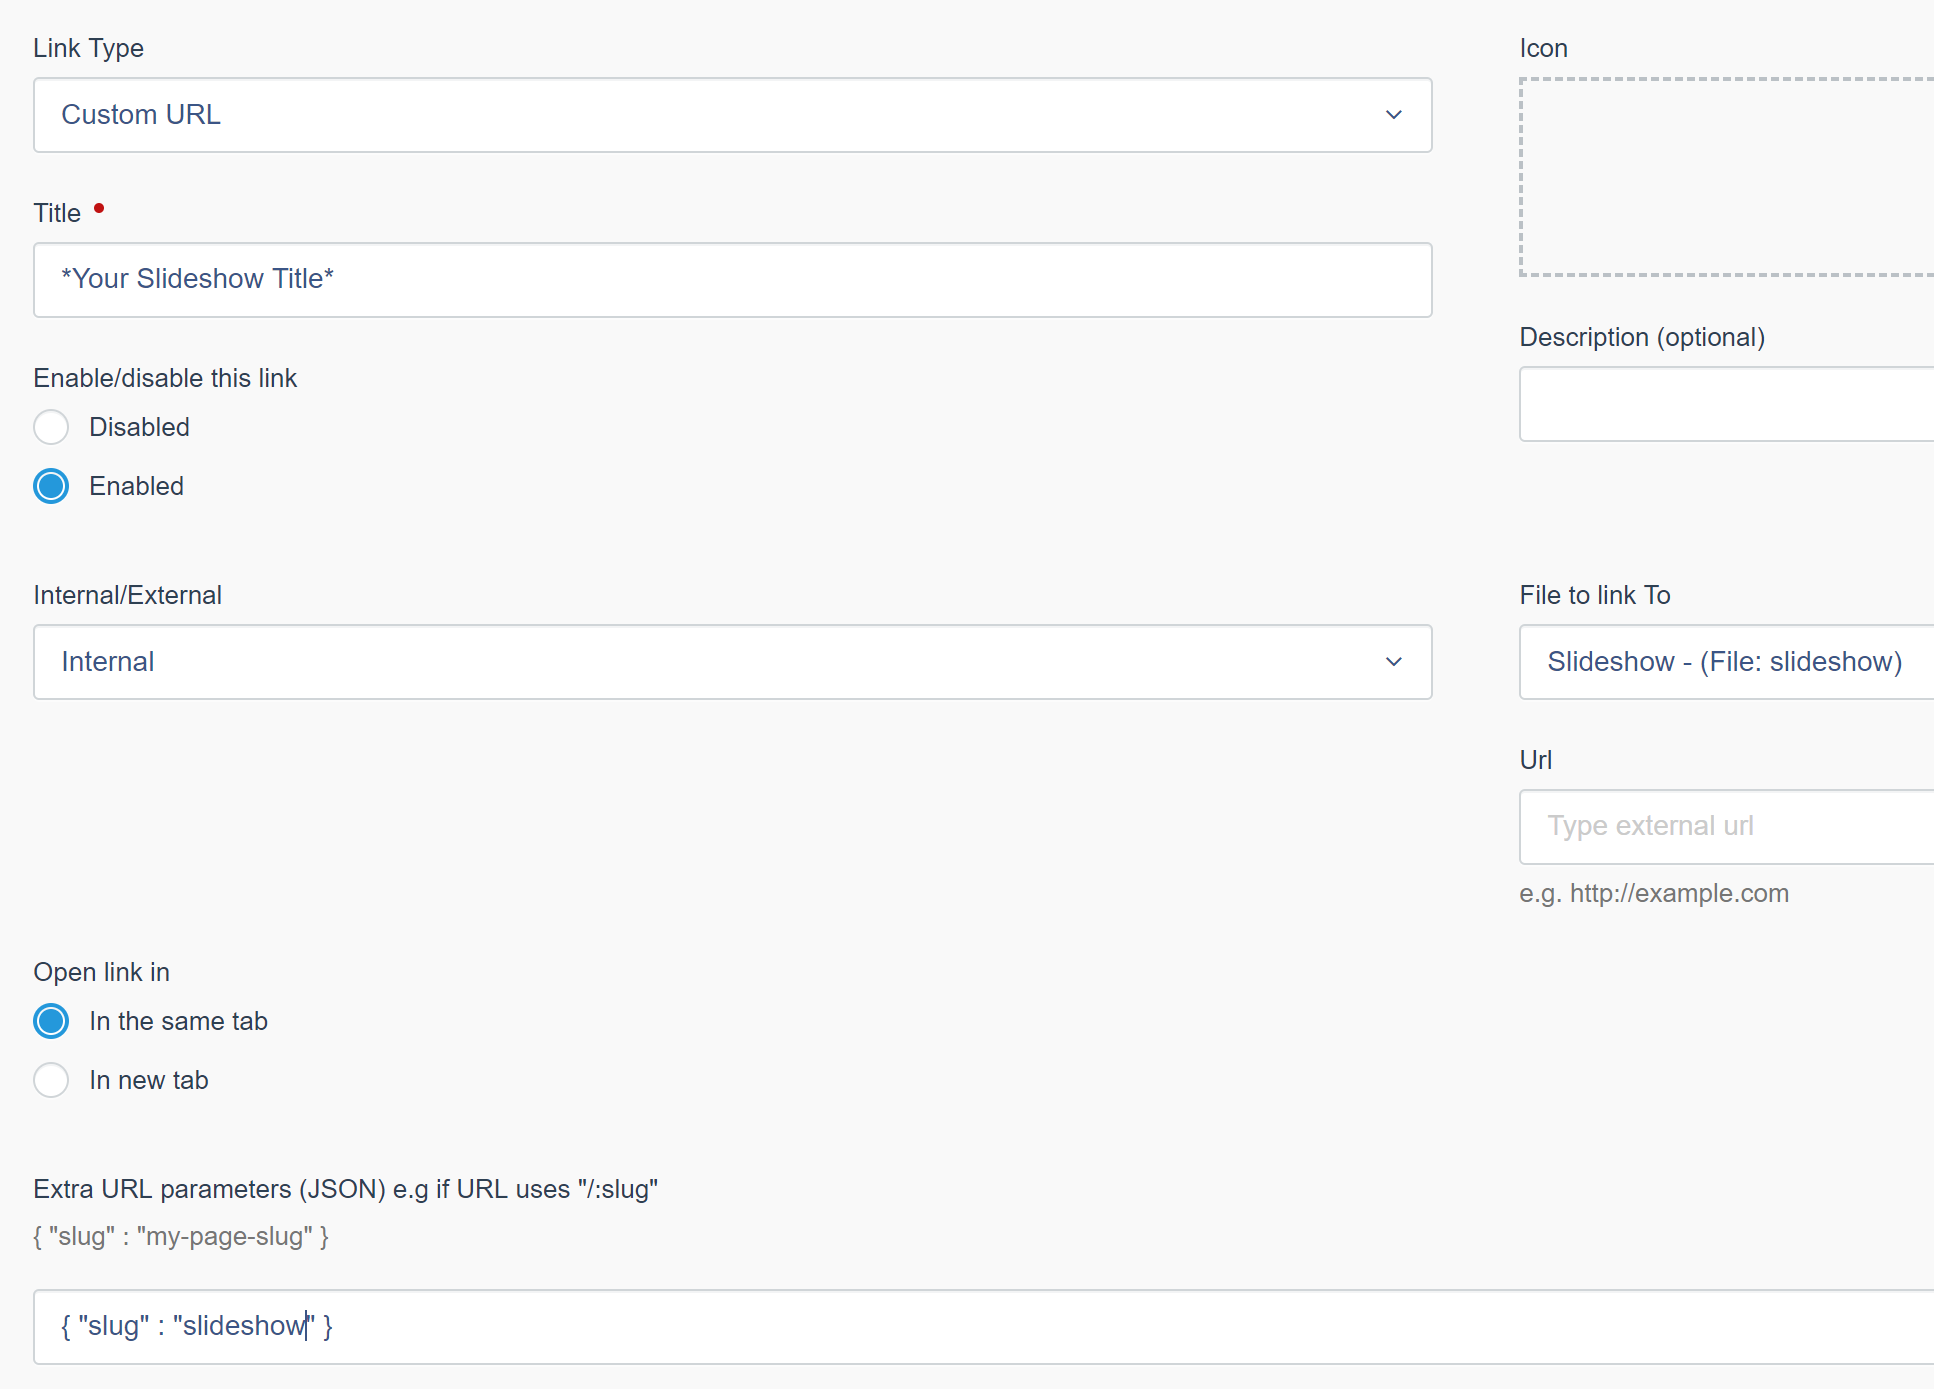
For Link Type, choose Custom URL. Enter the title you would like to be displayed within the navigation menu under Title. On the right side, choose Slideshow – (File: slideshow) for the File to link To. And finally, copy the notation beneath Extra URL, but use the Slideshow URL slug that was created before (we just named our slideshow Slideshow because we’re really creative). Select Create at the bottom of the page. Now your menu link will be active on the front end of your portal. If you would like to move the link to be in a different order within your navigation, you can use Reorder Menus under Content.
Let’s go to our slideshow page and see what we’ve created!
In-Depth Look at the Portals Slideshow Page
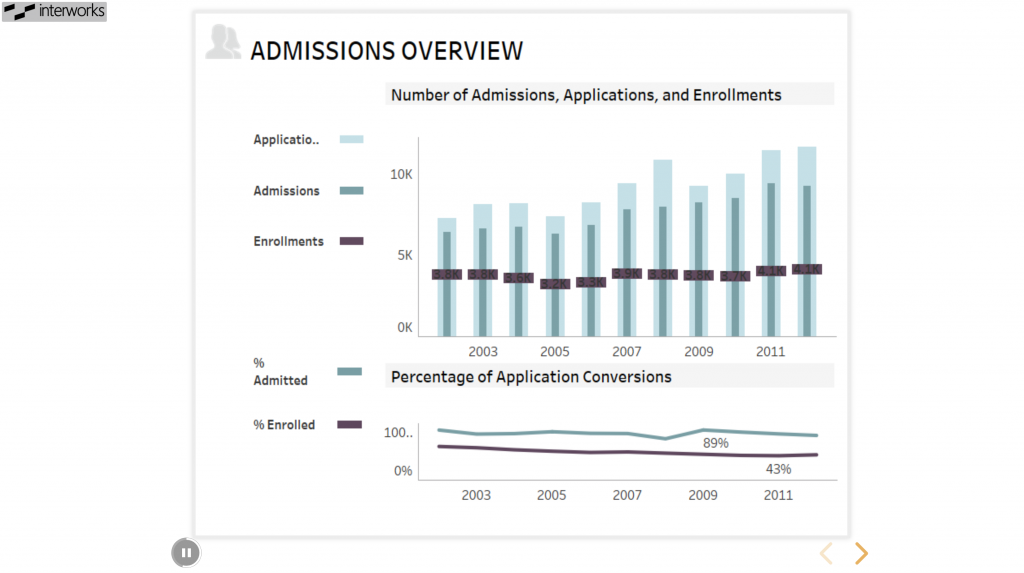
Let’s walk through it step by step. The logo in the top-left corner is for easy navigation back to the homepage of your portal. The dashboard being displayed is an image with the most current data in view (it updates on each page refresh). If you want to view the dashboard, you can simply click the image, and it will take you to the dashboard’s page within the portal where you can interact with the marks. In the bottom-left corner, there is the On/Off Button where the automatic sliding can be turned off in the Slideshow menu in the backend. The ring around the button is the timer for the current slide. In the bottom-right corner are navigation arrows to go forward or backward in the slideshow.
There are a few hot keys you can also use to make navigation more convenient. A will turn the automatic sliding on and off, just like clicking the button on the bottom left. This hot key will work regardless of the On/Off Button visibility. The left and right arrow keys will move forward and backward between the slides. The space bar will also move the slideshow forward. The Esc key will back out of the slideshow and give you a view of all the slides. You can click on a slide from this view to jump back in. If you do any navigation with the buttons or the hot keys, the automatic sliding will stop, so you can either click the button or hit A to restart the automatic sliding from the current slide.
Create Your Own Slideshow in Portals
So there you have it, folks: a slideshow for your portal! This is a great feature for displaying your analytic reports on monitors around a conference room or workspace, or if you are presenting to your executives or clients and want a stripped-down and clean presentation. If you have any questions about Slideshows or Portals for Tableau in general, please reach out. We would love to help!