Tableau Deep Dives are a loose collection of mini-series designed to give you an in-depth look into various features of Tableau Software.
In part 1 of this Deep Dive exploration into parameters, we covered how to create a parameter as well as the four essential steps of using one. For part 2, we covered all of the parameter properties. Now, we’re going to talk about how to use parameters in your filters.
The Top N Use Case
Here’s a sample use case:
I want to show my organization the top products by profit
A filter is the solution if and only if I fix the number of products that are shown. For instance, if I only wanted to show the top ten, I’d create a filter like this:
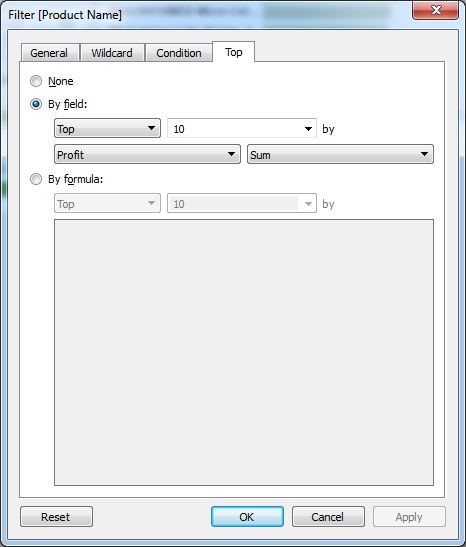
What if instead of a fixed number of products, I wanted to let the report user define how many of the top products they wanted to see? A parameter is the solution.
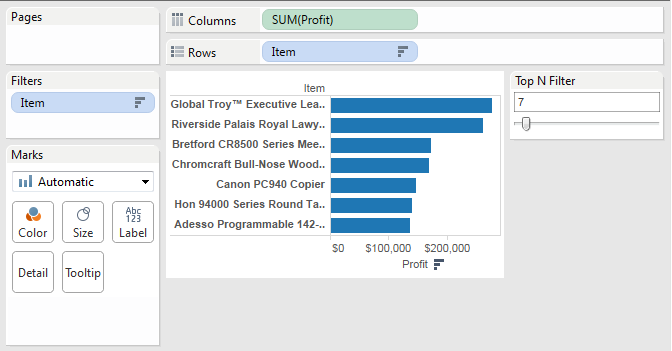
We’re starting with this view:
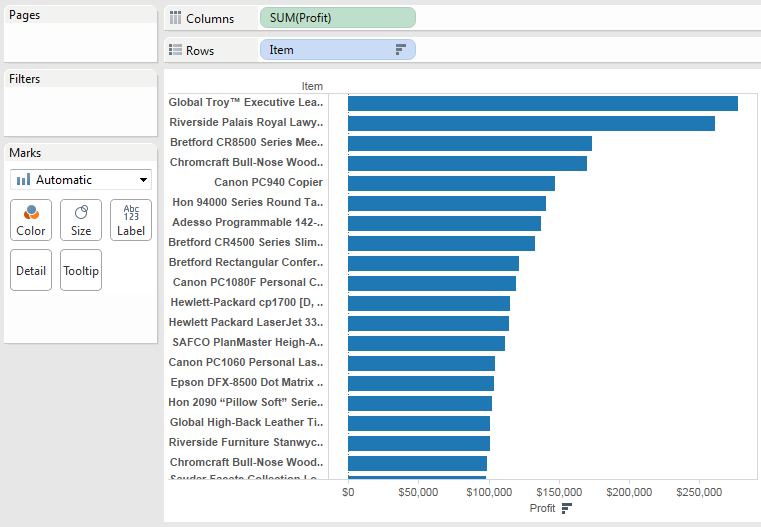
Let’s complete this example by following our four steps to creating a parameter from part 1. Remember, they do not need to be in order.
Use Your Calculation in Your View: In part 1 , I had this step at #4. For this example, we’ll start with it. Our calculation is a Top N filter:
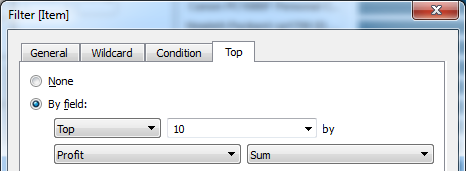
The filter control would only allow us to search for products within our top N. Our parameter control on the other hand will allow us to change how many results we are going to show as part of our most profitable products.
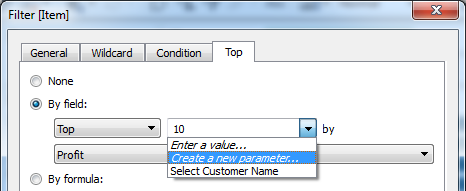
Use the Parameter in Your Calculation: From the Filter window, we can employ a parameter in our filter. If we had created prior to creating this Top N filter, it would be in the drop-down list as a selection for how many of the top items we want to display in our view. Since we haven’t created it yet, we’ll select Create a New Parameter.
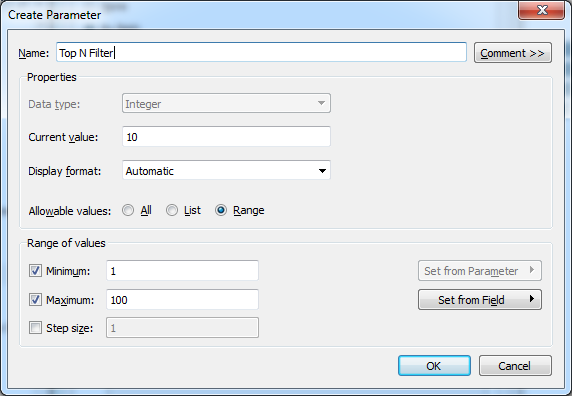
Build Your Parameter: Remember, there are a couple of different ways to arrive at the Create Parameter window. For our example, we’re going to enter in the following options:
Show Parameter Control: By completing the steps in this order, Tableau will automatically show your parameter control in the view since we created the parameter from within the filter option.
You can manually show your parameter control by right clicking on the desired parameter and selecting “Show Parameter Control”.

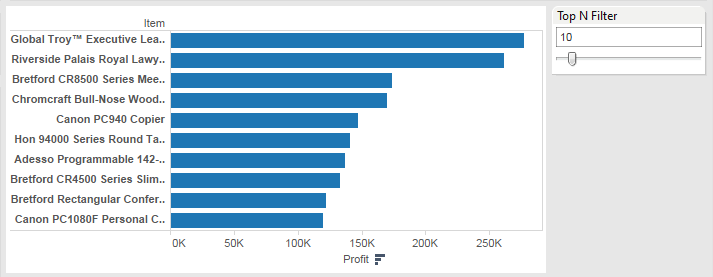
Congratulations! You’ve created a Top N filter using a parameter to allow the user to change how many of the top products they want to see:
The Difference Between Filters & Parameters
Looking at filter and parameter controls might be confusing as they can look identical if not properly labeled. Consider the following example:
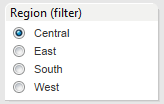
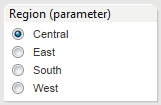
I’ve added the notation of filter and parameter by editing the filter title and parameter name respectively. While they do look the same, there are some important differences that are worth noting in how they function.
- Filters are specific to a data source. Parameters are not.
- Filters are generally slower.
- Parameters can be used within filters.
- Filters are created on the worksheet level. Parameters can be reused across the entire workbook.
- Filters are restricted to the data. Parameters can be manually defined.
These are important differences that really expand parameters into hundreds of different use cases.
What’s Next?
All of the differences highlighted above will come into practice when we create a filter for multiple data sources using a parameter. But first, we need to examine how parameters are used in calculated fields. We’ll do that next in part 4.
If you have any questions, thoughts, or other fun use cases with parameters and filters, please leave them in the comments below. I look forward to hearing from you.

