Our Certified Tableau Trainers are asked a myriad of questions each day. In this series, they share some answers.
Here’s a question I often get in my Tableau training classes:
“How do I create friendly text hyperlinks on a dashboard that open to an external webpage?”
You may know how to bring a text object onto a Tableau dashboard, but what if you want your users to be able to click on that text link and be taken to specific webpage? If you’ve played around with Tableau, you probably know that text objects are just pure text, and unfortunately there is no option to convert that text to a hyperlink. That being said, you can still mimic clicking the link with the help of URL dashboard actions!
URL Dashboard Actions to the Rescue!
There are a few different tricks for getting this done, but let’s explore one of the simpler methods. The solution is to create a worksheet that will act as our text box. That way we can link the worksheet to a website via a URL action.
To start, let’s make a new worksheet that uses a “dummy” calculated field that works as a placeholder for our friendly text. As an example, I want to create a calculated field with the formula “InterWorks Blogs” so that my users can get to the blog homepage without having to type in some crazy combination of symbols, letters and whatever else might be in the full URL.
NOTE: Make sure that the text is enclosed in quotations or else you might receive an error.
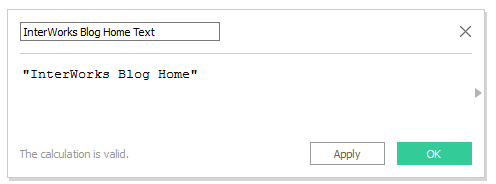
Once your calculation is valid, you’re ready to use it on the worksheet. Dragging your new field to the rows shelf will create a header and label because our calculated field is discrete. This is all we need to create the dashboard URL action, but it might be worth a few extra steps to make it look nice.
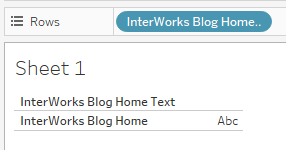
In order to remove the Abc written to the right of the label, I like to drag an additional copy of my calculated field to text on the marks card so that it will write out the label as text.
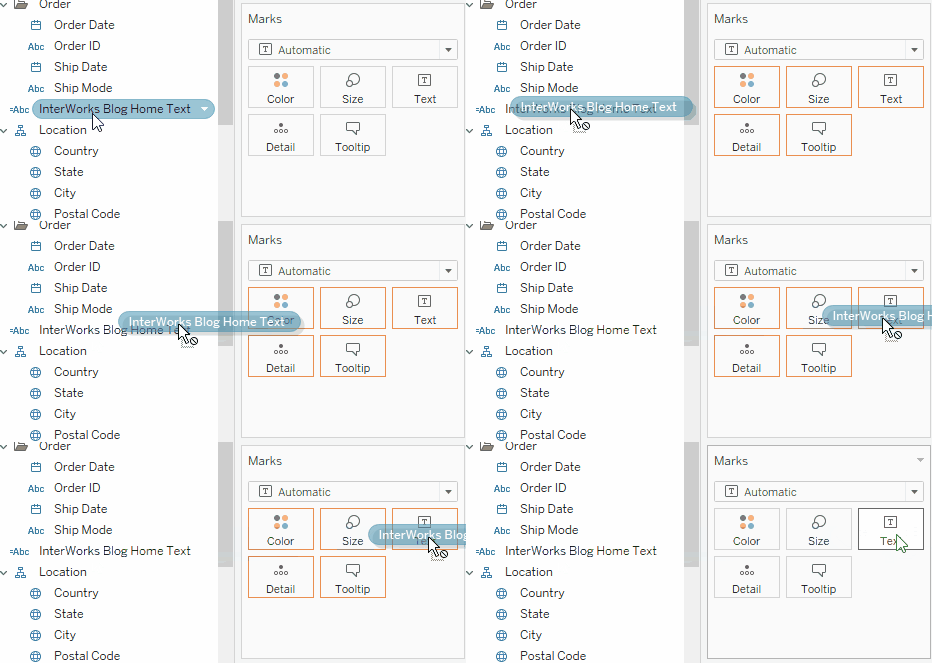
This introduces an issue where you have the same thing written twice! No worries! We can correct it, but before we do, let’s also take a look at the other issues that warrant some clean up.
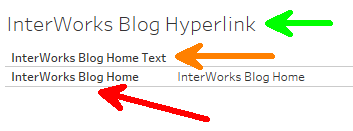
There is a great deal of redundancy with my worksheet, especially because I had named mine to make it easier to recognize. To help you better understand which text I’m referring to, I color-coded some arrows.
- If I want to not show the title on my worksheet (green arrow), I can remove it by right-clicking the title “InterWorks Blog Hyperlink” and choosing Hide Title.
- If I want to remove the header “InterWorks Blog Home Text” (orange arrow), right-click on the header and choose Hide Field Labels for Rows.
- If you want to remove the label “InterWorks Blog Home” (red arrow), right-click on the label and choose Show Header.

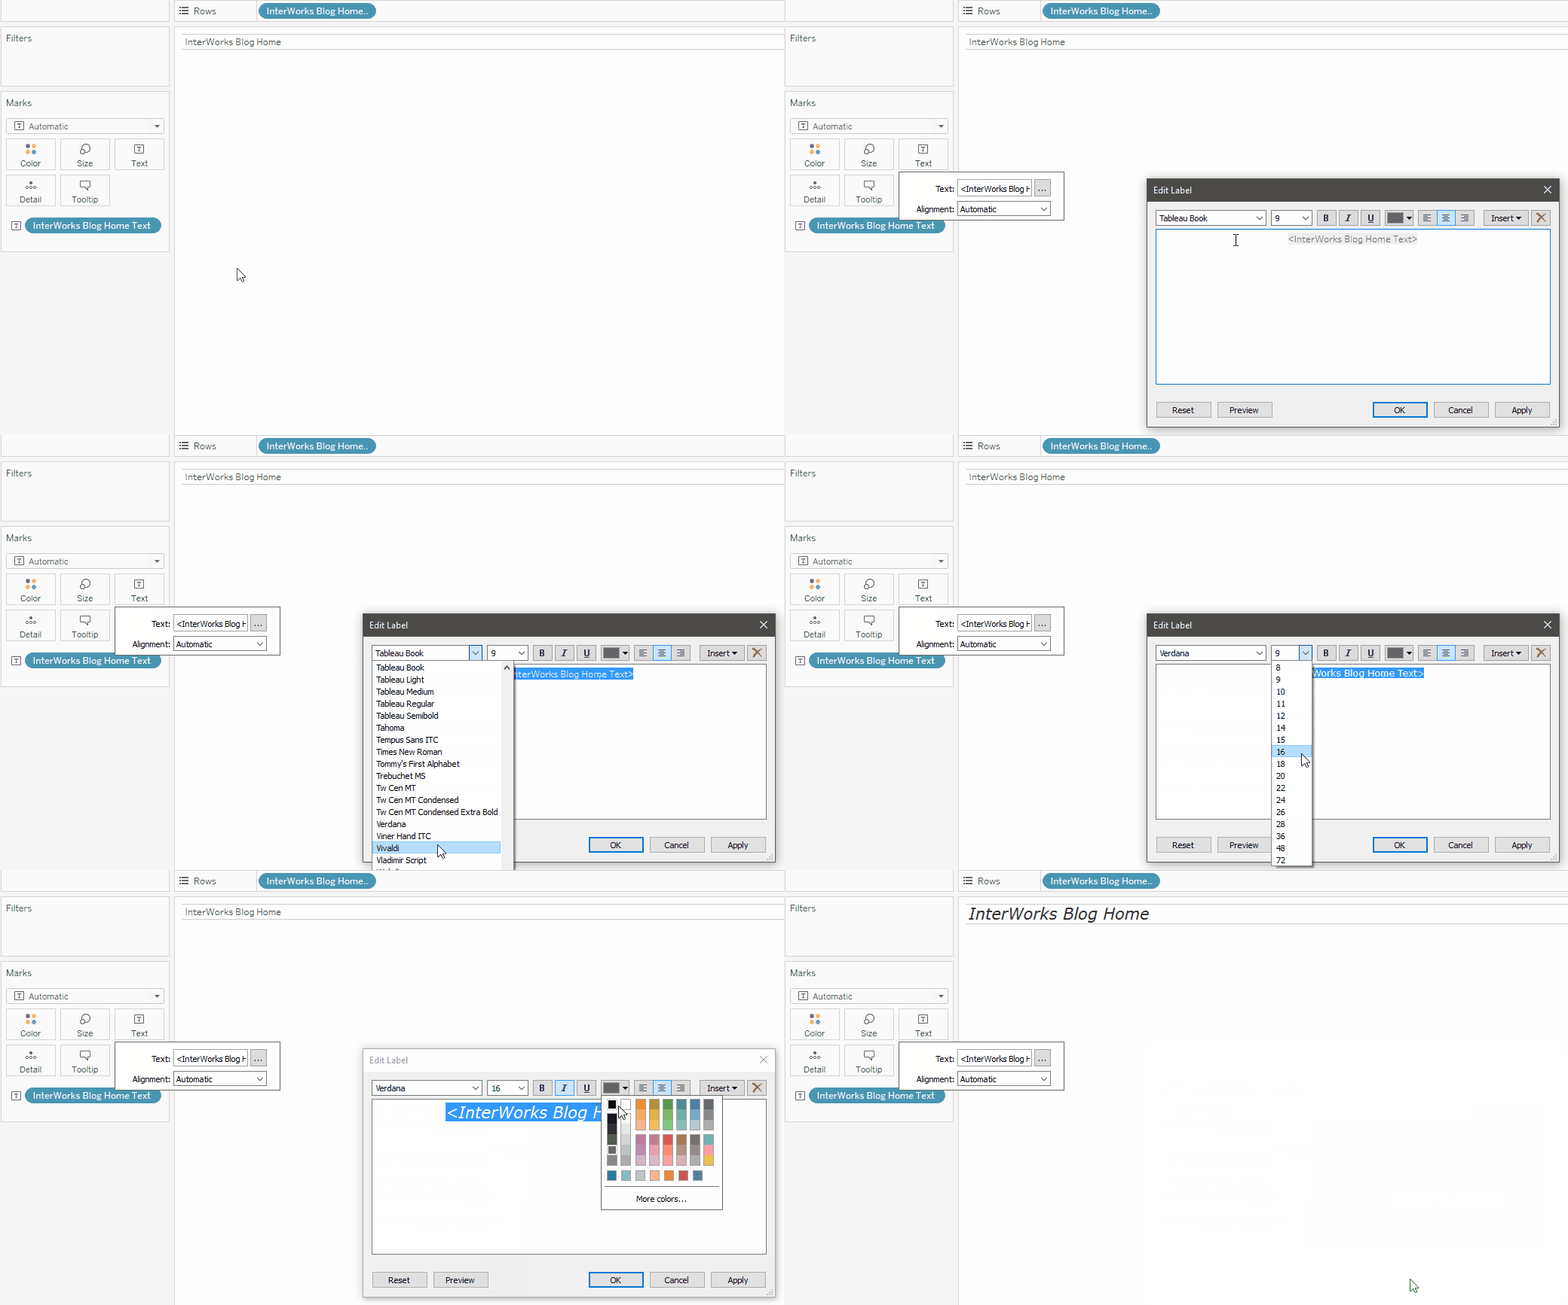
At this point, feel free to adjust the font, size, color and alignment of your text to your liking. These options can be easily accessed through the text button on the marks card.
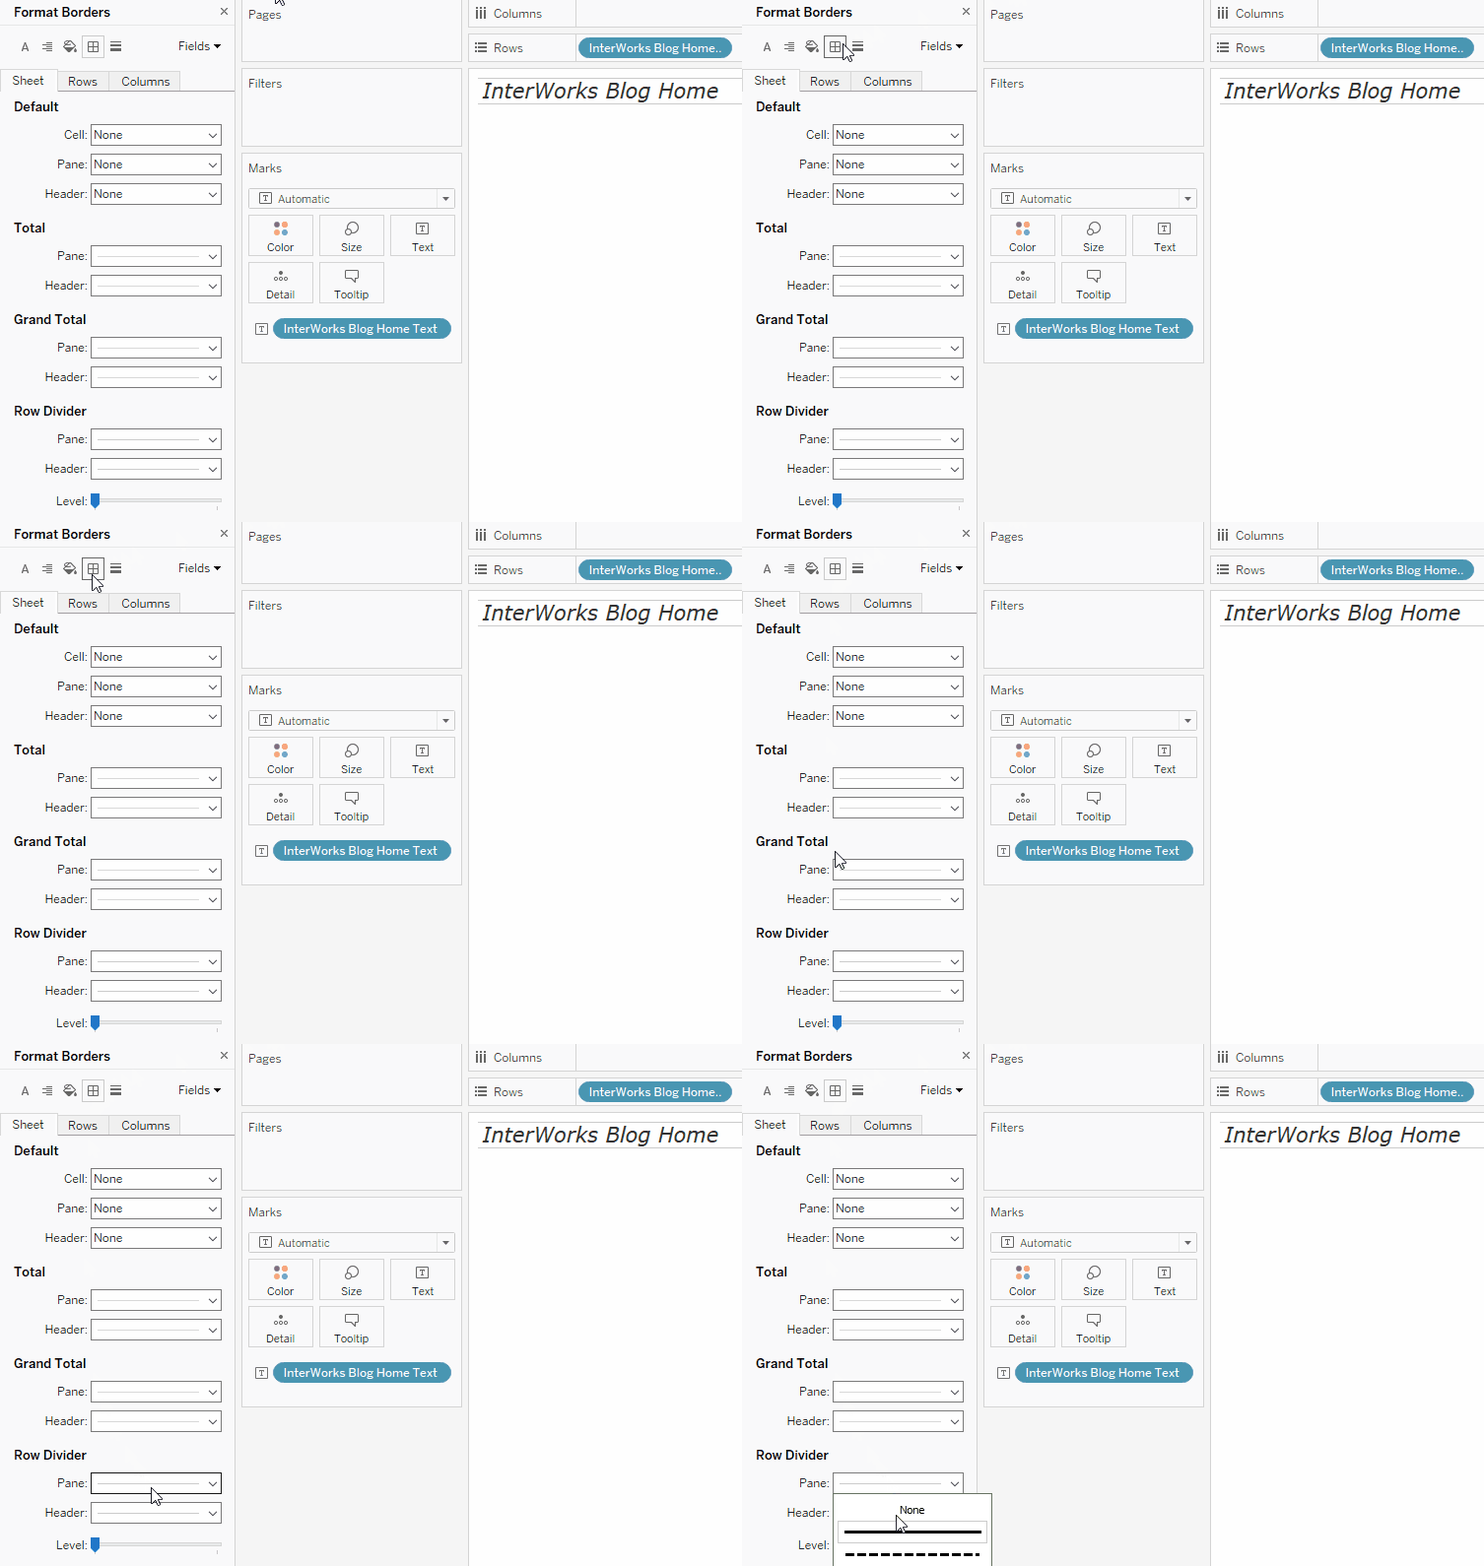
You may also want to remove the row dividers (the light gray lines above and below your text). You can do this by right-clicking on your text and choosing Format… Notice that your Data pane is replaced with a Format pane. Navigate to the Borders icon (it’s the one that looks like a window pane). Then, towards the bottom, change the Pane under Row Divider to None.
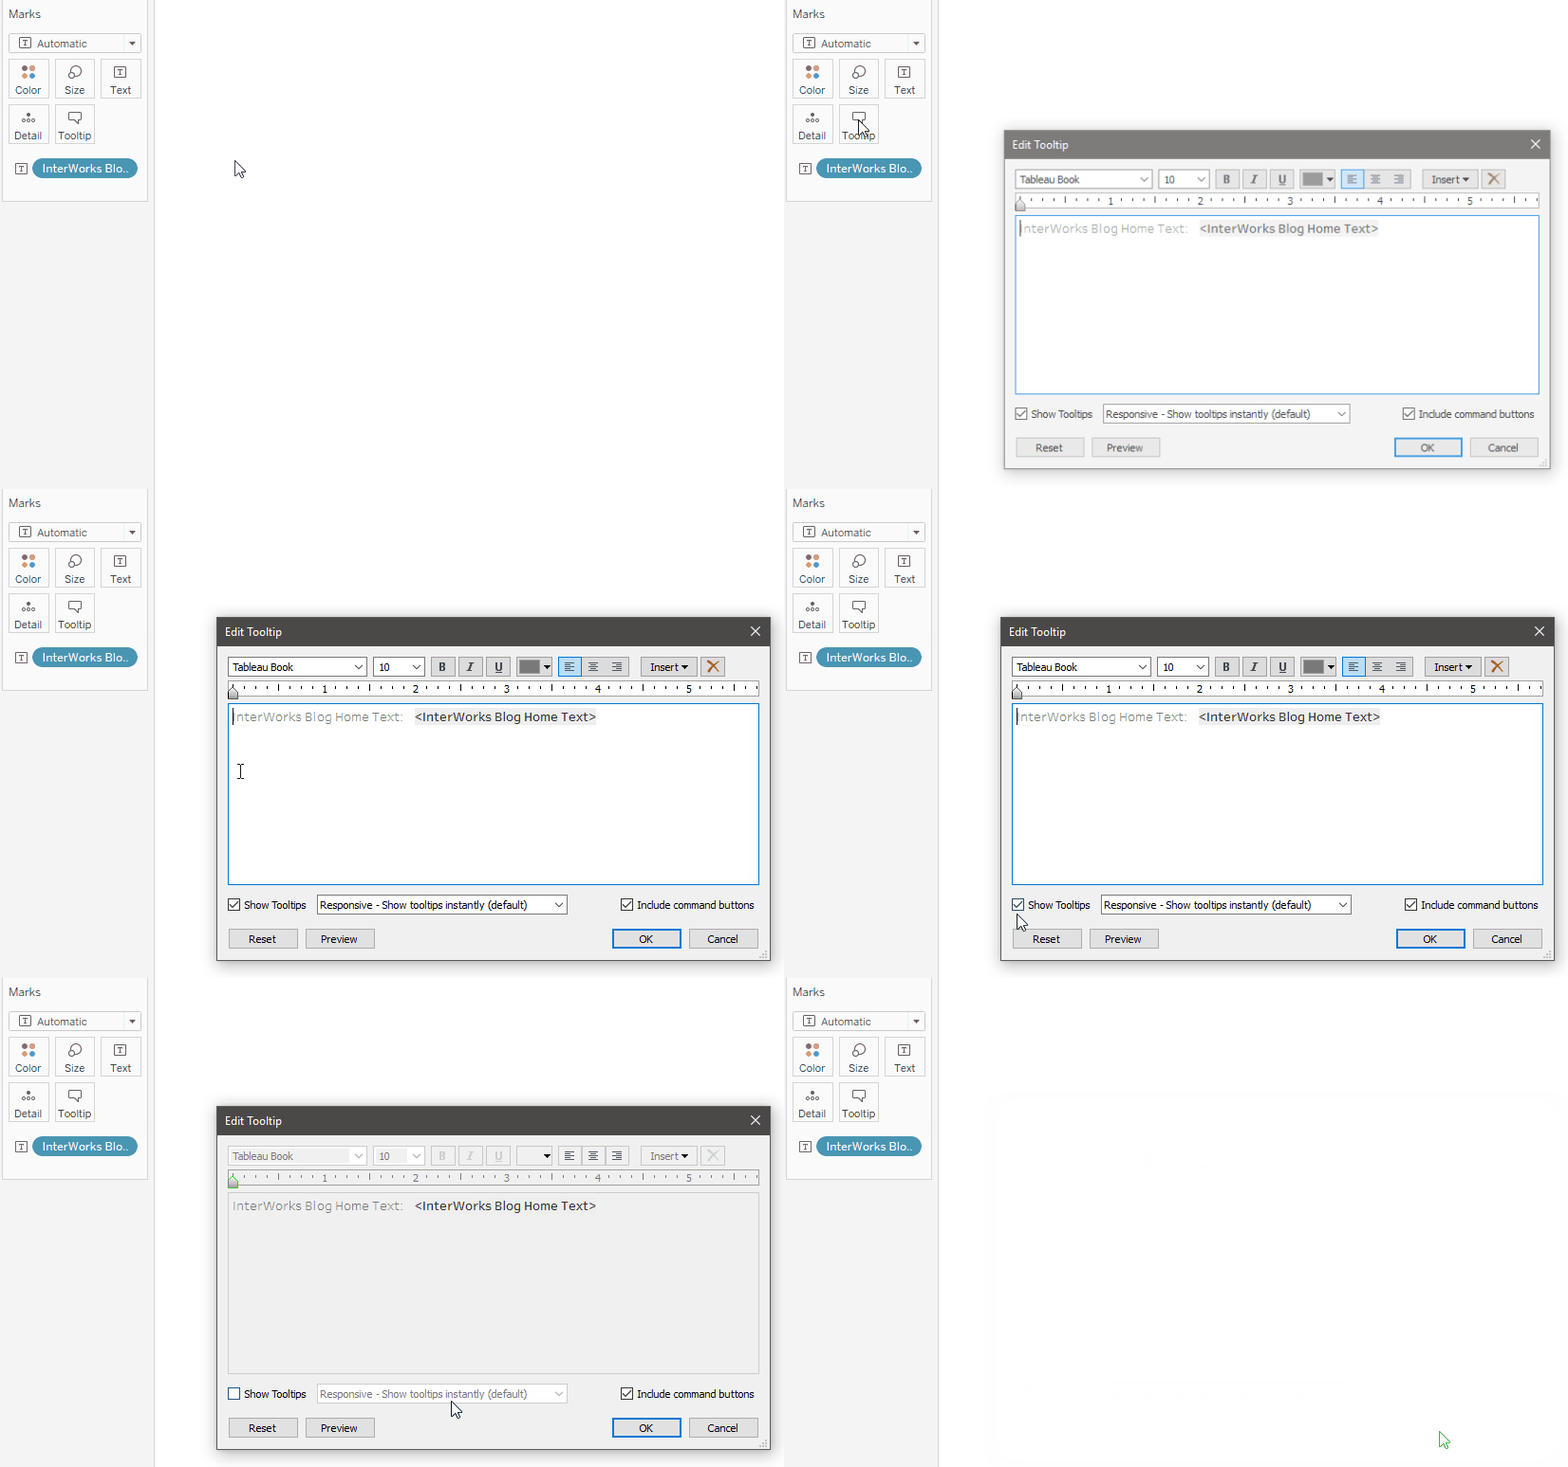
We could also choose to disable the tool tip so that it does not appear every time we hover over our text field. Click on the tooltip button on the Marks card and uncheck Show Tooltip.
Now that everything looks nice and formatted, all that’s left is to bring the worksheet onto the dashboard wherever you want it be. Don’t forget to hide the title by using the drop-down arrow in the upper right-hand corner of your worksheet.
NOTE: You can try using layout containers to make sure everything lines up correctly.
We can add in the URL action that ties the worksheet to the URL. Make sure to Run Action On Select so that your users will be able to click on the link.
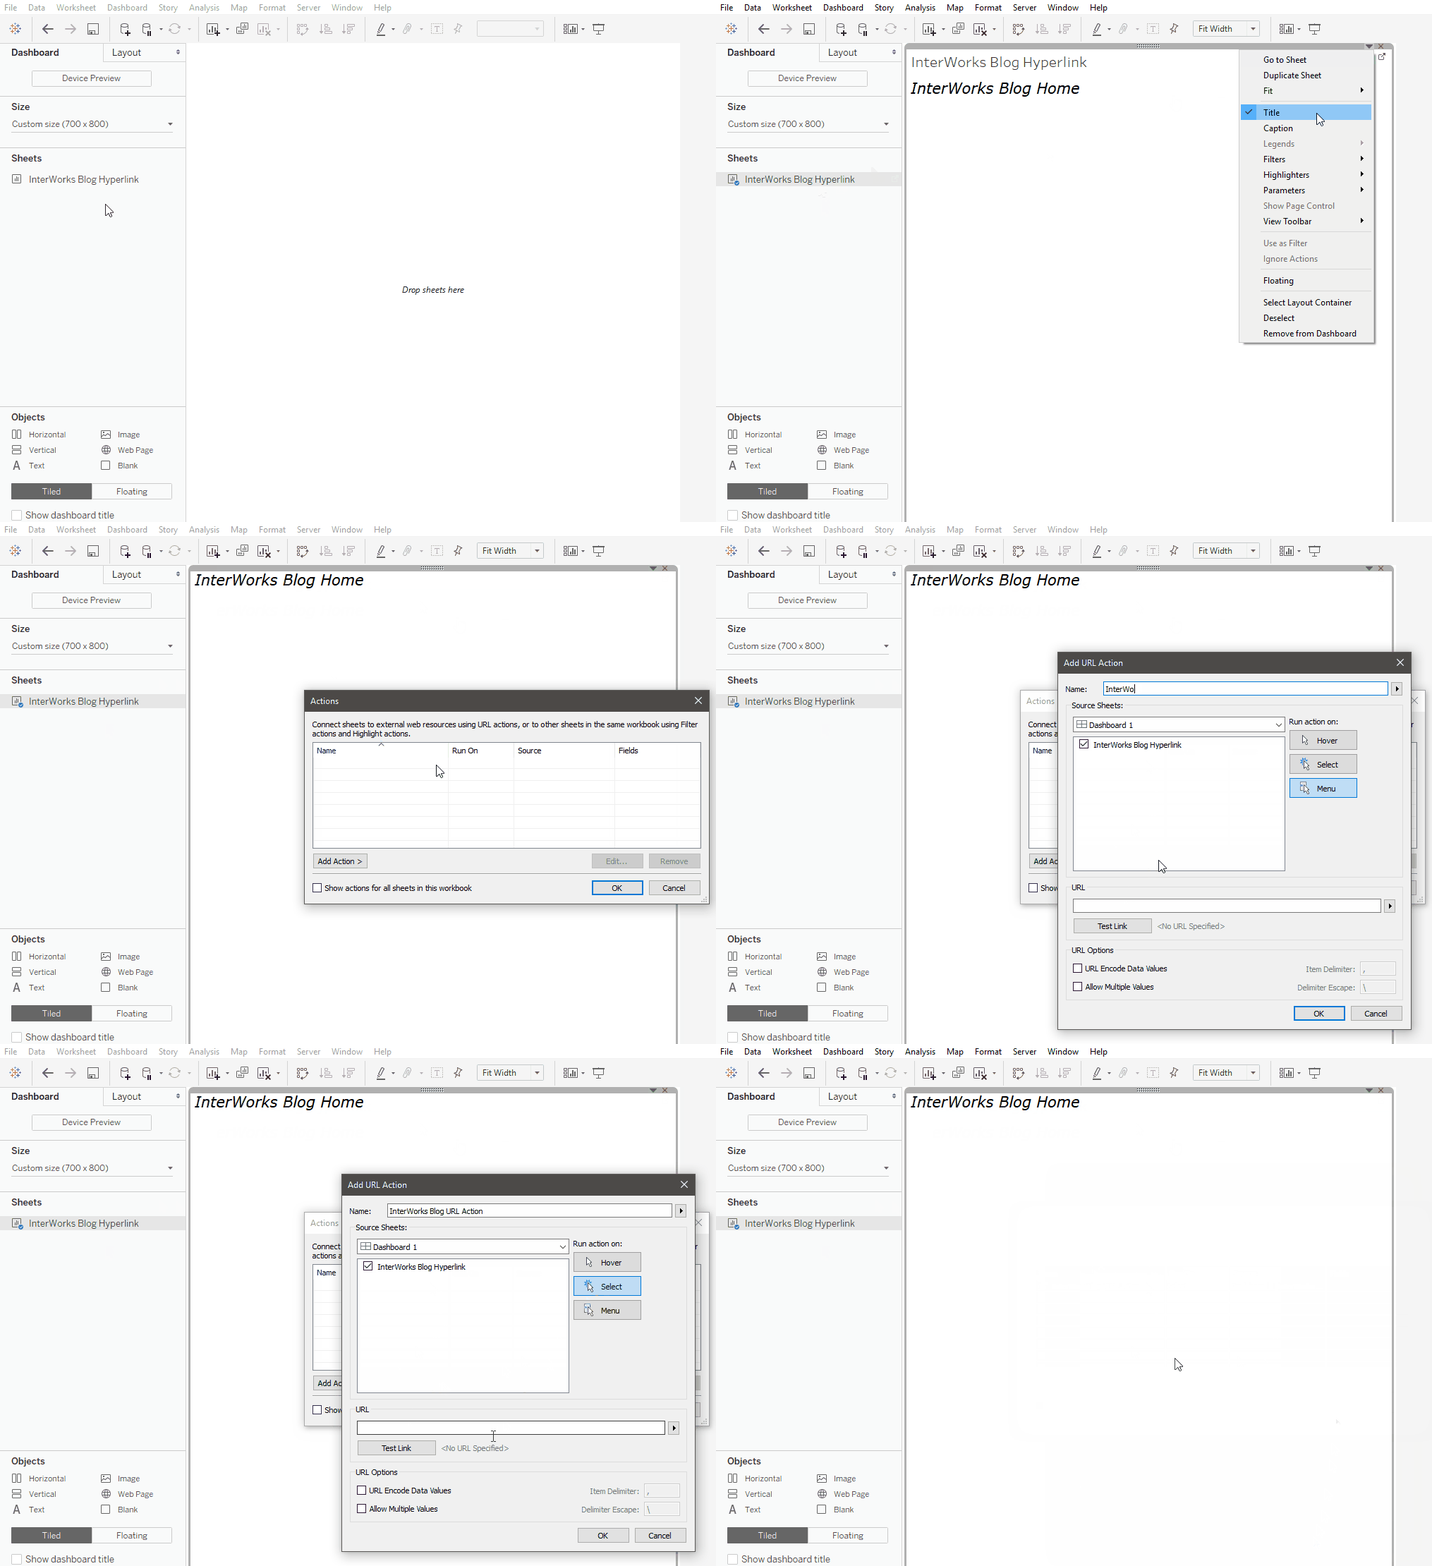
By default, this will open the webpage in a new window with your user’s default browser. If you wanted to tie the URL action to open on your dashboard see my previous blog found here.
If you want to create additional text links, duplicate the worksheet used to create your first text link dummy field and just start the process over again.

