
If you’ve ever tried running SQL queries against Snowflake from an AWS Lambda function using Python, chances are you may have run into an error message like this:
⛔️ No module named ‘snowflake’
Fear not, there’s a simple solution you can apply in no time. In this article, you will see how to overcome this issue using an AWS Lambda Layer. All you need is to follow the next three steps:
- Step 1 involves creating a zip file that contains all the necessary Python packages and libraries, including the Snowflake module. Don’t worry, it’s not rocket science – you’ll be walked through the process step by step.
- In Step 2, the AWS Lambda Layer will be created with just a few clicks in AWS.
- In Step 3, you’ll bring everything together to create your own AWS Lambda function with Snowflake capabilities. Let’s jump in!
Step 1: Creating a Zip File with All the Dependencies
Before we dive in, it’s worth noting that AWS Lambda requires things to be compiled as Linux Executable and Linking Format (ELF) shared objects. This means that you’ll need an access to a Linux machine to create Lambda function‘s layer. We tried using a macOS machine, but it didn’t work, so we spun up an EC2 instance with Ubuntu Server 20.04.
It is recommended to use a server with a Python version 3.9 or lower since downgrading the Python version needs some extra steps.
Once your EC2 instance is up and running, you’ll need to connect to it using the CLI. To do this, select the instance and click on Connect. From there, go to SSH client and copy the text highlighted in red as shown in the following screenshot:
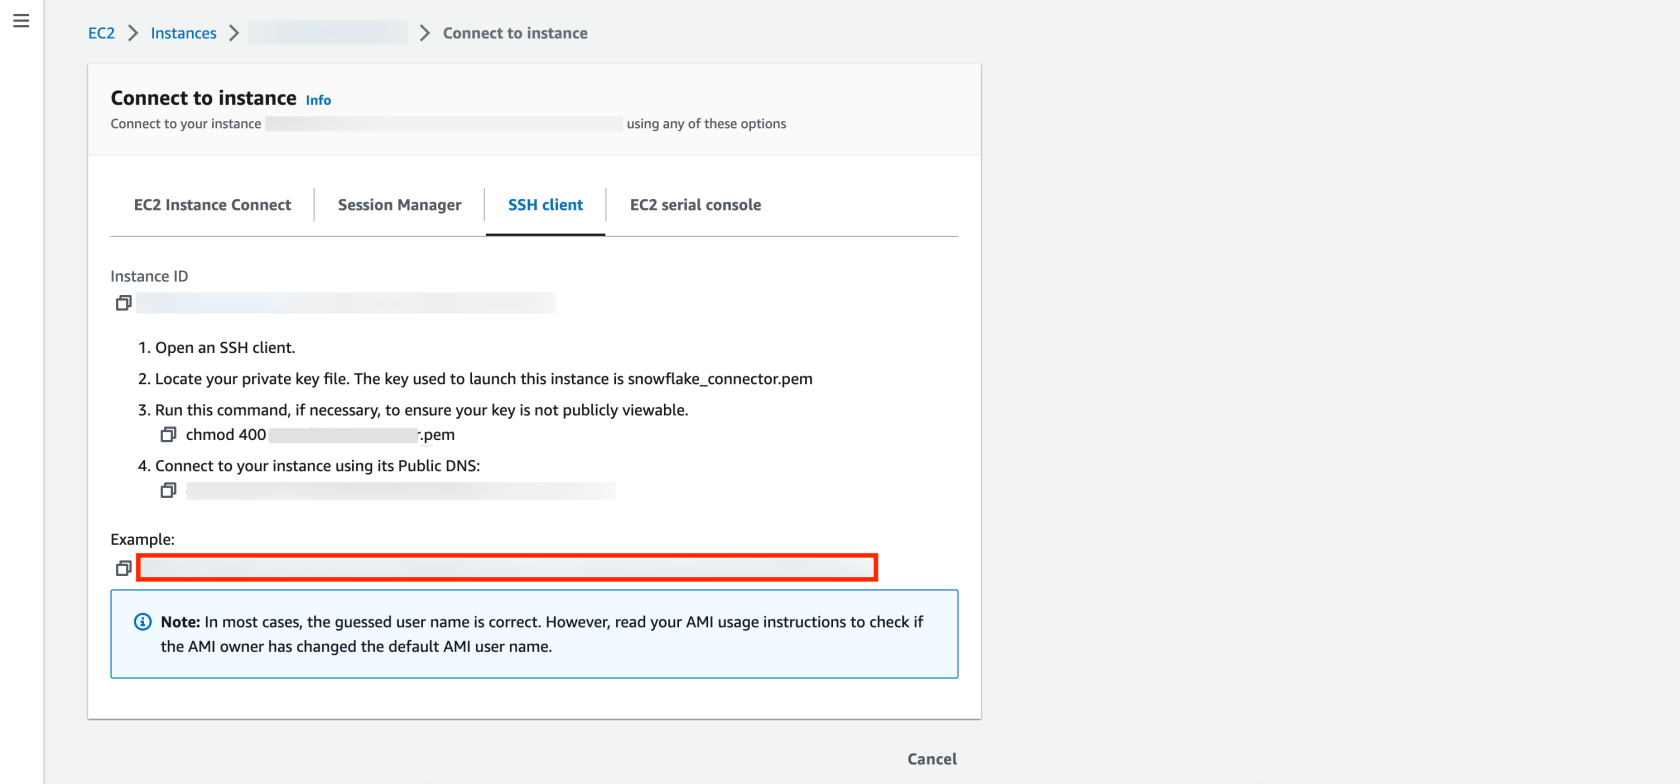
Before pasting the command into your CLI, you’ll need the key pair you used when you created your EC2 instance. This key pair should be protected by using the chmod 400 command to prevent accidental overwriting. For more information please refer to Numeric Configuration of Privileges in Linux.
Getting the SSH to work out of the box can be tricky. If you are using, Windows please refer to:
Once you are connected to the EC2 instance, you can go through the following steps to get your zipped layer:
1️⃣ Updates the list of available packages and their versions.
sudo apt update
2️⃣ In this article we are using Python 3.9 for the AWS Lambda function. But feel free to use your own version!
sudo apt install python3.9
3️⃣ Install venv which allows you to install packages and libraries without affecting the global Python installation.
sudo apt install python3.9-venv
4️⃣ Create and activate your isolated environment myenv39 which is using Python 3.9.
python3.9 -m venv myenv39
source myenv39/bin/activate
5️⃣ Install the requirements from a file specified by the version of the connector v3.0.1, the name of the requirements file requirements_39.reqs. For more information please visit Snowflake documentation.
pip install -r https://raw.githubusercontent.com/snowflakedb/snowflake-connector-python/v3.0.1/tested_requirements/requirements_39.reqs
6️⃣ Install zip.
sudo apt install zip
7️⃣ Let’s go to the folder needed and rename it.
cd myenv39/lib/python3.9
mv site-packages/ python/
8️⃣ The packages need to be zipped to be downloadable.
zip -r snowflake_connector_layer_39.zip python/
9️⃣ To download the zip file please close the ssh connection or use a new terminal. With a single command, we can leverage SCP (Secure Copy Protocol) to copy a file from a Linux virtual machine to our local machine. For Windows users, SCP is downloaded as part of the standard OpenSSH Client optional service discussed in the earlier prerequisites for Windows.
scp -i key.pem username@ec2ip:/remote/path/to/file /local/path/to/file
To use this command, you must customize it with your key pair, ssh client name, and IPv4 address, which should match the ones highlighted in red in the previous image. Additionally, you must specify the paths for both the EC2 instance and your local machine where the zip file should be saved.
Here is an example of what the code looks like:
scp -i "snowflake_connector.pem" ubuntu@ec2-x-xx-xxx-xx.eu-central-1.compute.amazonaws.com:/home/ubuntu/myenv39/lib/python3.9/python/snowflake_connector_layer_39.zip /Users/FADI/Desktop/snowflake_connector_layer_39
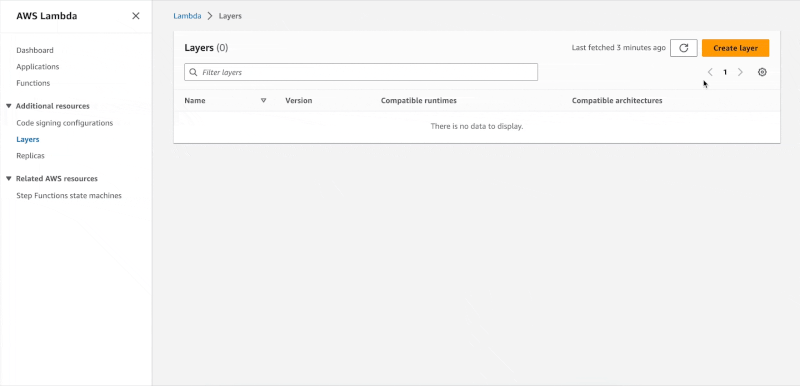
Step 2: Creating the Layer
To create a layer you need to select Layers in AWS Lambda. Click Create Layer and give it an name. Upload the snowflake_connector_layer.zip file that you previously created in Step 1.
Once the Layer is created, copy the Version ARN for future use.
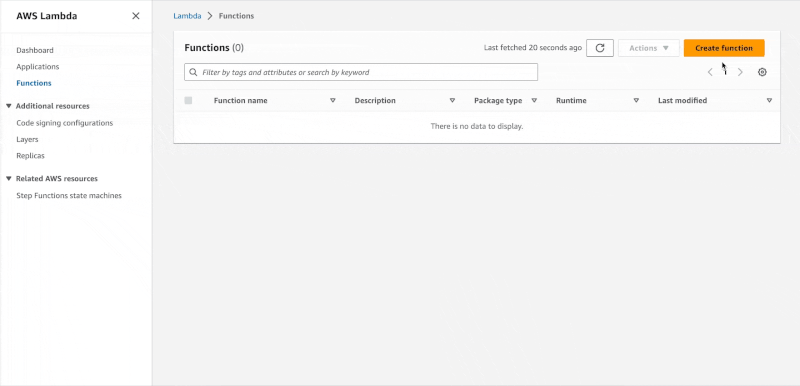
Step 2: Bringing It All Together
To create an AWS Lambda function:
To test the function, click on Test, name the event and save it, include import snowflake.connector in the dependencies section of the lamda_function.py tab, click Deploy and then click Test again.
Expect the following response:
{
"statusCode": 200,
"body": "\"Hello from Lambda!\""
}
The following GIF shows how to create the Lambda function and test it:
Voila!! You’re now all set to run SQL queries from AWS Lambda. Simply provide your credentials and happy querying!
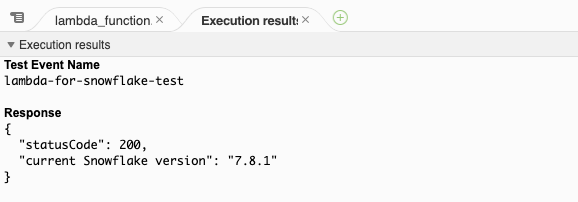
Next is an example of how to retrieve the current Snowflake version from AWS Lambda.
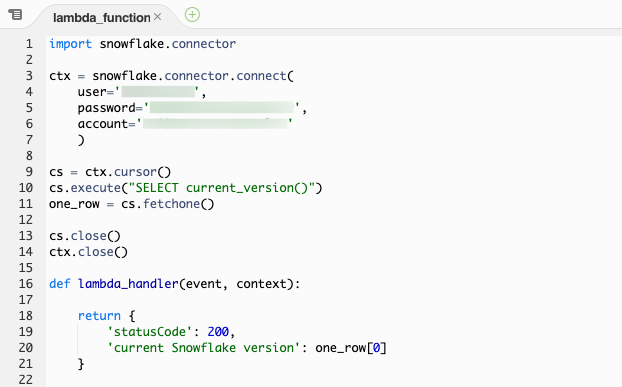
The execution results tab shows, that the current Snowflake version is : 7.8.1
And That’s It!
The beauty of the Lambda Layer is that it’s reusable. Once you create a layer that contains libraries, you can use it in multiple functions without having to install those libraries again.
So, to sum up: Lambda Layers make deploying AWS Lambda functions much more streamlined and flexible. In this article, we used them to import snowflake.connector which allows running SQL queries from AWS Lambda. In addition to the Snowflake connector, there are a number of other Python libraries that you may find useful when working with AWS Lambda. The installation process for these libraries is quite similar to the method recommended in this article.