Analytics teams have spent years bringing software-engineering discipline to the data warehouse: version control, code review, CI, automated tests. The layer that has stubbornly resisted that treatment is the presentation layer, the dashboards and reports themselves. They tend to live as opaque objects inside a BI tool, edited by hand and impossible to diff.
In another of my blogs, you’ll find our Private Equity accelerator, which I built using the core paradigm of architecture as code. That project covers everything from data ingestion, through the Medallion data warehouse build and out to the Sigma presentation layer. At the time, Sigma’s Workbooks as Code was in a very beta version.
Fortunately, Sigma has been quietly closing that gap. Between its REST API, the official Sigma CLI and the new “Workbook as Code” endpoints, you can now pull a workbook or a data model out as a structured spec, change it, validate it and push it back. Pair that with a handful of Claude Code skills that package up the authentication and API surface, and an AI agent can do the same work on your behalf.
Before writing this up as a practical tour, I tested the latest Sigma CLI and its AI skills to see how far I could get updating an existing data app through Claude rather than the UI. The use case was simple: build a calculation that sorts the rows in a profit and loss statement in a specific order. Along the way we’ll authenticate, list and inspect workbooks, export a workbook and its data model as code, make a real change and, most importantly, cover the validation behaviour that will catch you out if you’re not ready for it.
What You Need in Sigma
- A Sigma connection with API credentials (client ID and secret), created under Administration → APIs and Tokens.
- The Sigma CLI installed and on your
PATH(brew install sigmacomputing/tap/sigmaor see the repo). - Optionally, the Sigma Claude Code plugin, which bundles three skills:
sigma-api(authentication),sigma-cli(the full API surface via the binary) andsigma-data-models(semantic-layer specs).
Installing the plugin is two commands inside Claude Code:
/plugin marketplace add https://github.com/sigmacomputing/sigma-agent-skills.git
/plugin install sigma-computing@sigma-computing
From here on, everything works whether you run the commands yourself or ask Claude to run them for you. The skills just give the agent the same reference material you’d read.
How the Skills Work in Claude Code
Under the hood, a Claude Code skill is nothing magical: It’s a folder of Markdown. Each skill ships a one-line description that the model always sees, and the full instructions only load when a task looks relevant. Ask Claude to “list my Sigma workbooks” and it pulls in the sigma-api skill, follows it to exchange credentials for a bearer token, then leans on the sigma-cli reference to build the actual calls. I never have to remember which endpoint returns pages, or how the --params JSON should be shaped. The knowledge lives in the skill; I just describe the outcome I want, which leaves more time for the actual work and less for remembering syntax.
What makes this interesting is the interaction model. Reshaping a Sigma data app becomes a conversation: “add a P&L sort based on this CSV,” “hide these columns,” “repoint this workbook at the new schema.” Claude reads the current spec, proposes the edit, runs spec verify and shows us the diff before anything is written. For a throwaway prototype or a short-lived data app, the kind you stand up for a single client workshop or a two-week discovery engagement, that loop is quicker than clicking through the builder, and every step is captured as text you can replay, adjust or bin. It feels closer to sketching than to development, and the cost of a bad idea is a single undo.
Step 1: Authenticate
Sigma uses the OAuth 2.0 client credentials grant. You exchange your client ID and secret for a short-lived bearer token (roughly a one-hour TTL) and send that token on every subsequent call.
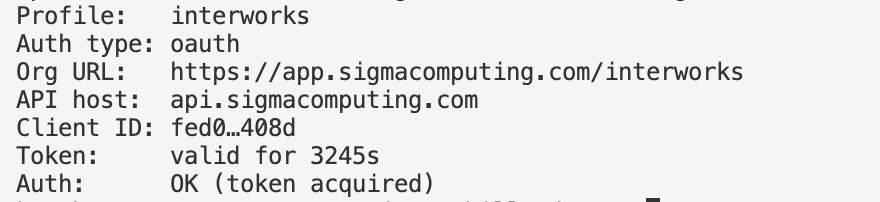
The CLI’s best addition is support for multiple profiles, so you can authenticate against a development instance and a production instance without recreating profiles each time. It also provides a pathway to authenticate via OAuth, which scopes a user’s permissions much more tightly to their actual access in Sigma. If the end user’s data connections also use OAuth, Claude will only bring back warehouse objects that the user is permissioned to see.
The one detail that will trip you up: SIGMA_BASE_URL is the API host for your cloud and region, not the app URL. For AWS US West, that’s https://aws-api.sigmacomputing.com. Other regions have their own hosts. You can find yours under Administration → Developer Access.
export SIGMA_BASE_URL="https://aws-api.sigmacomputing.com"
export SIGMA_CLIENT_ID="your-client-id"
export SIGMA_CLIENT_SECRET="your-client-secret"

CREDENTIALS=$(printf '%s:%s' "$SIGMA_CLIENT_ID" "$SIGMA_CLIENT_SECRET" | base64)

export SIGMA_API_TOKEN=$(curl -sf -X POST \
  -H "Authorization: Basic ${CREDENTIALS}" \
  -H "Content-Type: application/x-www-form-urlencoded" \
  -d "grant_type=client_credentials" \
  "$SIGMA_BASE_URL/v2/auth/token" | jq -r '.access_token')
Sanity-check the token with whoami. It should return your userId and organizationId:
curl -sf -H "Authorization: Bearer $SIGMA_API_TOKEN" \
  "$SIGMA_BASE_URL/v2/whoami" | jq .
If you have the CLI configured (sigma auth login), it manages the token refresh for you and you can skip the manual exchange entirely.
Step 2: List and Inspect Workbooks
sigma api workbooks list \
  | jq -r '.entries[] | [.name, .path] | @tsv'
In our environment, this returned 130 workbooks across a deep folder tree, from production data apps down to years-old test content. This is already useful as this is a clean inventory you can pipe into a spreadsheet or a governance report without clicking through the UI.
Drilling into one workbook, you can pull its metadata, its pages and its data sources (drop your workbook id copied from the query above into <workbook-id>):
sigma api workbooks get     --params "{\"workbookId\":\"$WID\"}"
sigma api workbooks pages   --params "{\"workbookId\":\"$WID\"}"
sigma api workbooks sources --params "{\"workbookId\":\"$WID\"}"
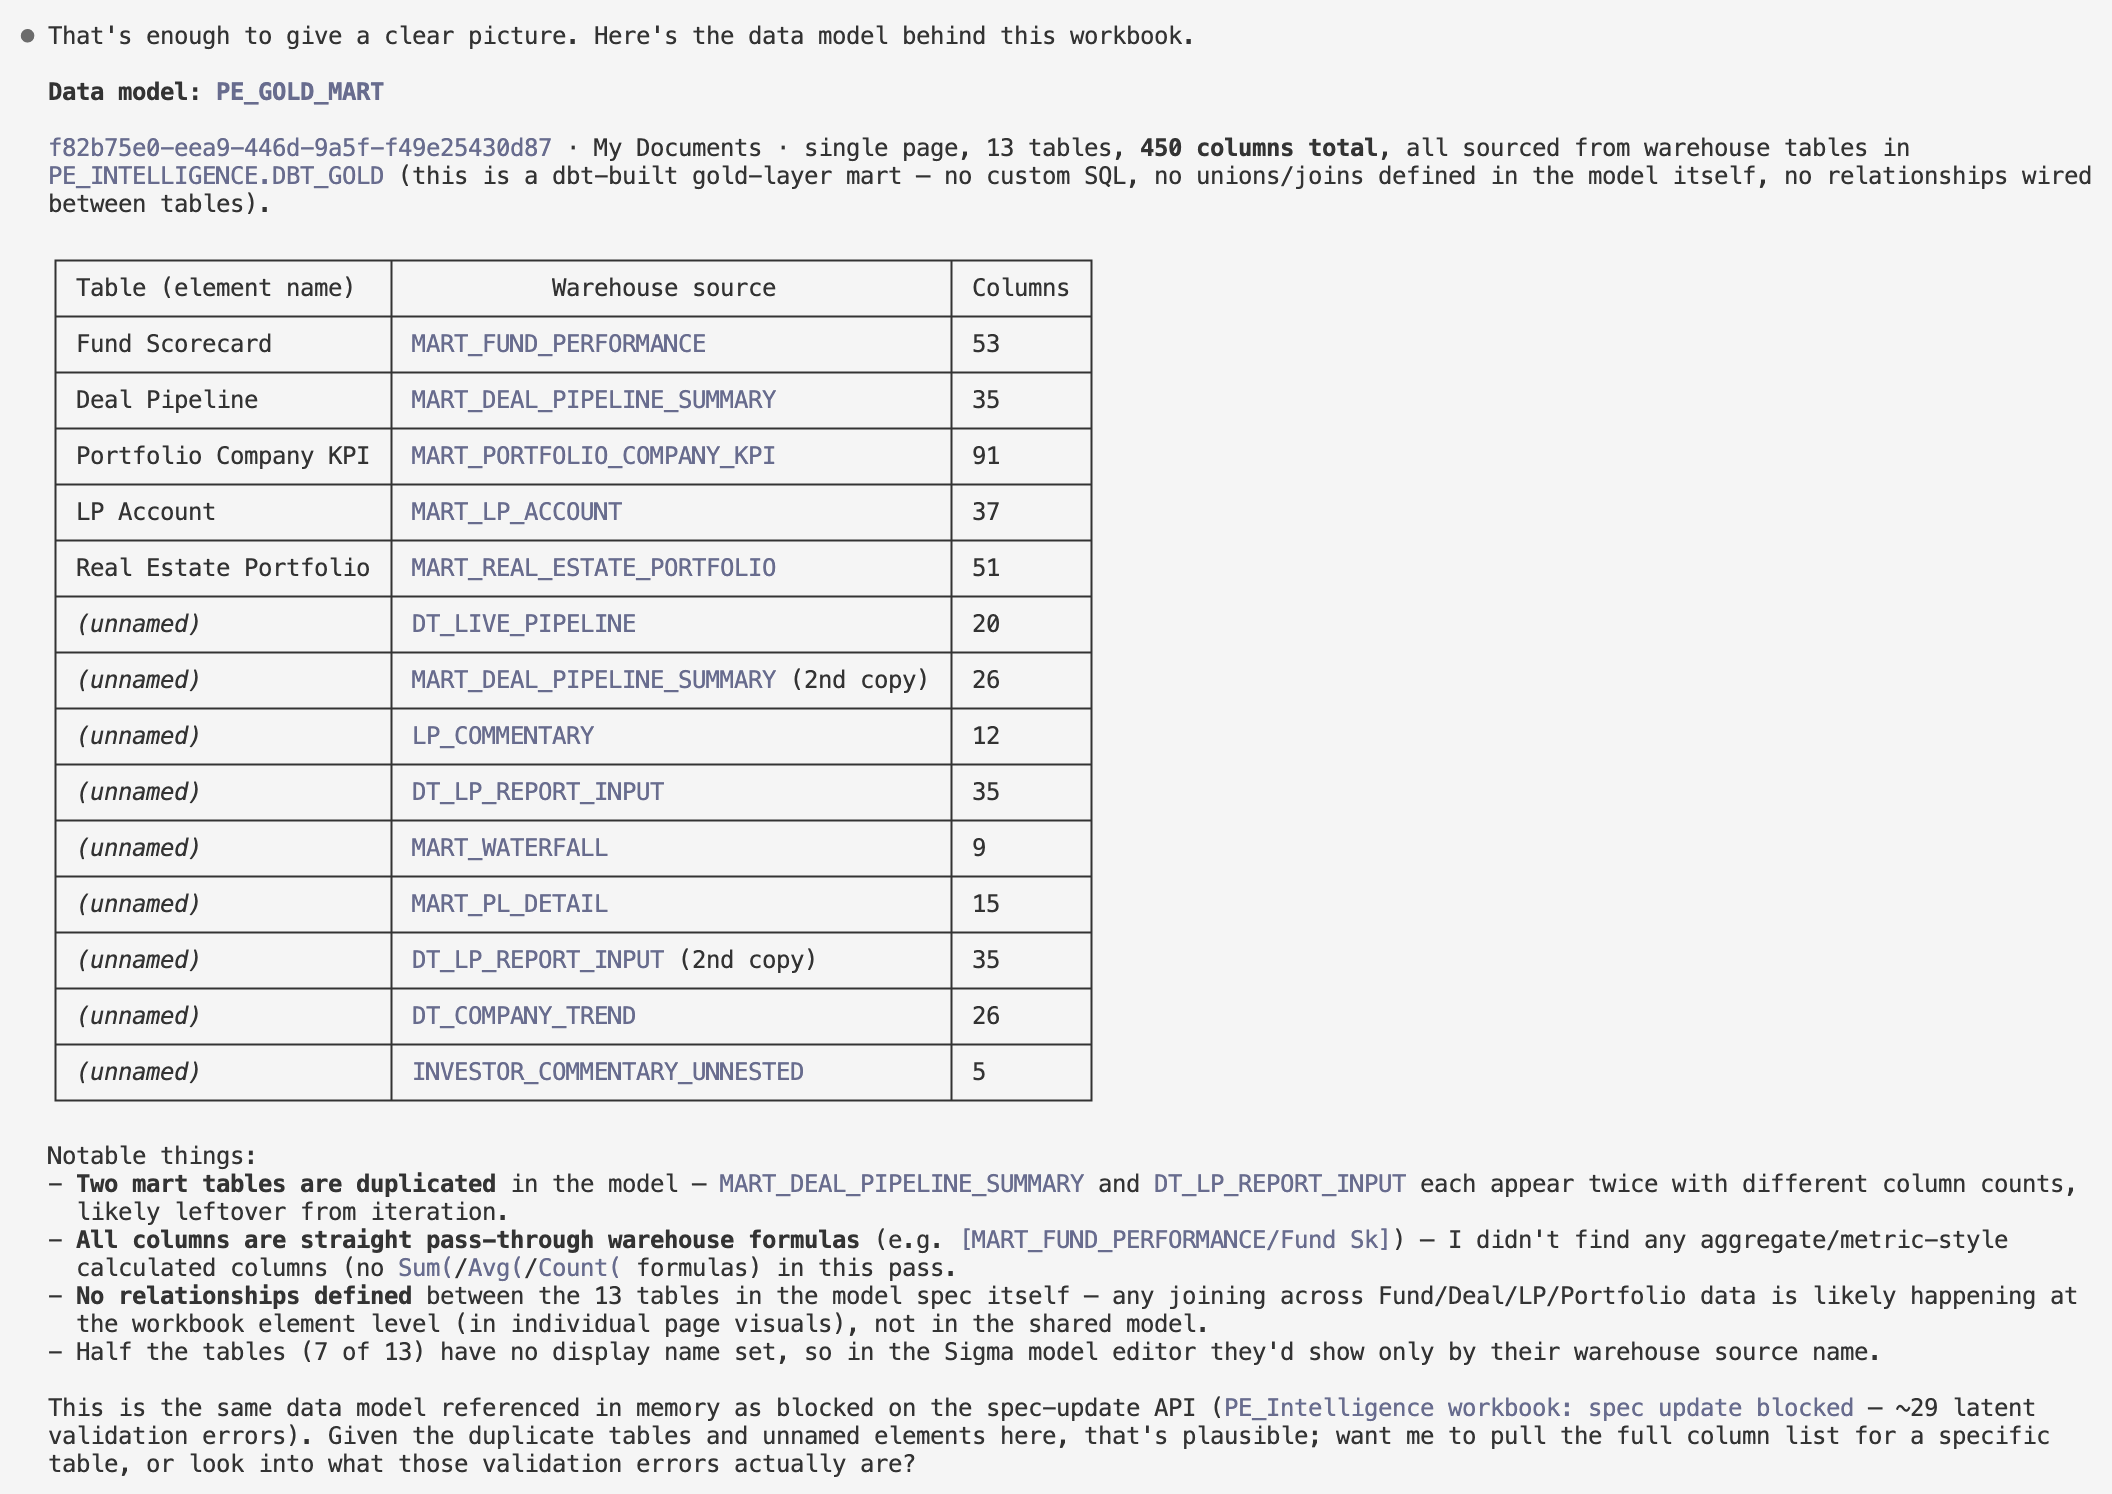
Our Private Equity Intelligence demo workbook showed 12 pages (two of them hidden “working” pages) and a single data-model source feeding 11 elements. workbooks lineage takes that further, tracing every element back to its warehouse tables, which is exactly what you want before a source swap or a warehouse migration.
Step 3: Export the Workbook as Code
This is the part that’s useful to manage workbooks using tools like git: spec get returns the entire workbook, every page, element, column, formula and the layout, as a single structured document:
sigma api workbooks spec get --params "{\"workbookId\":\"$WID\"}" \
  > workbook.spec.json
The endpoint returns YAML by default; request JSON with an Accept: application/json header (the CLI gives you JSON out of the box). Our workbook came back as roughly 14,700 lines: 12 pages, 184 elements, plus settings, layout and agents blocks.
The data model behind it exports the same way:
DM=<data-model-id>
sigma api datamodels spec get --params "{\"dataModelId\":\"$DM\"}" \
  > datamodel.spec.json
That gave us the semantic layer: 14 warehouse tables from a dbt gold schema, with column counts, formats and the curated business names layered on top of the raw Snowflake columns. Now you have both halves of the app as text you can commit, diff and review.
Step 4: Make a Change
Our task was concrete: on the workbook’s P&L sheet, the rows needed to follow a specific accounting order (revenue lines first, then cost of sales, staff costs and so on down to corporation tax) rather than alphabetical. The desired order lived in a small CSV: a line description and a sort integer.
Reading the exported spec made the fix obvious. The table was already grouped by Roll Up Group and Line Description, and it already carried a hidden helper column being used as the sort key, but that column’s formula was a crude two-way split:
If([Roll Up Group] = "REVENUE", 1, 2)
Replacing it with a full mapping derived from the CSV gives every line its exact position:
Switch([Line Description],
  "Licence Fees", 1,
  "Support & Maintenance", 2,
  "Professional Services", 3,
  "Hosting & Infra", 4,
  ...
  "Corporation Tax", 18,
  999)
Because the CSV order matches the group blocks, sorting on this one value orders both the group level and the lines within each group. One formula, one column, done and the change is a one-line diff in version control.
Step 5: Validate Before You Push, Mind the Gotchas
spec update writes the workbook back. Two things about it matter a great deal:
It is full-replacement, not a patch. You send the entire spec, and it replaces the entire workbook. There is no element-level write endpoint. Whatever you POST is the new definition.
It validates the whole document, strictly, in passes. Run spec verify first, it runs the same validation as update without persisting anything:
sigma api workbooks spec verify --params "{\"workbookId\":\"$WID\"}" \
  --body @workbook.spec.json
Here’s where our seemingly trivial change got interesting. The verify came back valid: false, and not because of anything we’d touched. The live workbook, which renders perfectly well in the browser, carried 30 latent validation errors that the Sigma app tolerates but the API validator does not:
- One waterfall chart with an “end total” bar configured on a single-series chart, which the validator doesn’t allow.
- 29 KPI-chart elements that, at present, the WBAC endpoint doesn’t support. The issue is that I built the workbook in the UI and it includes elements that are unsupported. I’m sure it won’t be long before Sigma update the endpoints and fix this.
And the validator reports these in passes. The first verify showed only the waterfall error. Once we resolved that, the next pass surfaced all 29 orphaned elements. Only with both classes fixed did the spec validate clean.
The practical implication: The strict validator and the tolerant app are two different bars. A workbook that has been built and rebuilt in the UI over months can accumulate cruft that never causes a visible problem but will block your first API write. Budget time to run verify, read every error and decide whether to clean up the document or make your change in the UI instead. For our one-line formula tweak, the pragmatic call was to apply it directly in Sigma and keep the API path as the thing to unblock later, on its own schedule.
Where This Leaves Us
The value of the CLI is hopefully already obvious:
- Inventory and governance.
workbooks listandlineagegive you reporting that would take hours of clicking otherwise. - Review. Exported specs are diffable. A formula change or a source swap becomes a pull request.
- Automation. Anything you can express as a spec edit, an agent can do: bulk-renaming columns, standardising formats, applying a fix across many workbooks.
- Repeatability. The Claude Code skills mean the knowledge of how to do all this lives in the tooling, not in one person’s head.
If your team lives in Sigma and has been wishing for the same version-control and code-review workflow you have for dbt, it’s worth setting up the CLI and having a play. Just run spec verify early, and don’t be surprised by what it finds.
One more thing worth trying: If you use Claude or another AI coding tool, check out the Sigma skills. They add a layer of natural language on top of the CLI above, which makes managing your Sigma apps even easier.
Want help bringing DataOps practices to your Sigma deployment? Get in touch.