As the IT industry continues to be ever-changing, and server virtualization attains an even stronger foothold in your typical environment, desktop virtualization is not far behind. Once reserved for larger scaled environments, it’s now not uncommon to find a small business with only five users running a virtualized desktop environment.
You can read and learn more about virtualization here and here.
This article discusses some basic configuration of the autounattend.xml answer file and necessary placement during the imaging process, allowing you to create the final image you desire using a manual deployment method. For an automated setup using Windows Deployment Services, please reference this blog from my colleague, Trey.
If you aren’t using them already, there are a number of tools you’ll need to familiarize yourself with. Visit this page for a pretty informative guide on those tools and their processes:
For our purposes, we have configured the below settings. You will want to adjust accordingly to suit your needs. The below image is the Windows System Image Manager. You’ll do all of the configuration for your unattended files here.
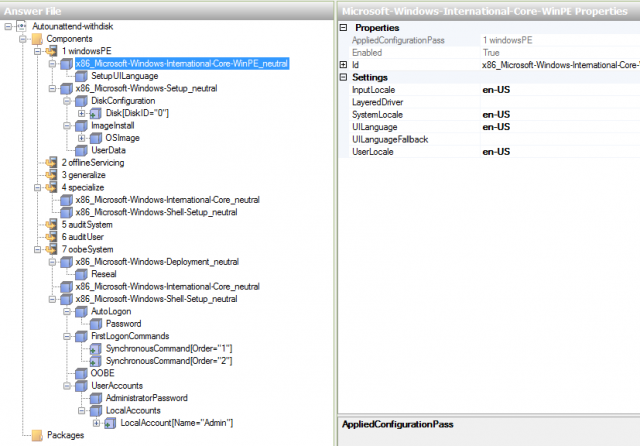
From the Top, Down
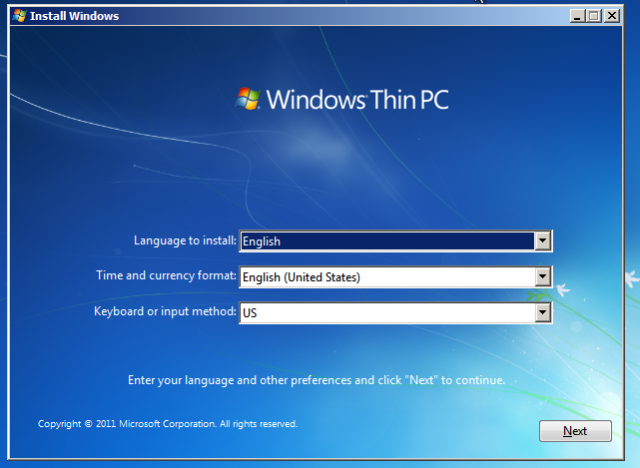
Win PE – Microsoft Windows International Core and Its Sub-Setting, Setup UILanguage
This will bypass the following language settings prompt.


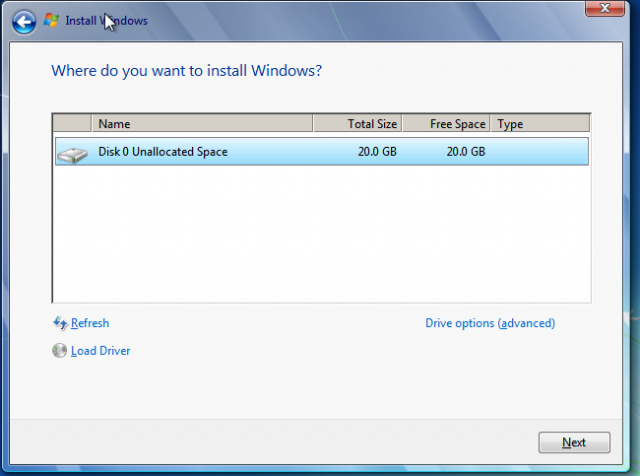
Microsoft Windows Setup Neutral, Disk Configuration, Create Partition and Modify Partition
These values will reference a physical hard disk, create the necessary system partition, size it and extend the remaining partition for Windows. You will be bypassing the following disk creation prompt.


OS Image and Install To
These will simply decide which partition, specified above, will have Windows installed.

![]()
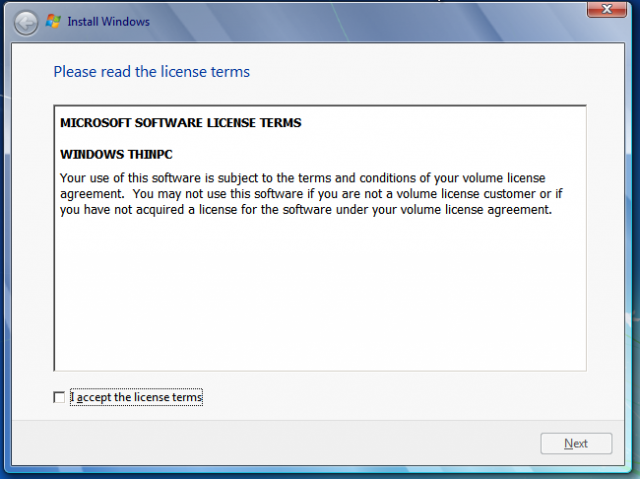
User Data
This will enable you to accept Microsoft’s End User License Agreement and bypass the following.

Specialize – Microsoft Windows International Core
This is the same as above, but placed in a different location to ensure functionality. Select en-US for United States.
Specialize – Microsoft Windows Shell Setup Neutral
Here, we will specify the Time Zone for the machine and the copy profile from administrator function, which ensures all audit mode settings are retained from the profile. We’ll also enter the Product Key for activation.
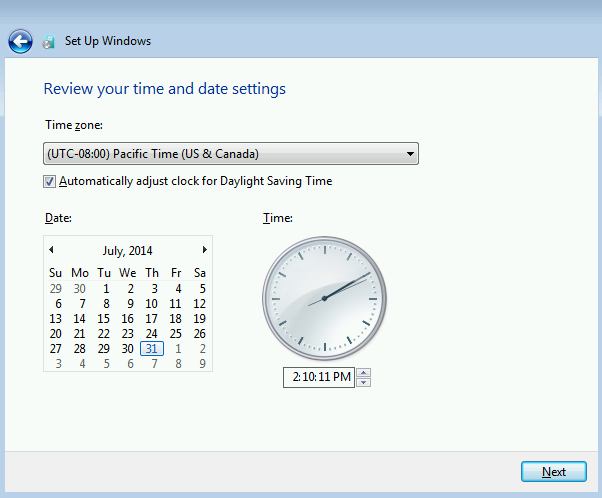

OOBE System – Reseal
This option is for after the sysprep is run. This should put you into OOBE but not force the shutdown of the machine.
![]()
Microsoft Windows International Core Neutral
This, again, is to bypass the same screen as above, only after the installation portion is completed and the system deployed.

Microsoft Windows Shell Setup Neutral
This is for the Time Zone as above. Like before, this is now after the system has been deployed.
Auto Logon and its sub-field, Password:
This actually serves two functions. It allows the administrator account to log on a certain number of times and automatically without user interaction to run necessary scripts or anything else. However, if Auto Logon is not enabled, you will run into issues enabling the local administrator account. I found it best in my tests to configure this way.

First Logon Commands
These are commands that will run when the account is logged on. Synchronous Commands will run one after the other. Notice below that we have a script described as a domain joining script.

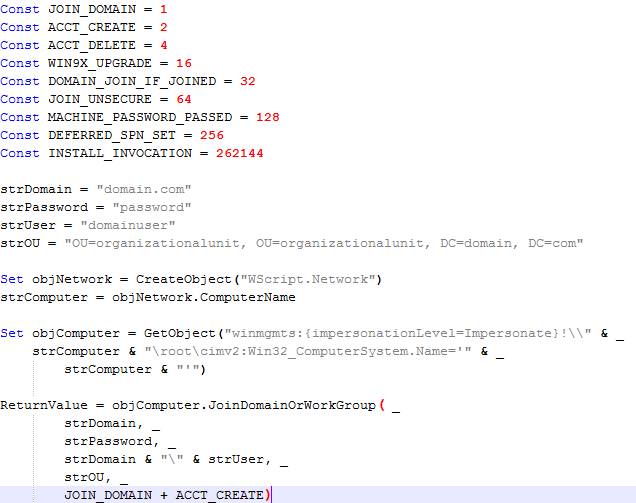
NOTE: Choosing an unattended domain join is successful. However, in our case, we ran into issues with Active Directory. Since WDS is not in use, you’ll have to manually name the machine. On Windows 7 Thin, the domain joining process occurs early on in the setup stage. Joining the domain that way while attempting to rename the machine later will cause issues not referencing AD. This will ultimately cause logon errors. To avoid this issue, we created the following VBS script that will join the proper domain and organizational unit. This script is referenced in the batch file you see above.
OOBE
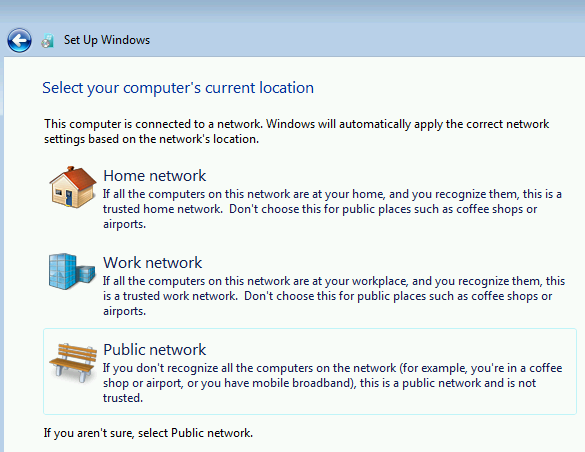
This is the same as above. However, like before, it’s after the image is deployed and ready to go. It shows specifications for hiding the Eula, selecting the network location and taking the user out of the mix.

User Accounts, Administrator Password, Local Accounts, Local Account and Password
This is pretty straight forward here. You’ll fill in a local admin password. In our case, we ran into issues if we just left the local account field blank. We created a local account called Admin, added a description and placed it in the local administrators group on the machine.

That concludes the configuration portion of the unattend.xml file in our case. There are a few more steps you must go through to get this all working properly.
To start the imaging process, you will boot to disc or USB device with a Thin OS image on it. You must, however, have the autounattend file available in the root directory of whatever media you are using. So, if you are using a USB drive, place the file on the root with the rest of the files. If you are using a disc, you’ll have to extract the contents and recreate the ISO with the file and all other contents on the root.
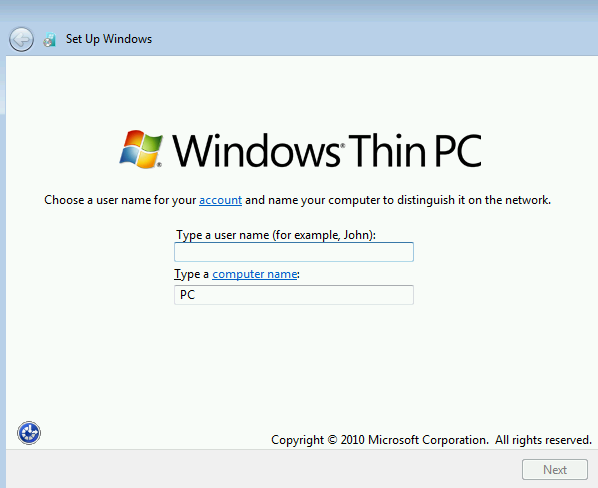
- After the initial installation, you will be stopped at the computer name screen. Do not proceed. From here, you will press Ctrl+Shift+F3. This will restart and take you into audit mode. Log in with the local administrator account to install programs, run updates and make any setting changes you see fit.
- Please note that a major fix involving activating Windows with a MAK key has been addressed with Microsoft’s KB2691967 available here. Please download and install to make sure your image is as up-to-date as possible.
- After you complete this step, you will want to run a sysprep to prepare the image to be copied. Use the following command. Take note that the location you specify must be where you place the autounattend file.
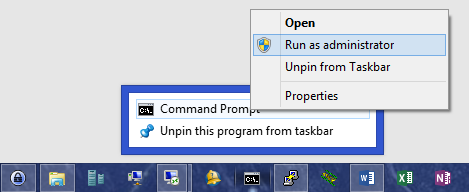
Command: Sysprep /generalize /oobe /shutdown /unattend:c:chosenlocationautounattend.xml

For disc creation:
- Follow the guide you downloaded earlier, boot to the Win PE media and extract the image.
- Extract the .wim file and place it on a USB drive instead of a network share.
- Go back and extract the contents of the original Windows 7 Thin disc. Copy the contents of the disc to a separate folder.
- Navigate to the sources folder and delete the factory install.wim file. Paste the new install.wim file you extracted into this location. You will notice that this file is bigger than the original. That is because it contains all of the changes you have made installing updates and such.
- Repackage the contents into an ISO, make sure it is bootable and remember to place the autounattend file on the root of the image too.
For USB drive creation, follow the same steps as above and add the following:
- Go to this site and download the tool.
- Install and follow the prompts.
- Run the program. You will be asked which ISO and USB drive you want to use.
You should now have an almost-fully-automated installation, aside from the machine name.
Enjoy!


