This blog series walks through the versatility of filters in Portals for Tableau. It examines numerous filtering options to demonstrate how to optimize your dashboard to its fullest potential.
Please note that Portals for Tableau are now officially known as Curator by InterWorks. You can learn more at the official Curator website.
Now that we have Sticky Filters set up, this post will continue our journey toward creating a fully optimized portal filter setup by enabling dynamic filter values:

Setting up Dynamic Filter Values
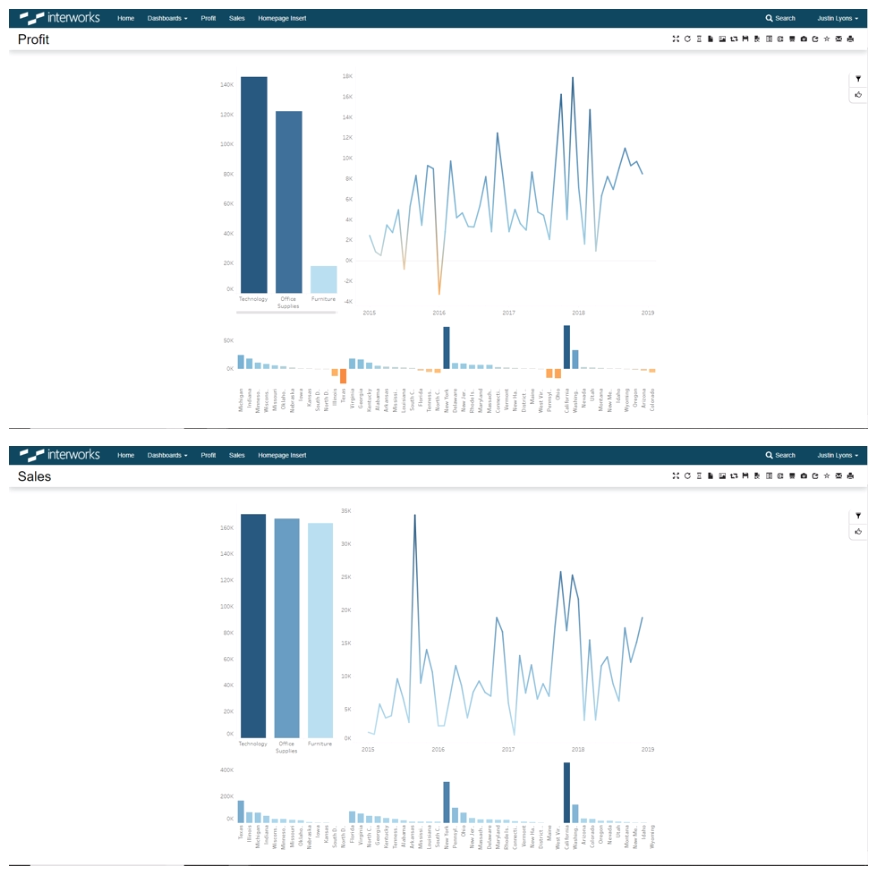
Maybe instead of filtering on Region, your use case involves filtering on State, like the dashboards above on my portal. The first thing you’ll likely think is “Yikes! I have so many filter options to input!” Hold on there, grasshopper. There’s an easier way, and I’m here to show you the light. Why input 51 (because D.C.) options when you can automatically grab those values from the dashboard!? Let’s set up those dynamic filter values.
Go to the portal backend > Tableau > Filters section, and hit that blue New Filter button. Fill out the fields similarly to how we set them up in the Sticky Filters step, except this one I’ll make a Multi-Select:

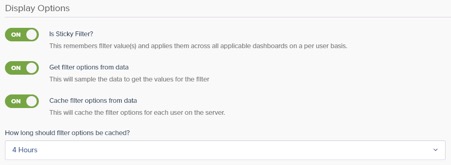
I’ll make this filter sticky, of course, then flip on Get filter options from data. This is going to make our filters dynamically grab the filter values from the dashboard. The process is sending a request to Tableau for the data and building the options from the response, which can be a slow process depending on how large your data is. Turning on Cache filter options from data will alleviate some of that waiting pain:

With this filter being a multi-select, I want to add an Apply button to our filter slideout. Without it, the dashboard will reload on each filter option selection, but with it, we can make all our selections before applying. You might not need it for your use case, but it certainly makes mine more enjoyable. To do this, I’ll click on the Tableau Server Settings link in the bottom-left corner, flip on the Filters and Parameters Apply Button and save my settings:

We’re all set up, so let’s go witness this magical feature:

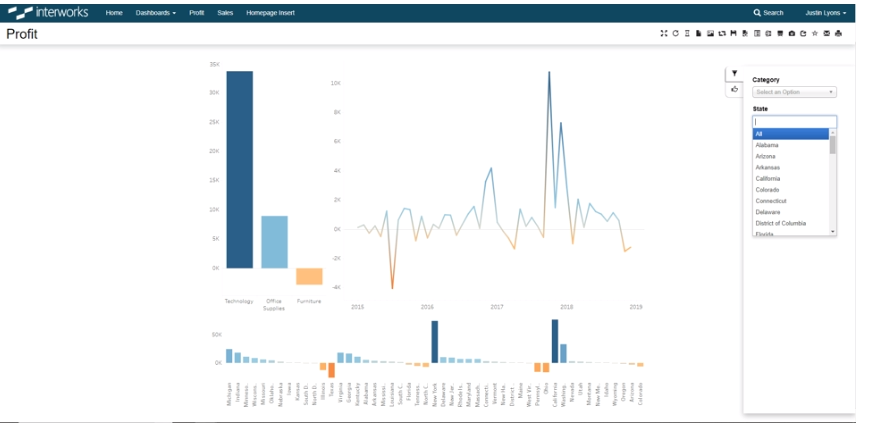
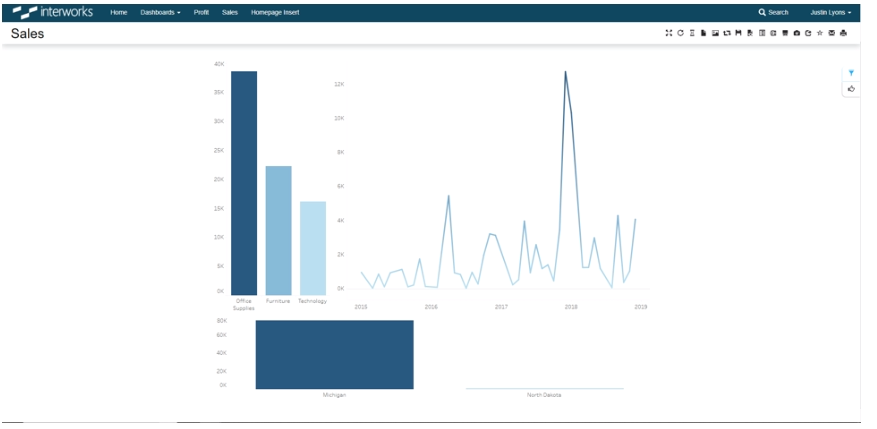
You can see on the right in the filters slideout that all my states are automatically populated as filter options. Neat! And with Sticky Filters on, I can choose a couple values, hit the Apply button and navigate to my other dashboard to see them applied:

Since we’re having to do another request from Tableau Server for all the data to populate filter values, one thing to consider here is the extra load time. It can get dicey on load times if you have a large dataset, which hurts the user experience. That brings us to the next blog in this series—creating a “hidden” filter sheet to grab values from—so check back in soon for the next installment!

