You’ve created a brilliant viz. Everyone is sharing it on social networks, but they’re not finding their way to the blog post that explained it all. Instead, they land on the default Tableau page. You were sure to include a link to your own website within the dashboard, but that isn’t bringing visitors like you expected.
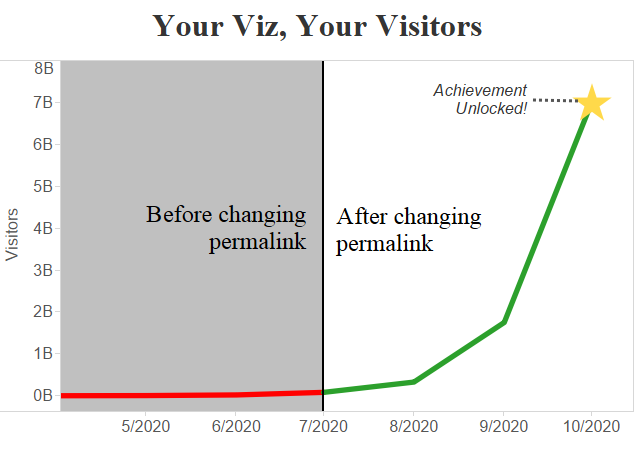
Fortunately, there’s an easy way to solve this problem and put your viz in a snazzy lightbox at the same time. When viewers click any of the links in the sharing section, Tableau can direct them to a URL that you specify. Visitors will first see a lightbox with your viz. Closing it leads to the web page or blog post explaining more. The result is demonstrated below with a dashboard of fictitious website visitors.
Click the image to interact.
How It’s Done
All it takes is setting the article permalink. Before you can do that, you’ll need two things:
- The URL where the viz will live. Most blogging platforms can generate this permalink while a post is still in “draft” mode.
- Your workbook published to Tableau Public.
When that’s all ready to go, log in to your Tableau Public account and find the workbook you just published. At the top, you should see a “Settings” section that allows you to enter a permalink. Type or paste in the URL of the page where the workbook is embedded and you’re done!
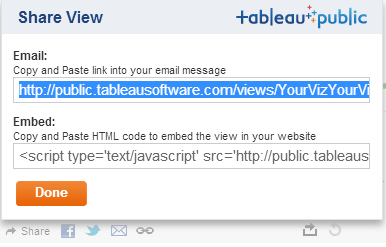
If you wish to only show a preview image in your blog post (as shown above), you can now use that image as a link that puts the viz in an interactive lightbox. Simply set the image hyperlink to the one provided in Tableau’s share button.

It’s really that simple. There is no custom programming involved. Just set the URL and Tableau does the rest. Now, anyone that views your viz from a link shared via e-mail or a social network will arrive at your website instead of the default Tableau page. They will be greeted with a clean, interactive interface on the creator’s website – right where it belongs.


