
The following instructions are for ESET Version 6.4-6.6. ESET is scheduled to release version 7 later this year and I will write an update for that version at that time.
There are two main pieces to the ESET Enterprise Product: The ESET Agent and the ESET Client. The agent facilitates the connection back to the ESET Remote Administrator (ERA), and the client is the actual ESET Antivirus product. In this article, I will focus on automating the updates to the ESET client using dynamic folders.
Keeping up with product updates can be a bit daunting, but with a small amount of work, we can automate the process by 90%. To determine the current version of the ESET client, you can go here. The version is located below the download link.
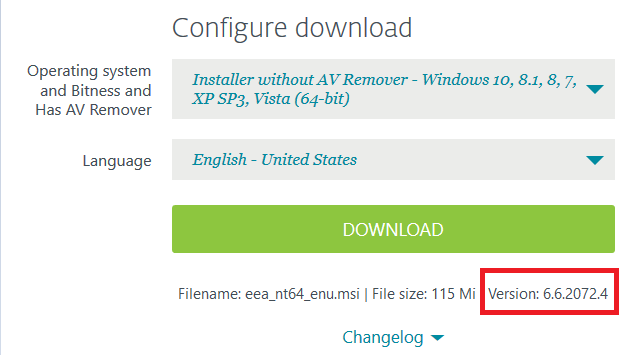
You can also determine the current version when creating your install task, described later in this blog.
Create a Dynamic Group Template
Log into your ERA with an account that has permission to create dynamic groups.
Browse to the Admin section and click Dynamic Group Template.
At the bottom of the page, select NEW TEMPLATE…

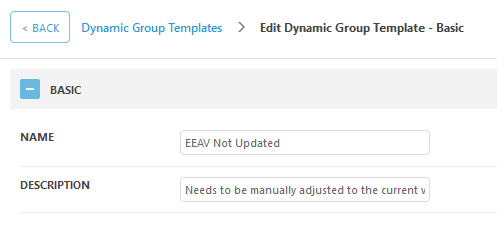
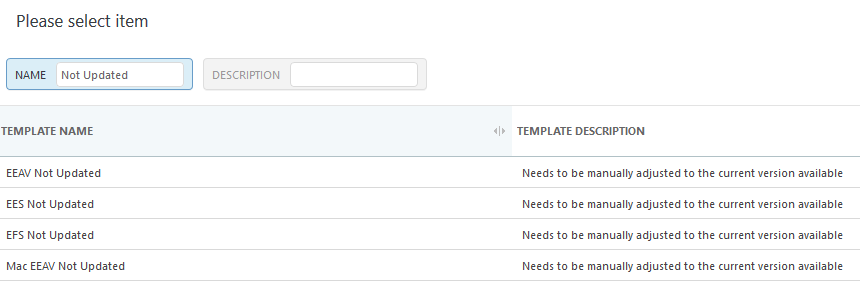
Name your template and add a description.
In this example, I am building a template for ESET Endpoint Antivirus and I have added a description that this template needs to be adjusted manually. More to come on this later in this section.
Expand out the EXPRESSION section and ensure your OPERATION is set to AND.
Click ADD RULE and locate Installed Software > Application Name:
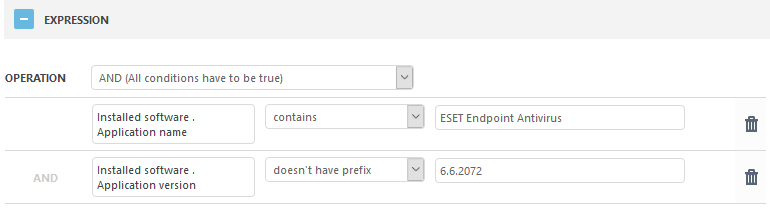
Finally, click Finish. You can repeat the above steps for any other version of ESET you have in your environment, being sure to change the software name and version accordingly.
Create a Dynamic Folder Chain
We use a combination of static and dynamic folders to keep our environment organized. With over 5000 endpoints checking into our ERA, it is important to keep things clean. With a dynamic folder chain, we can sort the endpoint to only machines of a certain type that are out of date, using the templates we created above.
In the ERA, chose the COMPUTERS tab. If you already have a folder or series of folders dividing machines by operating system, you can skip this step. If not, we will now create these folders.
Click the small gear icon next to the static folder you wish to be the parent group for this folder. Chose + New Dynamic Group…
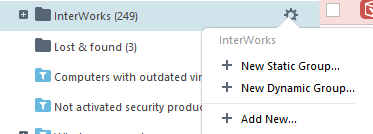
In this example, I will be creating a folder for Windows Client (non-server) operating system computers.
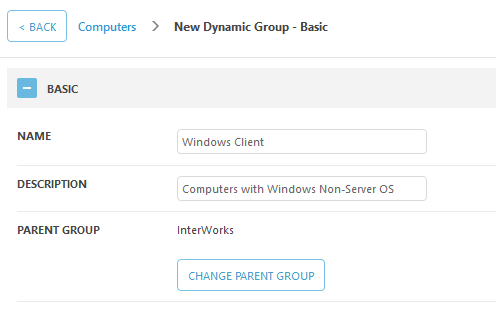
Name the new dynamic folder Windows Client. I also added a description for this folder.
Expand out the Template section and Click Choose Existing.
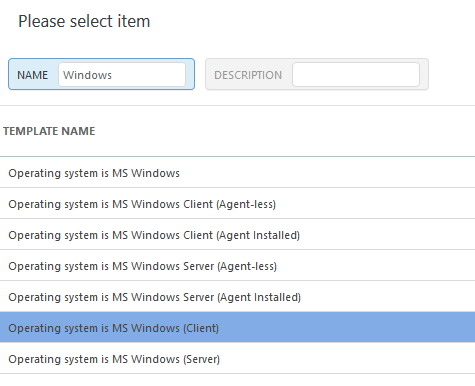
Type Windows in the NAME field.
Select the template called Operating system is MS Windows (Client). This is a default template built into ERA.
The new dynamic folder should start to populate.
Select the gear icon next to the new Windows Client dynamic folder and chose + Dynamic Group. Name your new dynamic folder and add a description:
Make sure your parent group is the Windows Client group.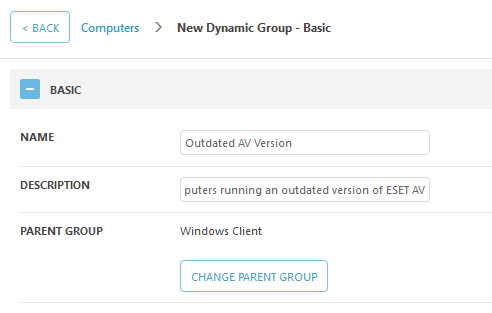
Expand Template and chose the appropriate template created in section one.
The new dynamic group under the Windows Client folder should now begin to populate.
Note: Only machines that have recently checked into the ERA will populate this folder.
Creating an Automated Install Task
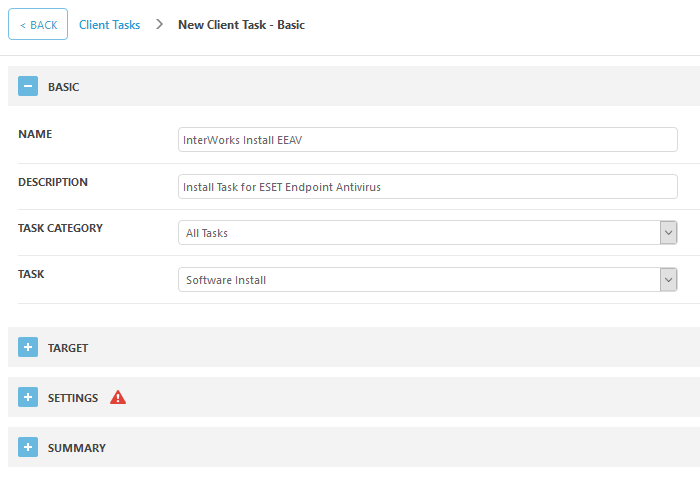
In the ERA, browse to Admin, Client Tasks, Software Install.
Click NEW… at the bottom of the page.
Name your new task and add a description if desired.
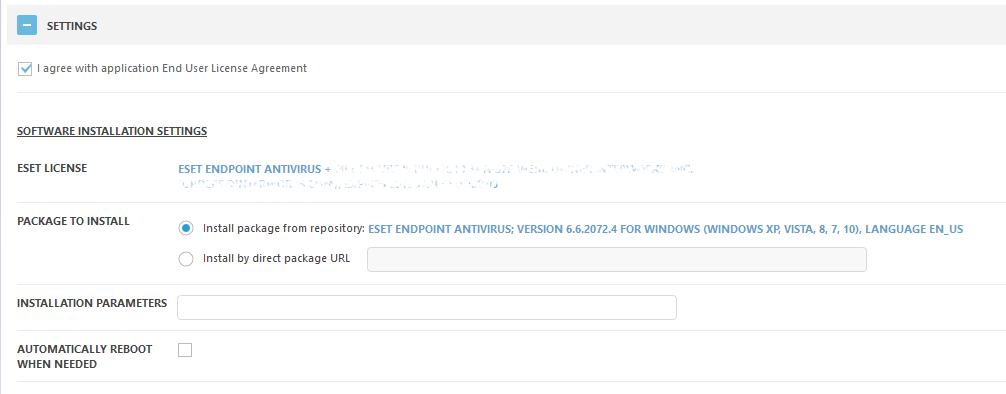
Expand out the Settings tab and check the I Agree with the EULA box.
Select the appropriate license for the product you are installing by clicking on
Click
At the top of the window, chose ADD FILTER > Product Name:
Click Finish and when prompted, click Create Trigger.
If you miss the Create Trigger prompt, just left-click the task and select Run On.
Name your new trigger:
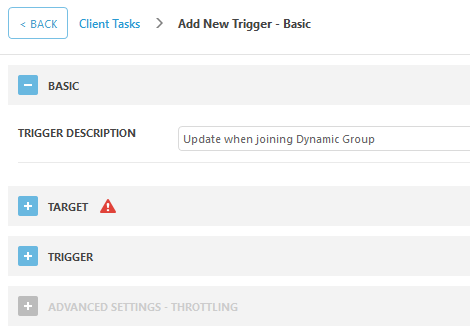
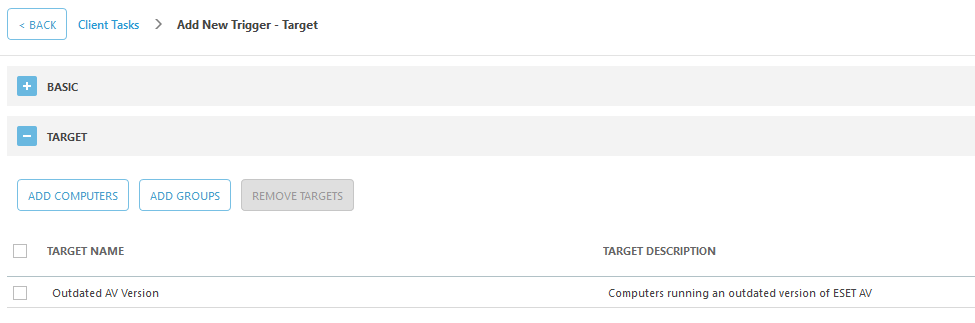
Expand Target and click Add Groups.
Locate the Outdated AV Version dynamic group created in the previous step:
Expand Trigger.
Change TRIGGER TYPE to Joined Dynamic Group Trigger:

Click Finish.
NOTE: This task will not run on anything that is already showing in the Outdated AV Version dynamic group. To fix this, simply do the following.
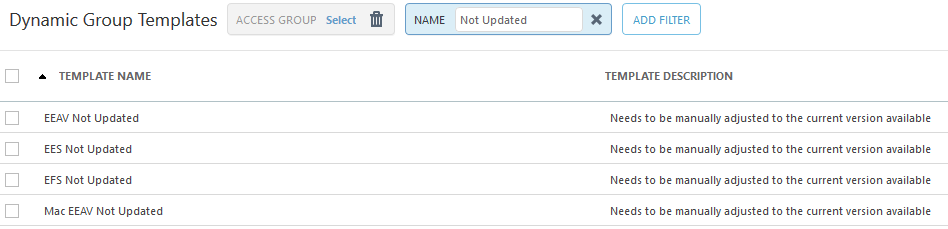
Click Admin > Dynamic Group Templates.
Left-click and edit the EEAV Not Updated template created in step one.
Click Finish. This will repopulate the dynamic folder and the task will run.
From this point on, each time a machine falls into the Outdated AV Version dynamic folder based on the criteria of your dynamic template, your update task will run. You will need to occasionally update the version in both the dynamic template and in the install task to keep things working properly.