
By now, we’ve all seen the blazing speed of Matillion workflows, but we always want more, right? Let’s talk about how to get even more speed from your already-lightning-fast workflows, and – while we’re at it – let’s talk about how to save a few bucks, too.
I have built a very simple workflow to move some airline data into Snowflake and then do some simple transformations on that data:

As you can see, there’s nothing special about this workflow. It loads multiple tables and then transforms the data. A workflow like this can be built in under 20 minutes, and it works and performs quite well. If that is enough for you, no need to read any further, but if you want more, let’s talk about another way to do this:
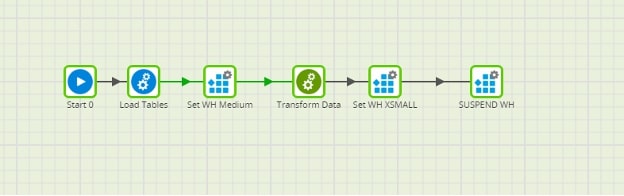
Pictured above is the same workflow but with a few improvements. After loading the data, I have put in an Alter Warehouse tool to resize our Snowflake warehouse to a Medium warehouse. This offers 4x the compute power of an X-Small. You will need to do some testing to see how your workflow performs. You may need to increase your warehouse size before the load. In our case, I got the best performance loading the data and then increasing the warehouse size. Be sure that, after you finish transforming the data, you resize that warehouse back down to an X-Small and suspend it to save some money.
Steps in the Workflow
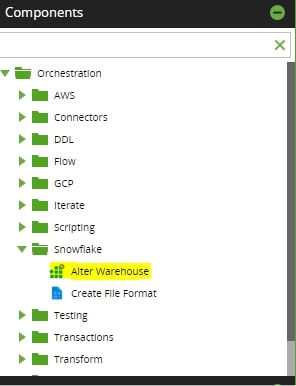
So let’s dive in! The Alter Warehouse tool is available within Orchestration jobs in Matillion under the Snowflake tab:
Once you drag it onto the canvas, the setup is straightforward; simply click on Properties and get to work:
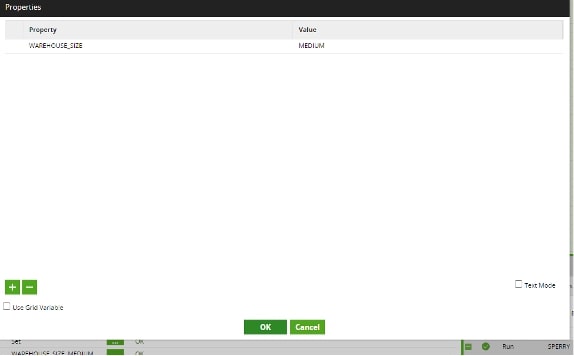
In the Properties menus, click on the dropdown under Property and select WAREHOUSE_SIZE. Next, under Value, type in the size you want to resize your warehouse to. Explore this Help page for more info on valid warehouse sizes.
Once that’s complete, click OK and keep building.
As you can see in the overview picture above, after the transform orchestration runs, I resized the warehouse back to an X-Small so that future queries don’t run on a Medium warehouse. Finally, drag out another Alter Warehouse tool, but this time, we will select Suspend in the Command Type section:
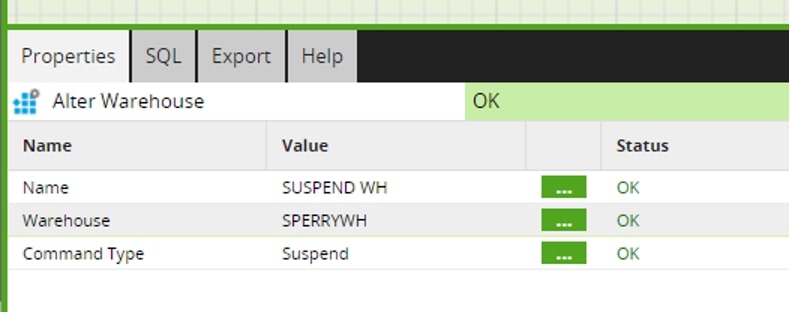
This will immediately suspend your warehouse when your workflow finishes, so you can save those valuable credits.
Build with Efficiency in Mind
Note: Notice how the beginning of the workflow runs “on success” as we go from one tool to another, but after the transform, we move forward “on complete”. We want to make sure we size our warehouse back to an X-Small and suspend it whether the job succeeds or fails.
One last thought to leave you with: There’s really no need to store all that raw data you’re not using, so check out this blog by my colleague Chris Hastie on how you can keep your Snowflake environment clean by getting rid of those staging tables when you’re done with them.