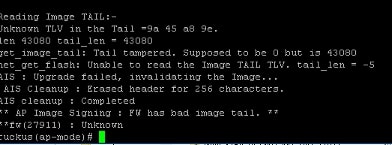
Sometimes, things don’t work the way you want them to. Sometimes, things break. It can be frustrating when the GUI for a process is not responding, and you have to find a way to get around it using the backend. This blog post will show you how to upgrade a Ruckus Unleashed Access Point without the GUI using SSH.
Steps to Upgrade Ruckus Unleashed AP
1. Download your tool of choice for SSH. My personal preference is PuTTY:
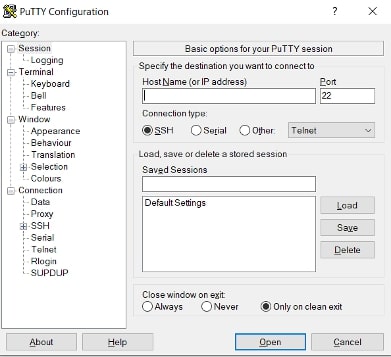
2. Connect to Ruckus AP using its IP address.
3. Sign into the Ruckus using the same credentials you would use for the Web GUI. It may prompt you for the username twice:

4. Use the enable command to get higher level commands. This may require an alternate password. Look for # to know it was successful:

5. Use the command Show System or Sho sys to get detailed information about the device:
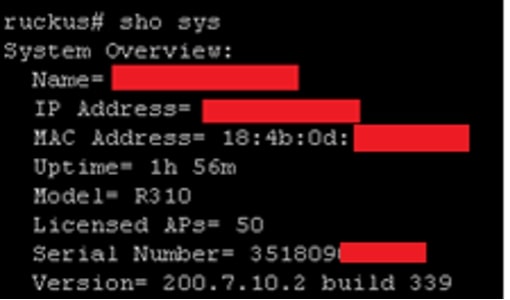
6. Use the command ap mode to gain access to the AP-specific commands:

7. Download the Ruckus firmware file you want.
8. Set up your favorite TFTP Server program to run from the same directory as the Ruckus firmware file:
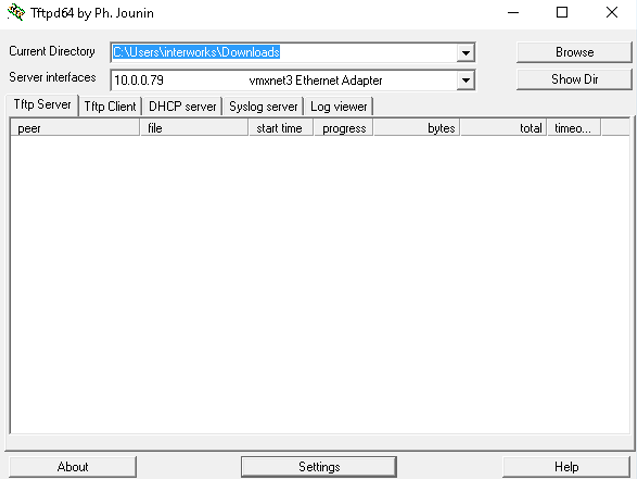
9. Set up TFTP on the Ruckus using the following commands:
fw set host <IP of the device running TFTP Server>
fw set proto tftp
fw set port <can vary, default is 69>
fw set control <firmware image file name>
fw update
reboot
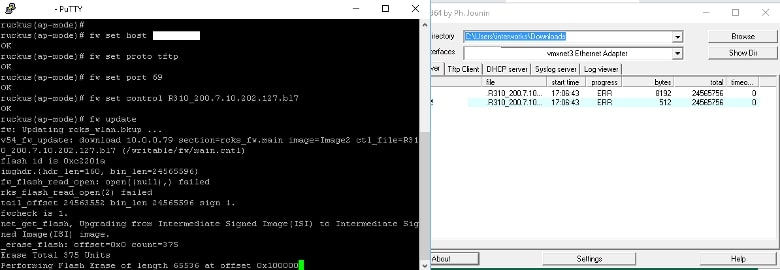
During the fw update command, you’ll see the files transferring from your TFTP server:
10. Repeat steps 1-5 to verify the version number has updated.
If you see this error when using TFTP to upload the file, it can be due to latency. It is recommended to perform this upgrade/upload from a device as near to the AP as possible. Upload from a remote site is not recommended:
