I recently wrote a blog detailing how awesome the Nutanix Community Edition was for the partner community. In that article, I point out how amazing it is for Nutanix to give partners an inexpensive way to learn and demo their product. The only hard part about the process was finding the hardware to install Community Edition on. WELL, Nutanix has fixed that hardship!
On September 17, Nutanix revealed that they had partnered with Ravello Systems to create a way to host a one-node Nutanix Community Edition server on public cloud providers like Google Cloud or AWS. Nutanix was nice enough to give me and a few other partners early access. The process is extremely simple and inexpensive!
You start by going to https://www.ravellosystems.com/ and creating an account. After that, you can find the Nutanix Blueprint here. Then, you have the ability to make changes to the configuration or just go with the defaults to get it working quickly.
Nutanix + Ravello in Action
Below is a picture of the blueprint in Ravello. Notice that it comes with 4 vCPUs, 16GB of memory and approximately 900 GB of storage:
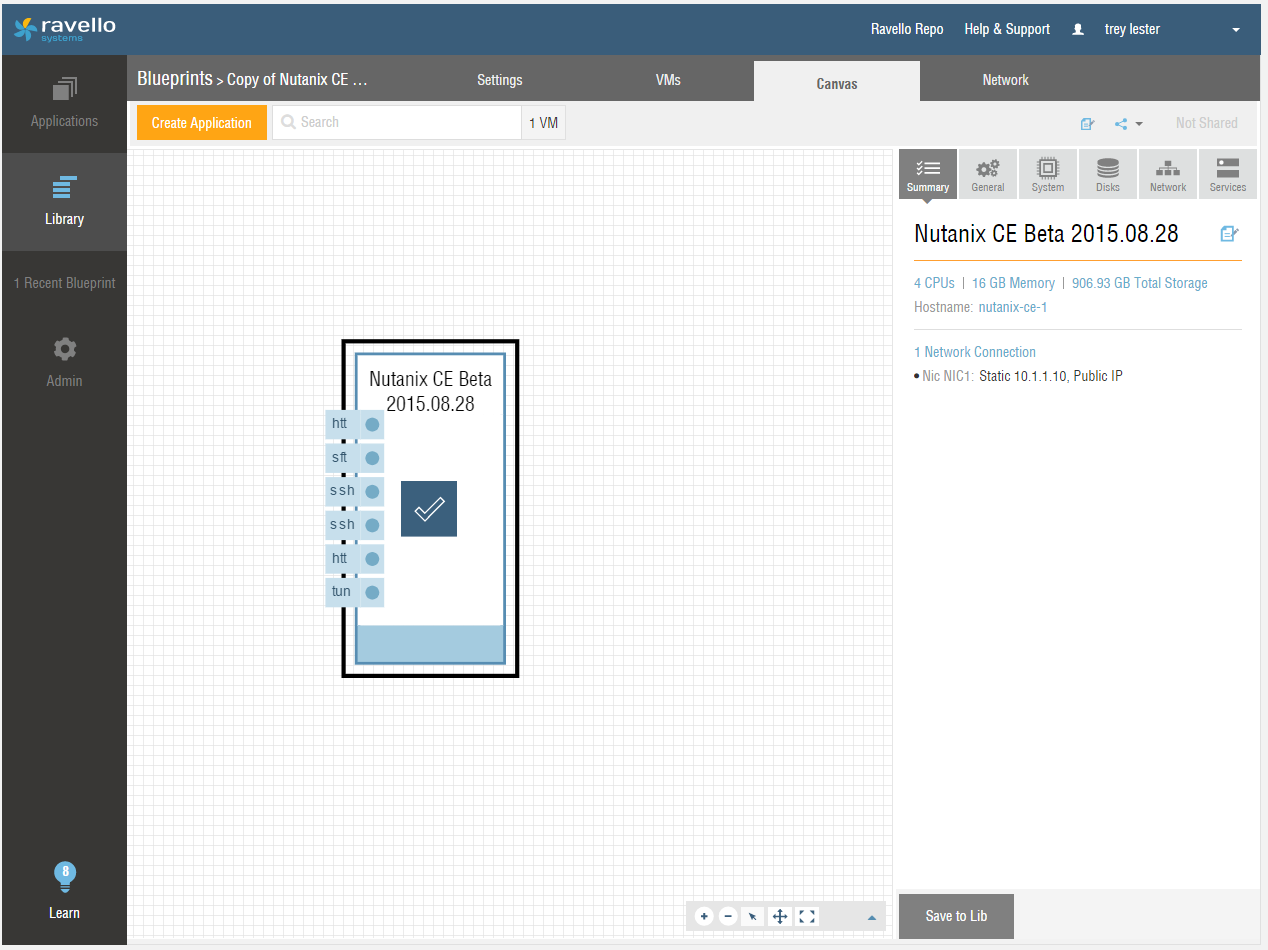
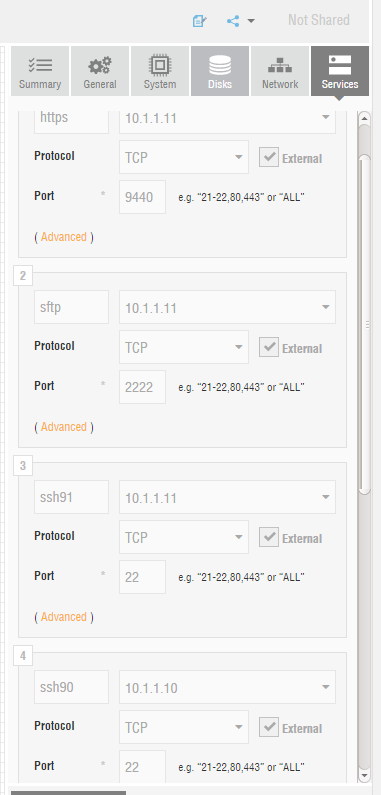
You can click on the different boxes at the right to get more details or even change the System settings, Discs, Network and Services. The image below shows you the Services settings. It shows how you could easily set up some firewall rules to allow other services. In future blogs, I plan to explore running servers on the Nutanix Acropolis instance and setting up rules to allow them to be accessed over the internet.
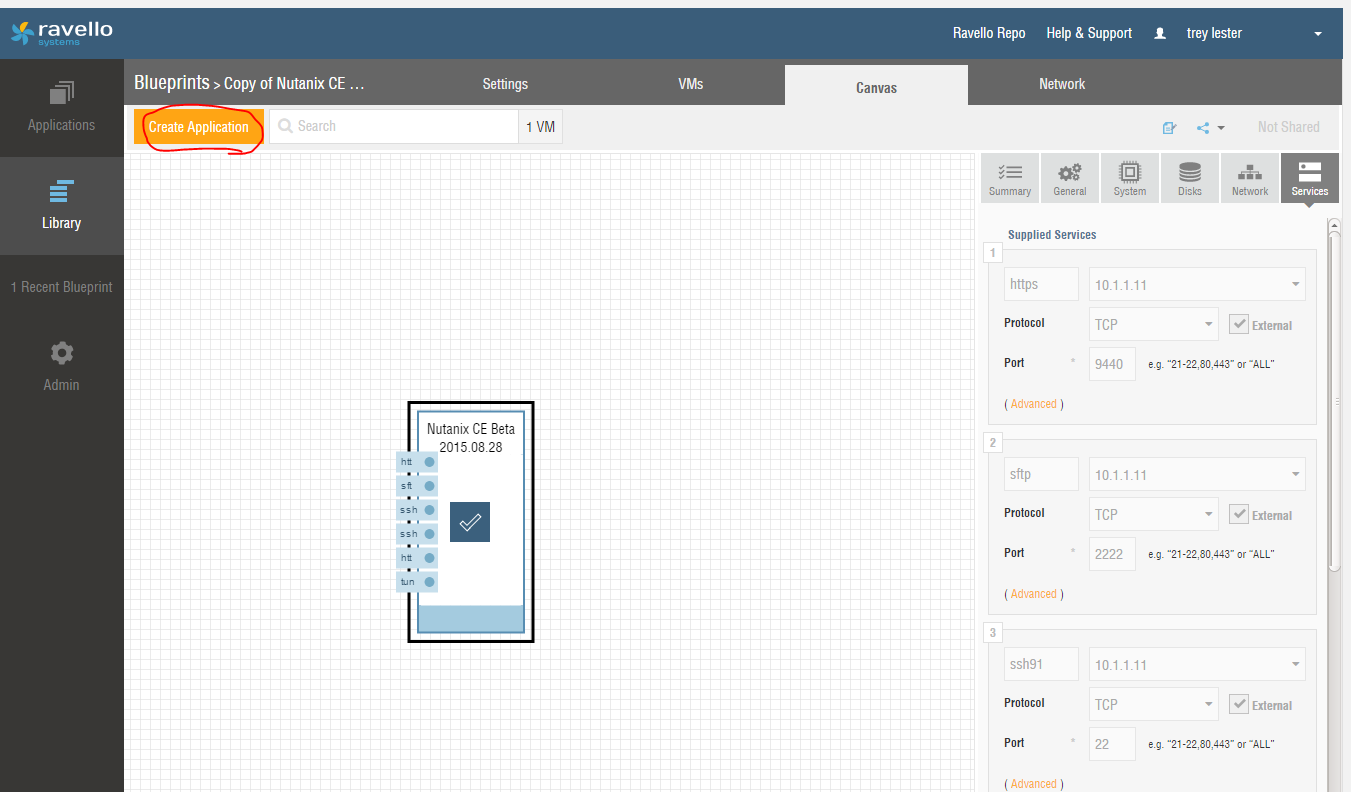
Once you’re done making any adjustments, you need to create the application by clicking here:
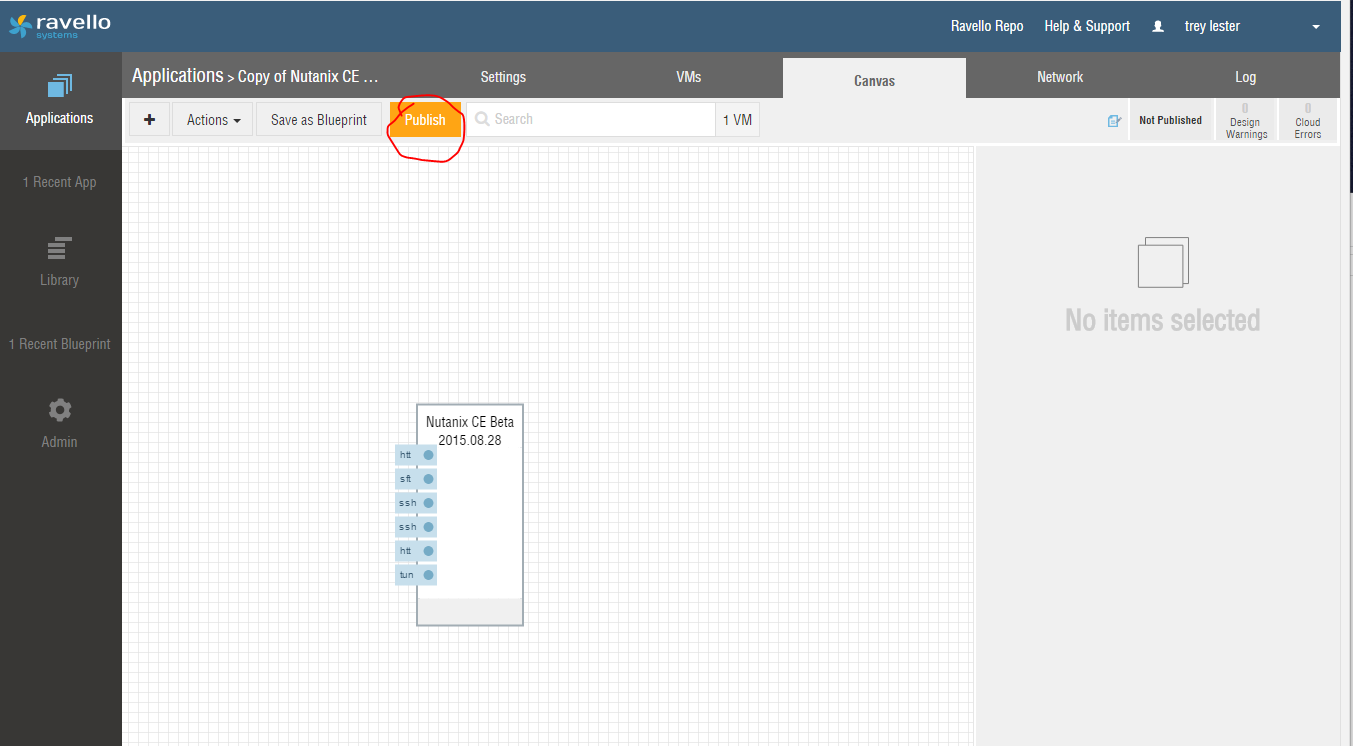
Give it whatever name you want, and then click Publish:
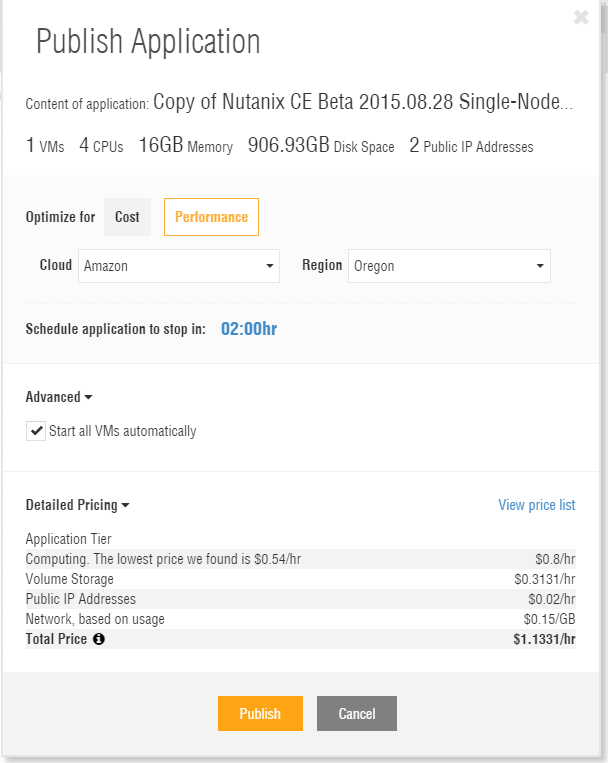
The next step is important. MAKE SURE TO SELECT OPTIMIZE FOR PERFORMANCE! Then, select your preferred cloud provider. Check any of the other settings as needed. Note that you can see the pricing needed to run the instance. With the option I have chosen, it is just over $1 an hour. That cost is extremely low, especially since the instance won’t be running consistently. It even has an option to stop the application automatically so you don’t accidentally leave it running. When you’re ready, click Publish.
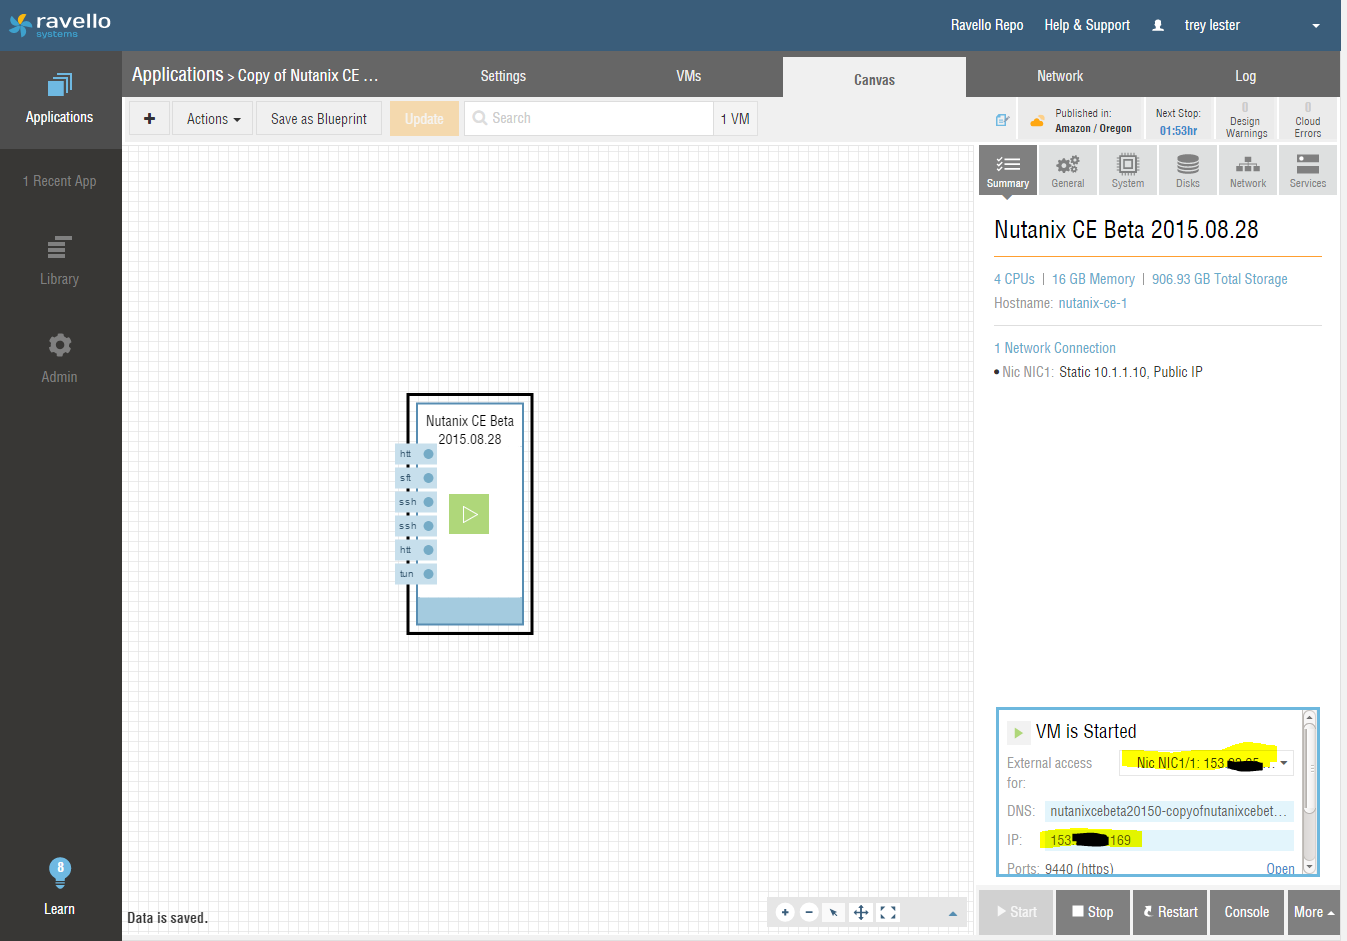
After you click Publish, it will take several minutes to set up and get everything started the first time. Once it gets going, you can find the external IP address under the summary page. You will probably need to look at the second IP address in the list since that is the one set up to point to your controller VM.
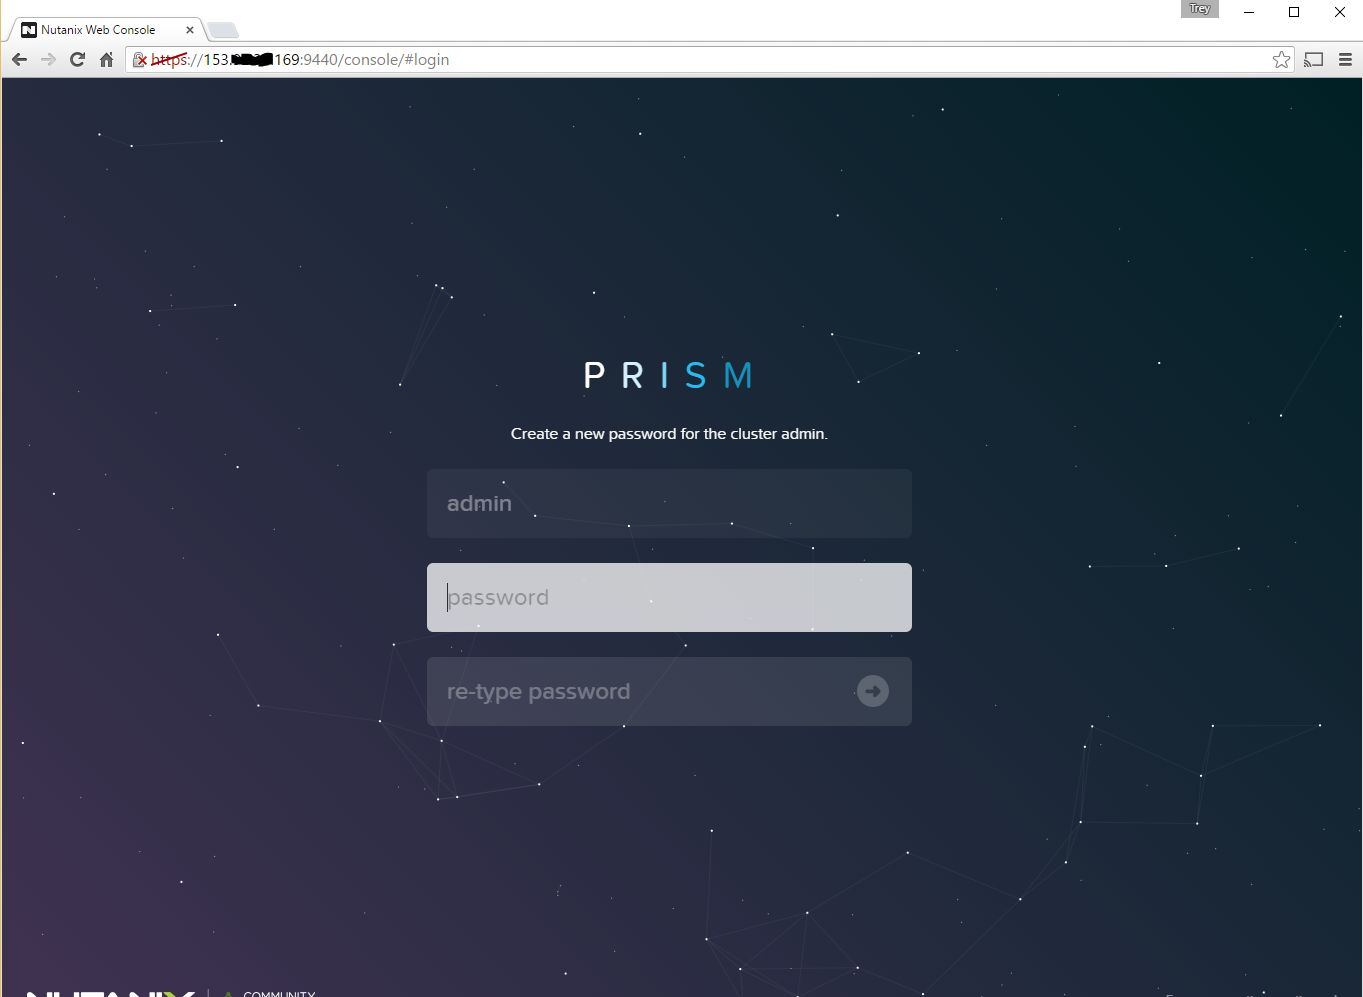
Next, connect to the IP address we found earlier with your web browser. It will make you set the administrator password the first time:
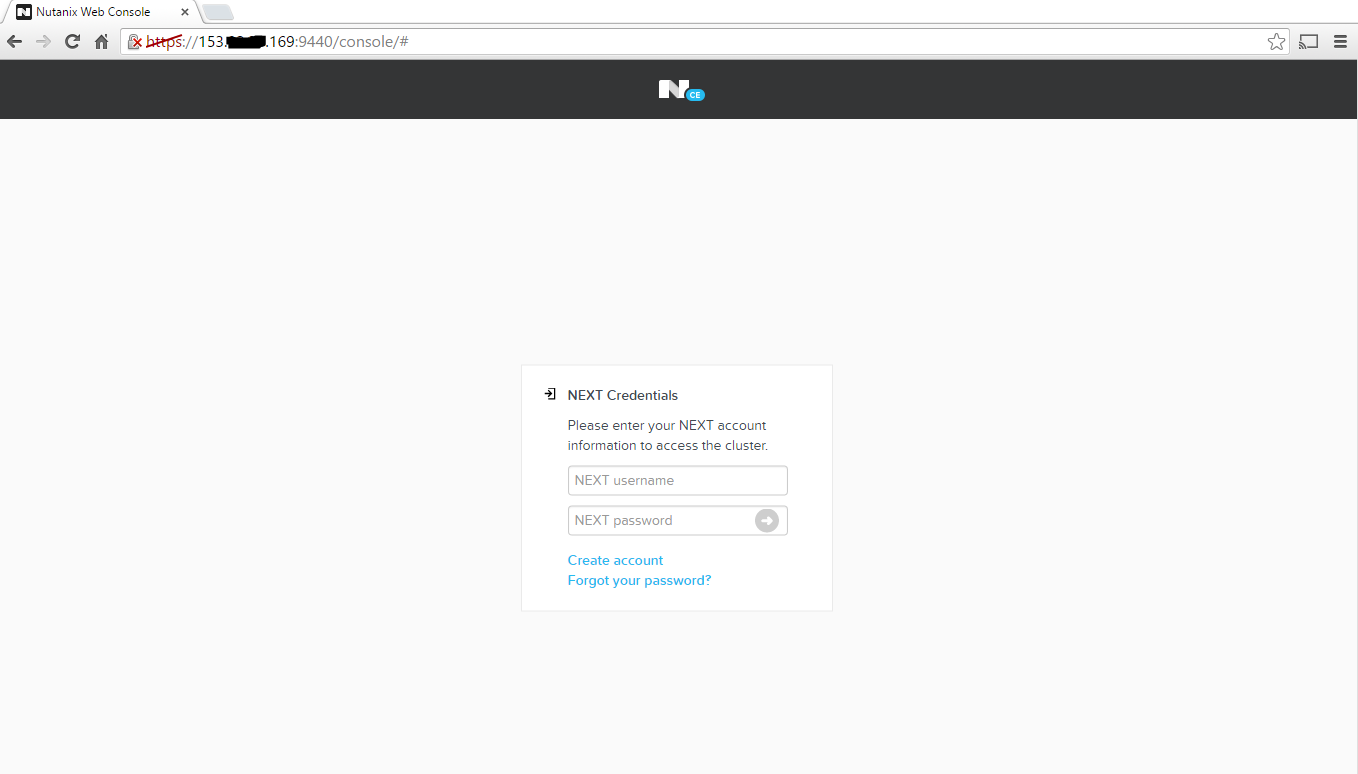
Put in your NEXT Community name and password:
After that, you’re free to explore the Prism console!
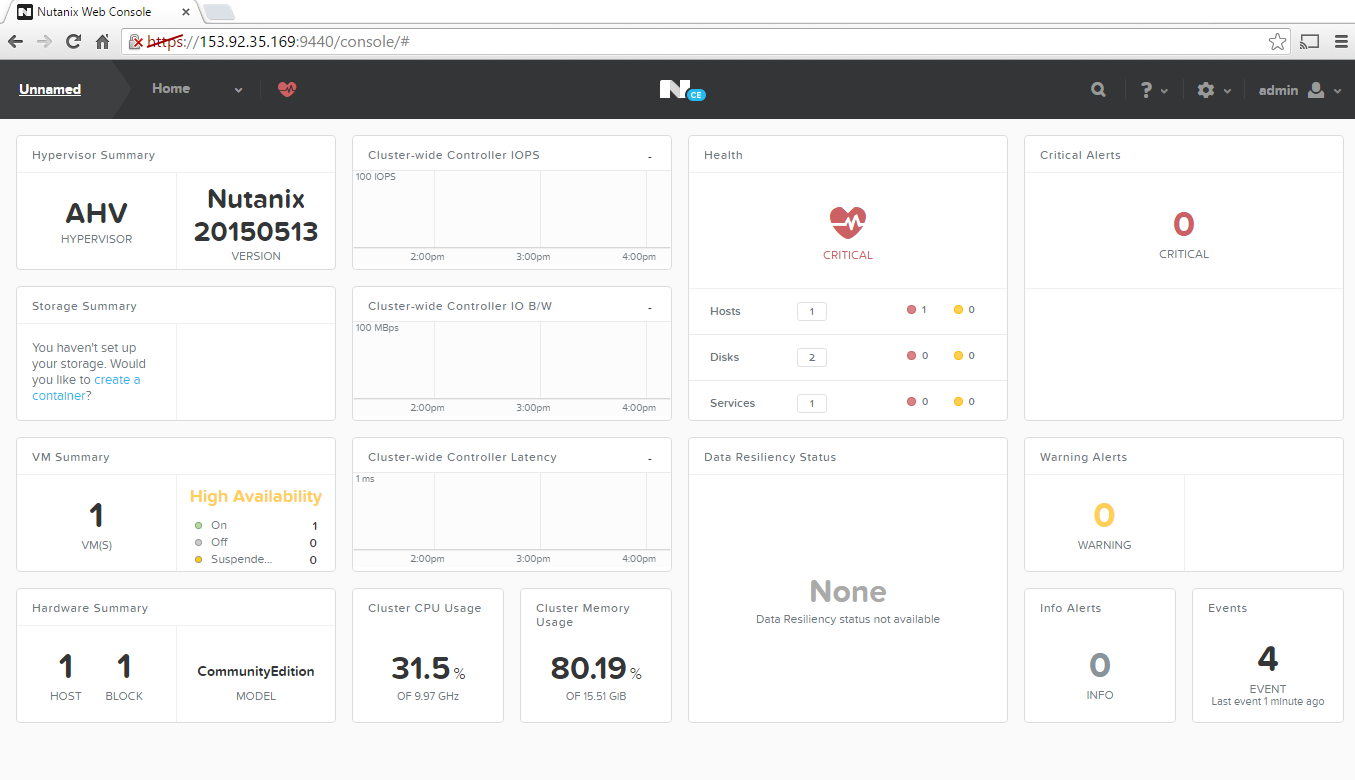
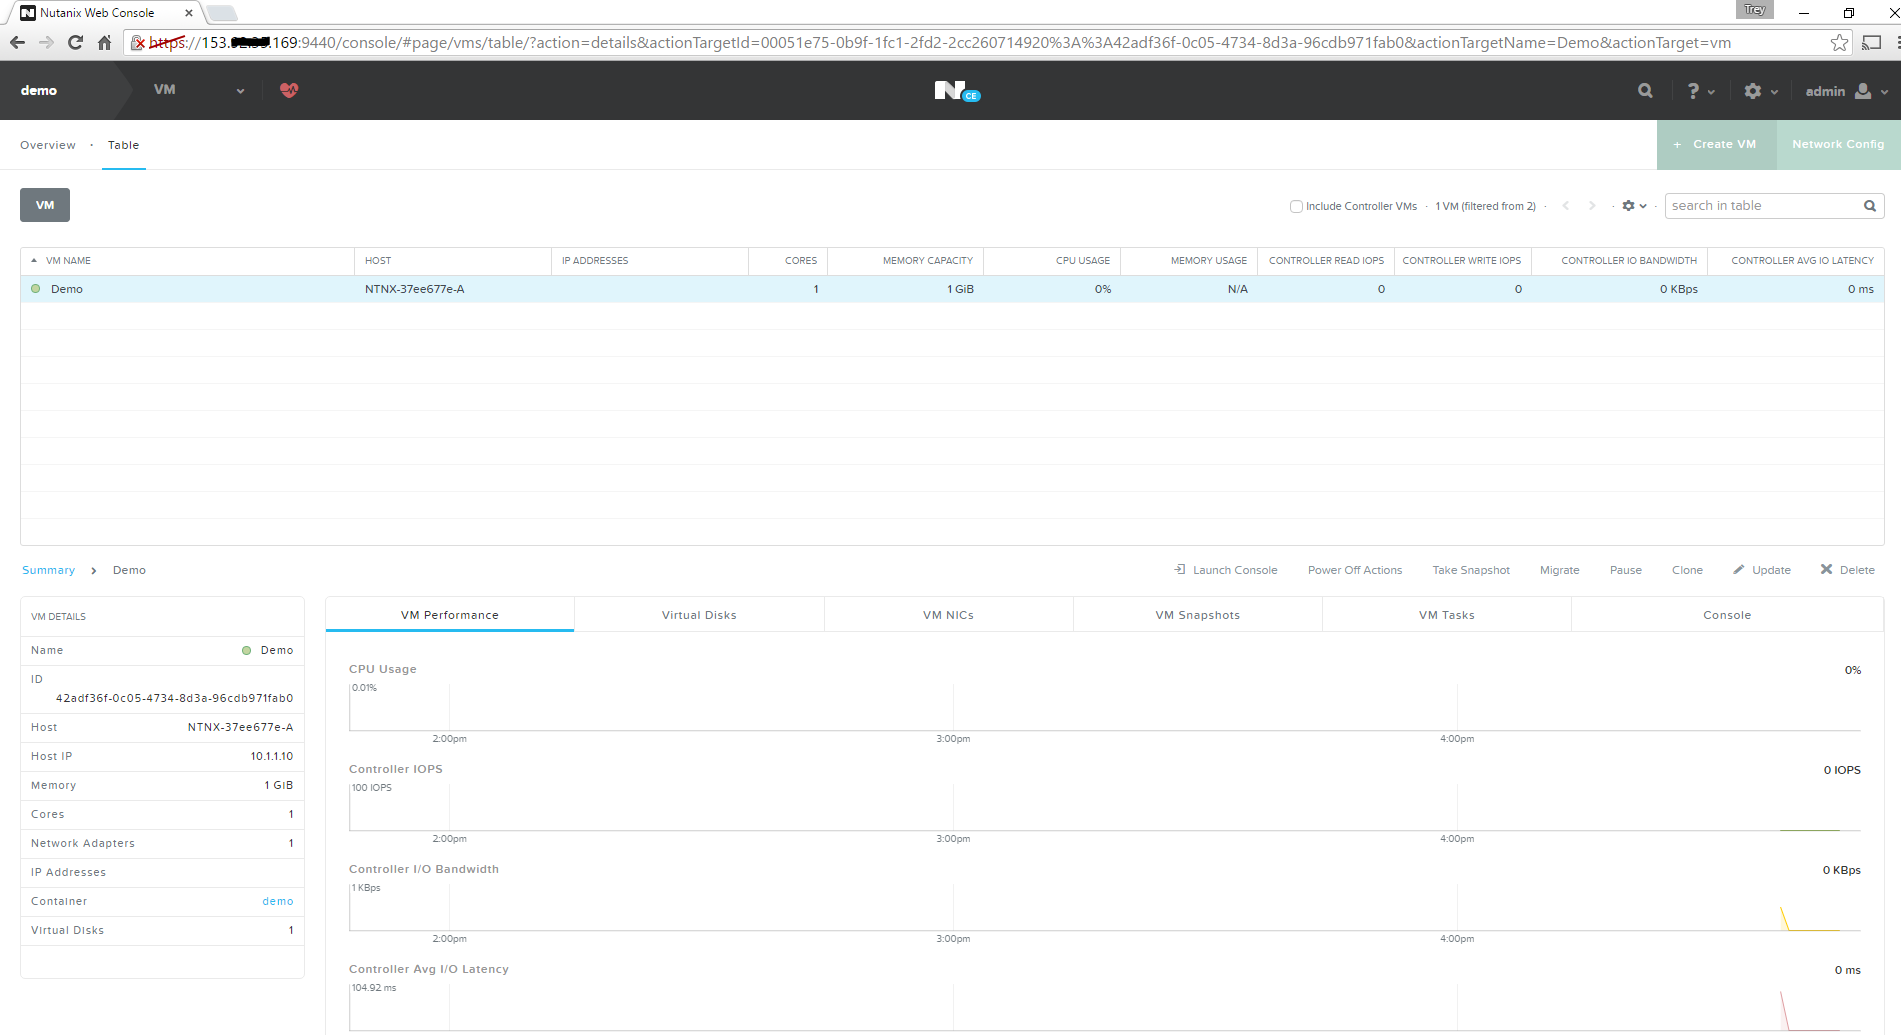
Notice that you can actually create a VM and run it in the cloud. Imagine all the possibilities that could bring in the future. The big one that comes to mind is using AWS as a backup and DR target for your Nutanix cluster!
Nutanix Keeps Opening Doors
Nutanix has made things even simpler for everyone to get hands-on learning with their software. If you’re a partner that’s been putting off trying Community Edition because you cannot find any hardware, you are now out of excuses. Get out there and try a really cool piece of software at almost no cost.
I plan to publish several more blogs about Community Edition in the coming months. If you have anything specific you want to see, please leave a comment below. Here are a few possibilities I thought about: VDI using Citrix and Acropolis, detailed technical setup for Community Edition on Ravello and setting up NAT so that the virtual machines running on Community Edition public cloud can be accessed externally.

