
Yesterday, Veeam released the anticipated Veeam Backup and Replication version 9 and VeeamOne version 9. Veeam 9 releases a host of new features aimed at improving functionality, scalability and administration. These include but are not limited to the new scale-out backup repository, the new BitLooker (ability to exclude select files or folders), Direct NFS Access, significant improvements to tape, greater granular restore through the multiple Veeam Explorers (including the newly introduced Veeam Explorer for Oracle), Veeam Cloud Connect for Replication and significant enhanced support for deduplication appliances.
A full list of features of Veeam version 9 can be found at the following link.
Summary of Veeam B&R v9 Upgrade
As true with all Veeam upgrades, they are incredibly straightforward and easy to apply. Below is a summary of the steps needed to upgrade from a previous version of Veeam to version 9. The upgrade process shown below took approximately one hour from start to finish, including all reboots and testing components:
- Acquire new license from Veeam Portal
- Download and run Veeam 9 ISO
- Stop all active Veeam B&R jobs and close out of the Veeam management console.
- Upgrade Veeam Backup Enterprise Manager
- Apply new license
- OPTIONAL: Adjust Veeam service account credentials
- OPTIONAL: Adjust SQL DB or account credentials
- Restart Server
- Stop all active Veeam B&R jobs and close out of the Veeam management console.
- Upgrade Veeam Backup & Replication
- Apply new license
- OPTIONAL: Adjust Veeam service account credentials
- OPTIONAL: Adjust SQL DB or account credentials
- Restart Server
- Optional: Install Veeam Backup and Replication Console
- Open up Veeam Backup and Replication
- Upgrade all Veeam Proxies
- Check the Backup Infrastructure tab for any incompatible components
- Note that all previous job settings will be preserved. Newly introduced job settings/features will not be enabled on any previously created jobs.
Step-by-Step Veeam B&R v9 Upgrade
Below is a step-by-step walkthrough with screenshots of how to upgrade an existing Veeam B&R setup to Veeam v9.
Acquiring the Veeam 9 License File
Navigate to http://www.veeam.com. Log into the “administrative account” on the top right. Once logged in, select My Account:

Navigate to the organizations Veeam license file and download the file:
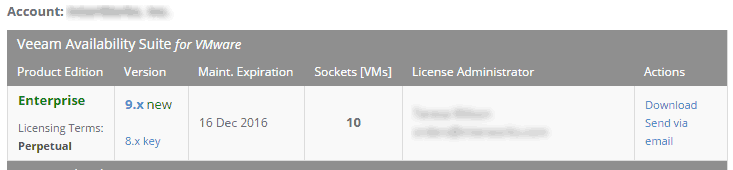
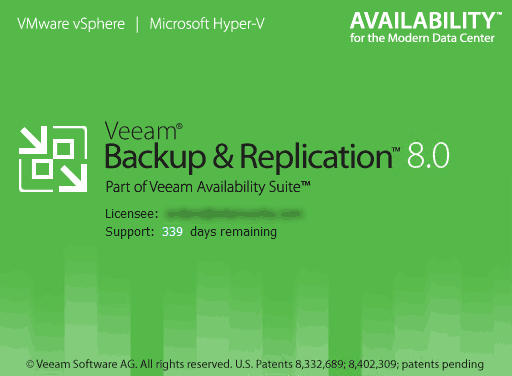
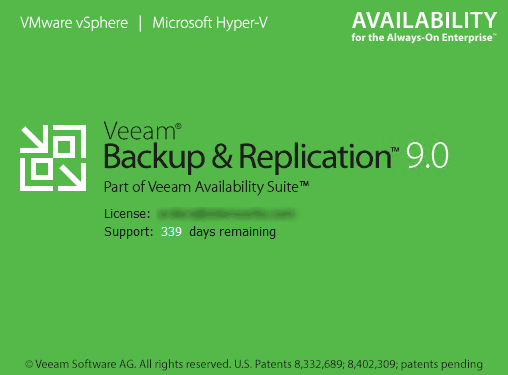
If you do not know who the licensee is for your Veeam installation, this can easily be found by opening up the Veeam 8 management console. The licensee will be listed on the very first splash page:
Upgrade Veeam Enterprise Manager to Version 9
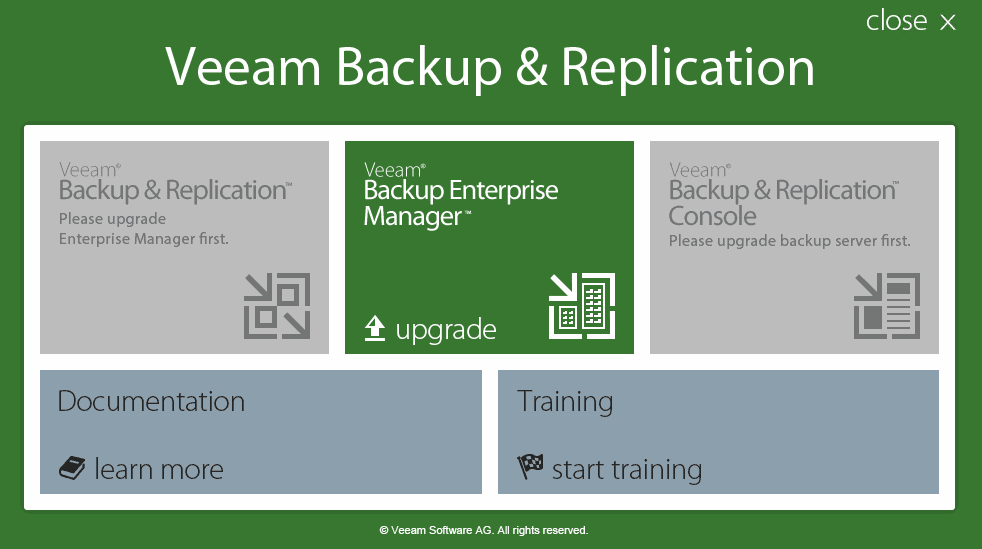
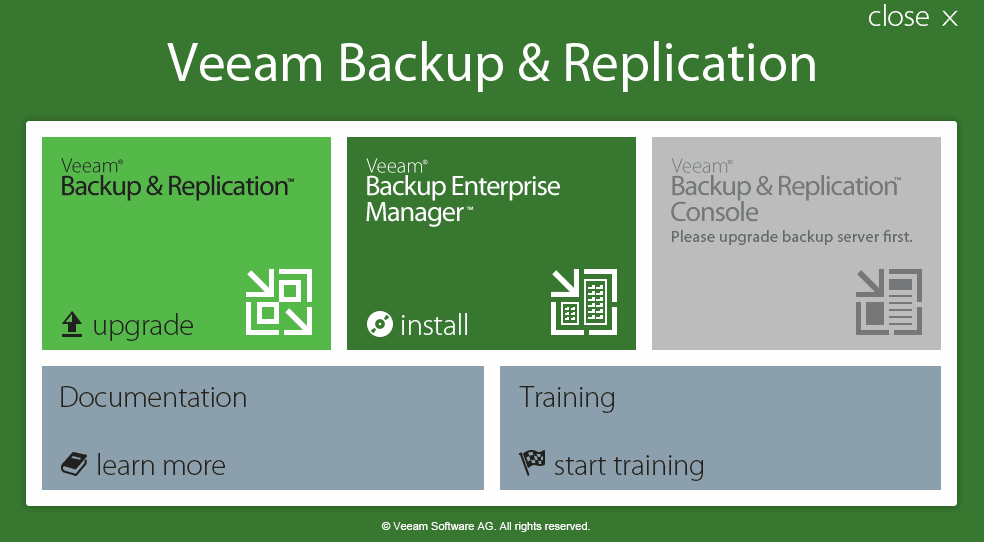
After acquiring the license, the ISO can be mounted and the setup file should be executed. As can be seen below in the screenshot, and true to Veeam’s overall theme that they want to make their interface as intuitive as possible, Veeam shows exactly what component should be upgraded first:
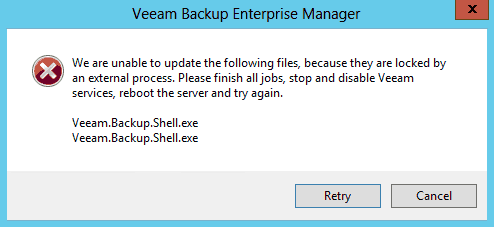
Before beginning the upgrade to Veeam Enterprise Manager v9, open up the Veeam B&R console and stop all active tasks. Otherwise, the following errors may appear:
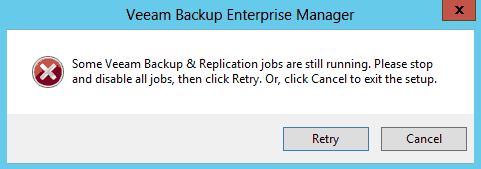
Make sure to close out of the management console as well:
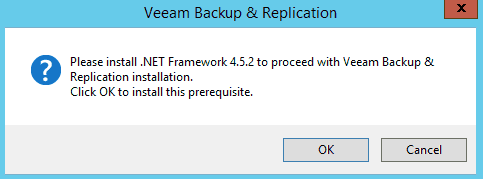
If any .NET components need to be upgrade for Veeam Enterprise Manager or Veeam Backup and Replication, a prompt will appear as well. Note that a reboot was required after .NET Framework 4.5.2 was installed on the server:
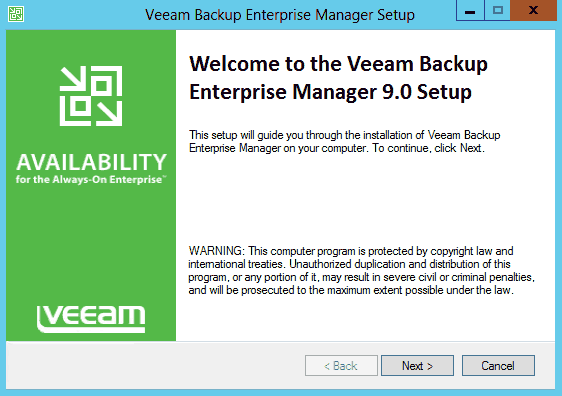
After the Veeam Backup Enterprise Manager Setup wizard has opened, select Next:
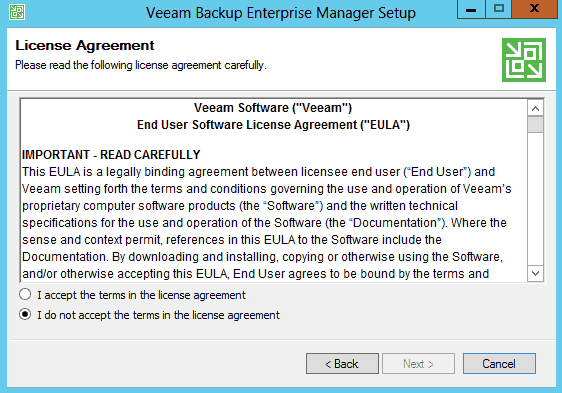
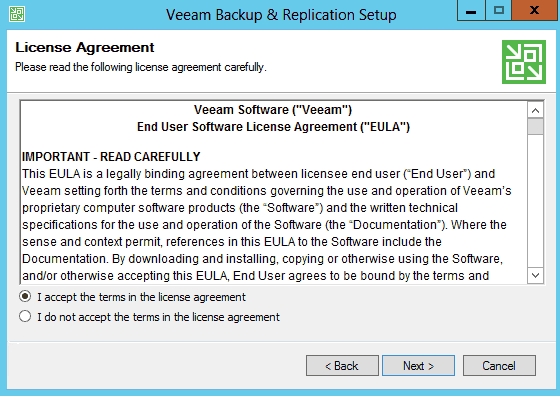
Accept the EULA:
Next, a splash screen will appear the Veeam Backup Catalog version and Veeam Backup Enterprise Manager version:

Next, upload the license file pulled from Veeam’s website:

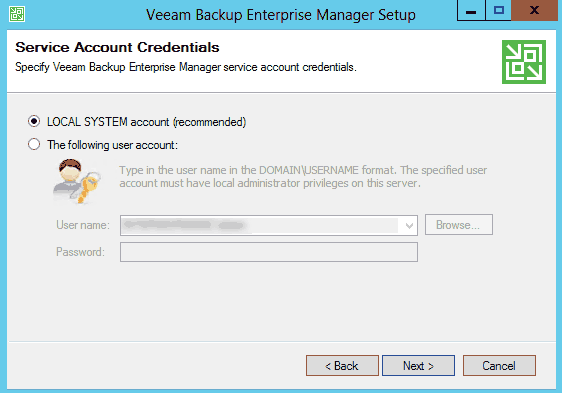
In my previous Veeam installation, I utilized a local service account. If your organization has requirements change to use a dedicated user account to act as a service account, this will be a great opportunity to change to the necessary audit/organization requirements:
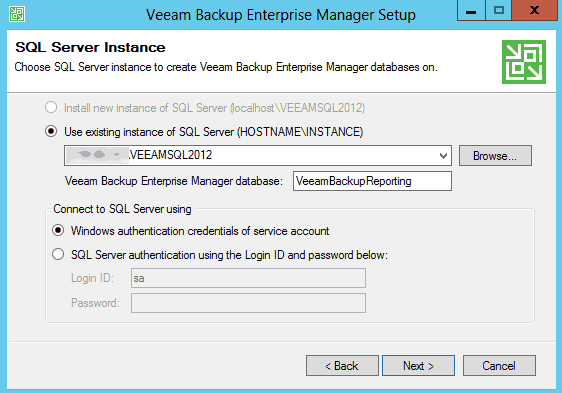
As with the service account page, if the SQL instance has been migrated to a new server, the database location can be changed. Otherwise, the previous settings will auto-propagate:
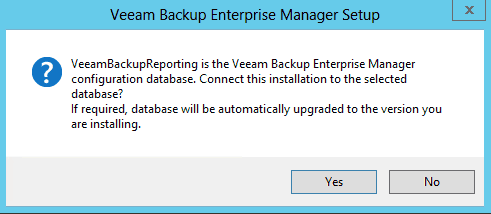
Next, Veeam will request confirmation to upgrade the database to work with Veeam version 9:
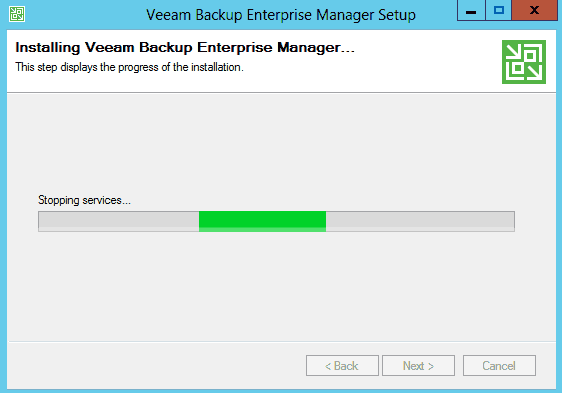
Once install is selected, the upgrade process will begin:
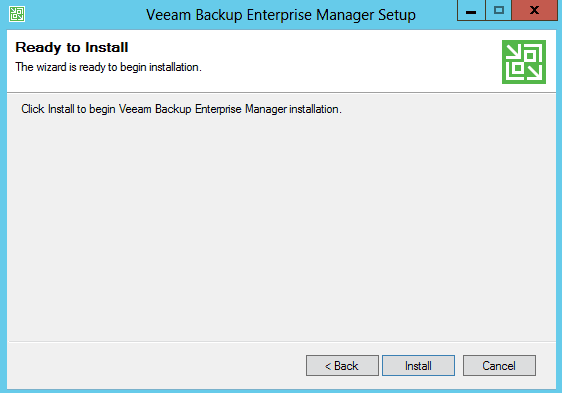
The installation and upgrade process took about 15 minutes for Enterprise Manager to complete:
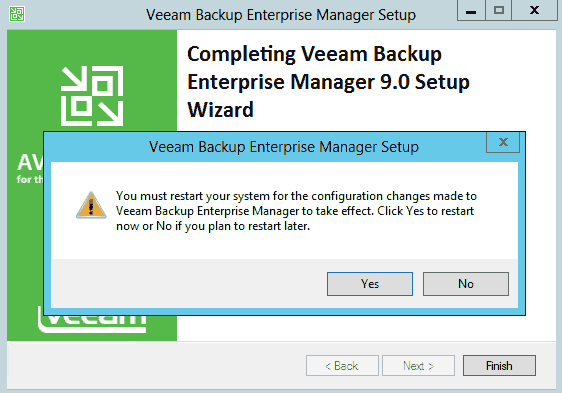
Once complete, Veeam will request to reboot the Veeam Backup Enterprise Manager server:
Upgrade Veeam Backup and Replication to Version 9
Note: Screenshots below are from a different Veeam environment than those shown in the Veeam Backup Enterprise Manager section.
Before beginning the upgrade to Veeam B&R version 9, open up the Veeam console and stop all active tasks. Otherwise, the following errors may appear (may need to repeat task if a new process kicked off after the Veeam Enterprise Manager reboot):
Make sure the Veeam backup shell has been closed:
If this server is a standalone Veeam server and .NET components still need to be upgraded for Veeam Backup and Replication, a prompt will appear. Note that a reboot was required after .NET Framework 4.5.2 was installed on the server:
If Veeam Backup Enterprise Manager was recently updated, the Veeam B&R menu item will no longer show a prompt requesting that Veeam Backup Enterprise Manager be upgraded first:
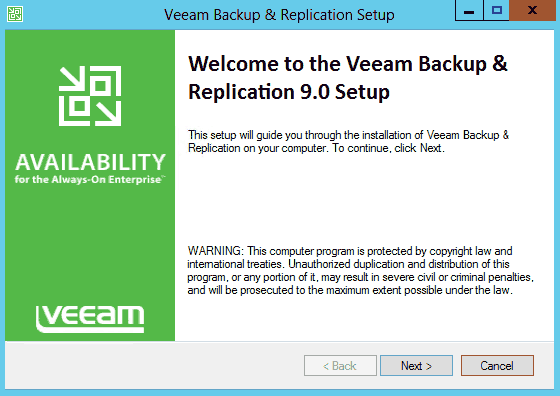
Click Next to begin the upgrade of Veeam Backup and Replication 9.0B:
Accept the EULA:
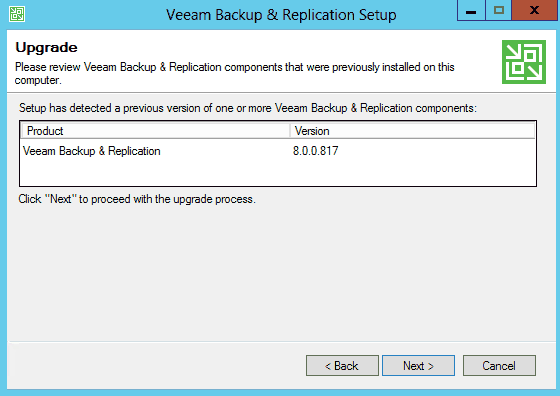
A prompt will appear showing the existing Veeam Backup and Replication version number:
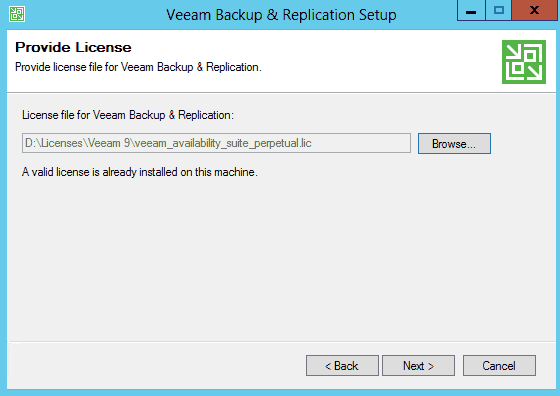
Upload the existing. Since this server is managed by Enterprise Manager, a message appeared showing that “a valid license is already installed on this machine:”
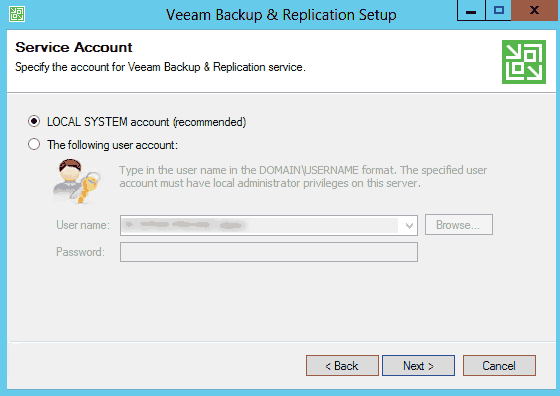
Similar to the Veeam Enterprise Manager setup above, if the Veeam B&R service account needs to be adjusted from a Local System account for audit or organization requirements, this is the best time to do so. Per Microsoft best practices, if a domain account is going to be utilized, it is best to utilize a dedicated service account and not the DOMAINadministrator account:
Next, Veeam will propagate the existing SQL Server settings. If this needs to be changed to a new location, now is the perfect opportunity to do so:
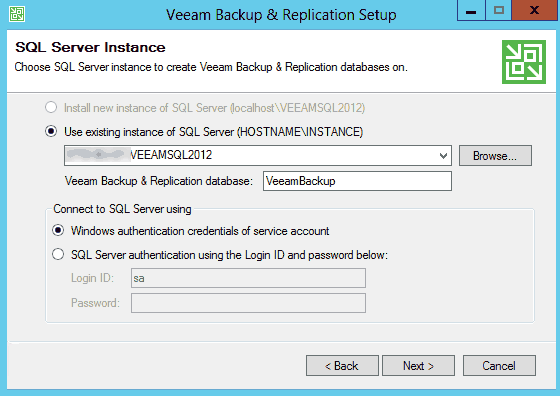
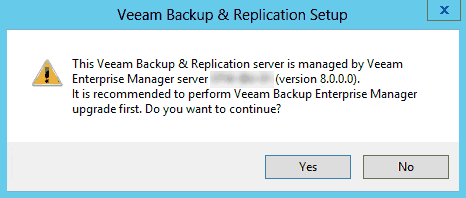
If the following server is being managed by Veeam Backup Enterprise Manager, Veeam will prompt the recommended upgrade process:
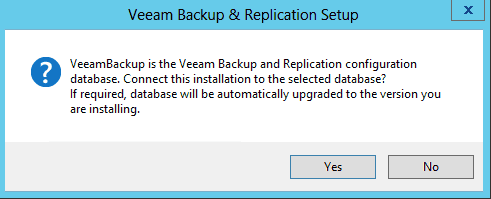
Next, Veeam will prompt to upgrade the database to version 9:
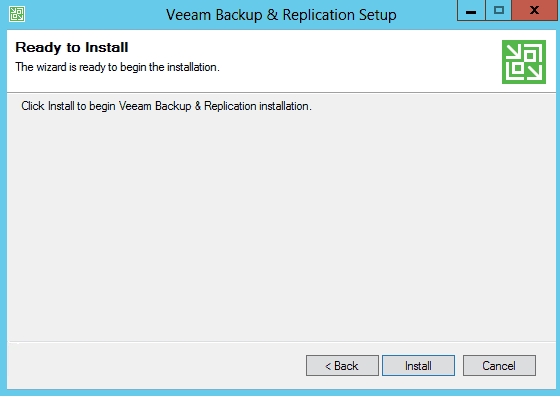
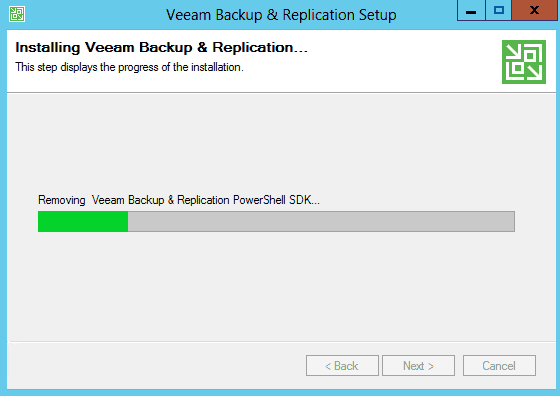
Click Install to begin the upgrade process:
The upgrade for Veeam B&R took approximately 15 minutes to complete in my example:
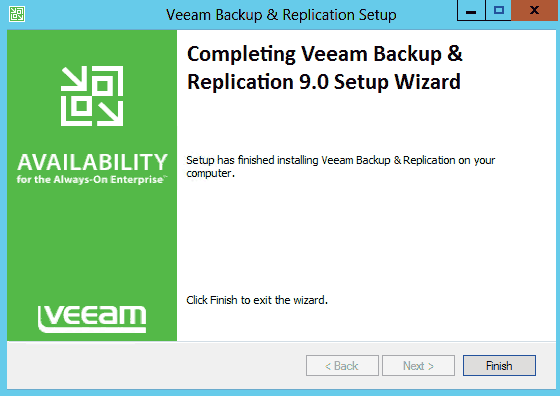
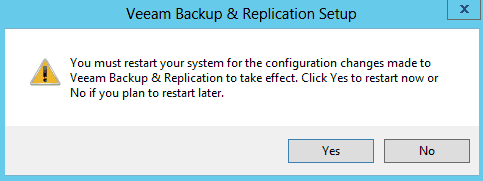
Once the upgrade has been completed, the system must be restarted:
Once the installation has completed open up Veeam to complete the installation:
Within the Veeam installation, a prompt will appear to upgrade the Veeam proxies. If any upgrades have failed or components are showing as “unavailable,” make sure the components are online and that credentials are correct.