Sometimes you find a tool that blows you away with its capabilities and get eager to utilize it in your day-to-day work with data. Dataiku was one of those for me. It doesn’t run on Windows natively, but the process to install the virtual system so that I can use Dataiku on Windows was painless. Now I have the community edition of Dataiku on my local machine, for free, and can take my analytics to the next level without relying on any company infrastructure. I thought I’d document the install process with screenshots so you can take advantage of this great tool as well!
What You Need Before Installing Dataiku
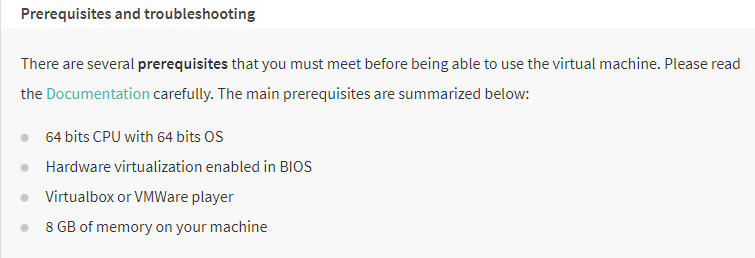
I’ve met all the prerequisites except I don’t have VirtualBox. Download the Windows host version by clicking the icon below and installing:
After the download completes, install the VirtualBox.
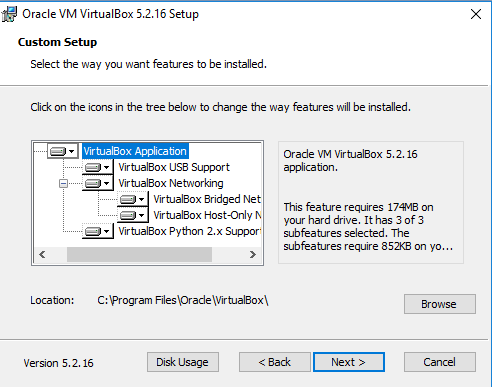
Once you’ve done that, the second step is to download Dataiku Data Science Platform DSS virtual machine. You may get an error downloading the ova file, but that is totally fine. Click below to download:
It may take a little bit 😊
![]()
And this is my current internet speed just for reference:

Once it completes, follow the steps for the import of the virtual appliance:
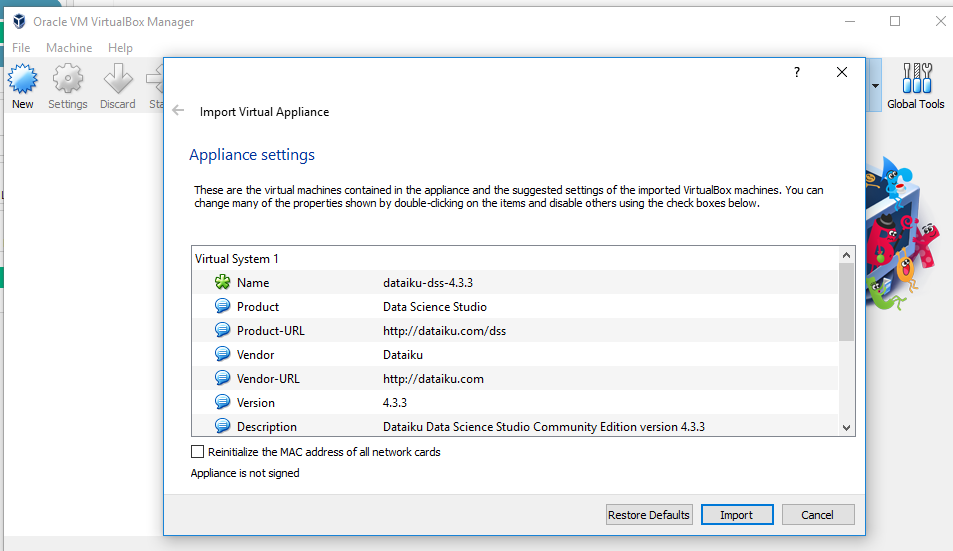
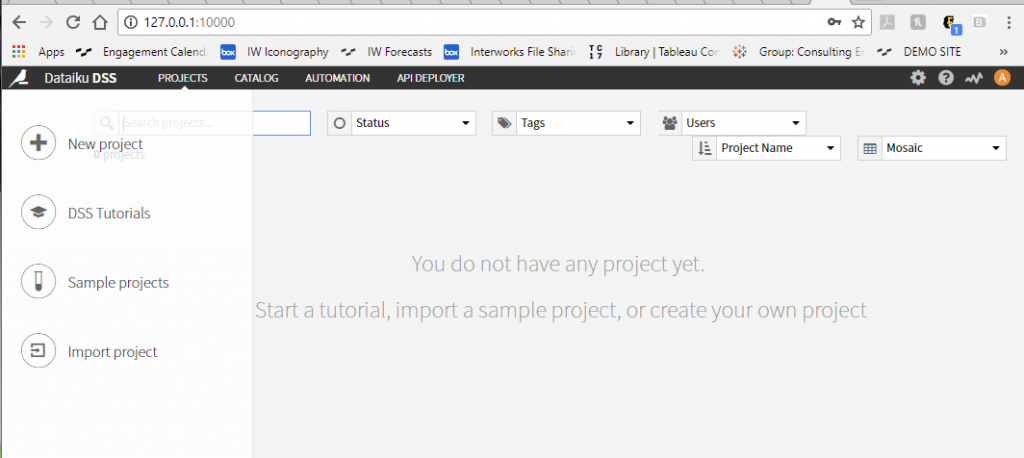
Go to the URL in the welcome banner on your VirtualBox then create an account:
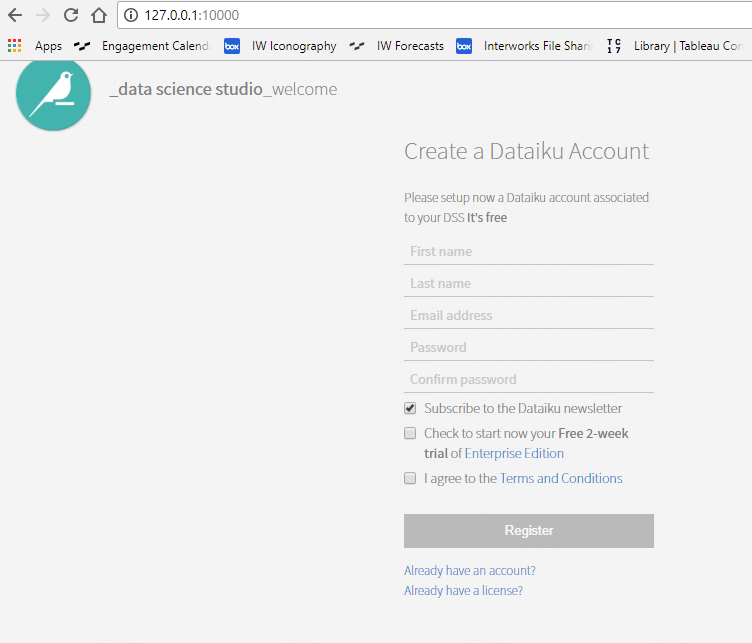
Get going with the free community edition, and explore all the things you can do with Dataiku!
P.S. – If you want to explore outside of the free community edition of Dataiku, you can try the 14-day free trial version instead for more functionality.

