Please note that Portals for Tableau are now officially known as Curator by InterWorks. You can learn more at the official Curator website.
If you haven’t used the Data Manager in Portals for Tableau before, you may not have a good grasp of what it does. In a nutshell, it is a simple form builder. You can think of its groups as forms, attributes as fields and items as records. Data can be collected by the Data Manager through the portal’s backend or optionally through its frontend. That data is then stored in the portal’s database to use as you wish.
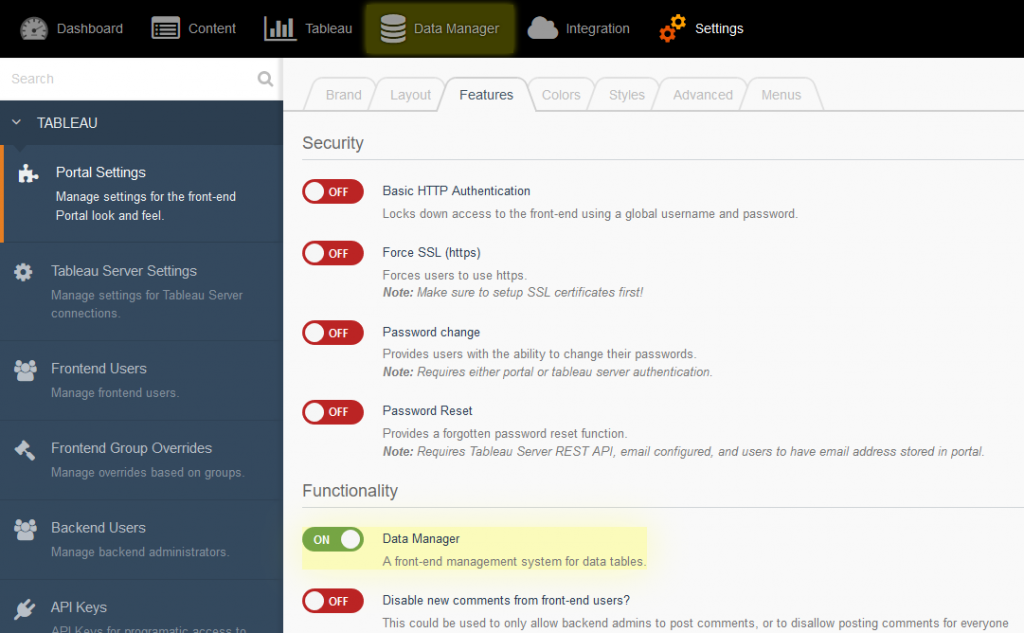
The Data Manager is a feature that is turned off by default. To enable it, navigate to Backend > Settings > Portal Settings > Features tab, turn on the Data Manager toggle and save. Once you refresh the page after saving, you’ll notice a new link show up at the top of the screen:
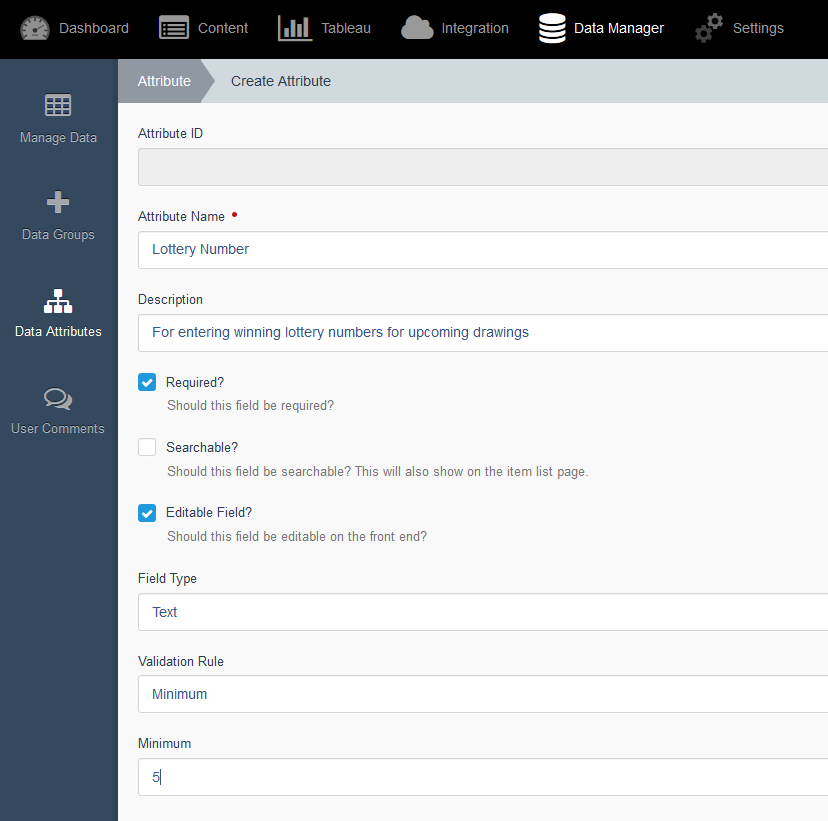
The first step in setting up a new form in the data manager is to create a library of attributes. To add one, go to Backend > Data Manager > Data Attributes and click on the New Attribute button. Attributes can have a variety of different types, such as text, numbers, dates, etc. You can also add simple validation to make the field required, have a minimum number of characters, a maximum numerical value, etc.
Once you’ve built up your library of attributes, you can now create a group to pull them together into the same form. Navigate to Backend > Data Manager > Data Groups and click on the New Group button. Give your form a name and select which attributes out of the library you want to use. Also, select whether you want this form to be available on the portal’s frontend or email the submissions to someone.
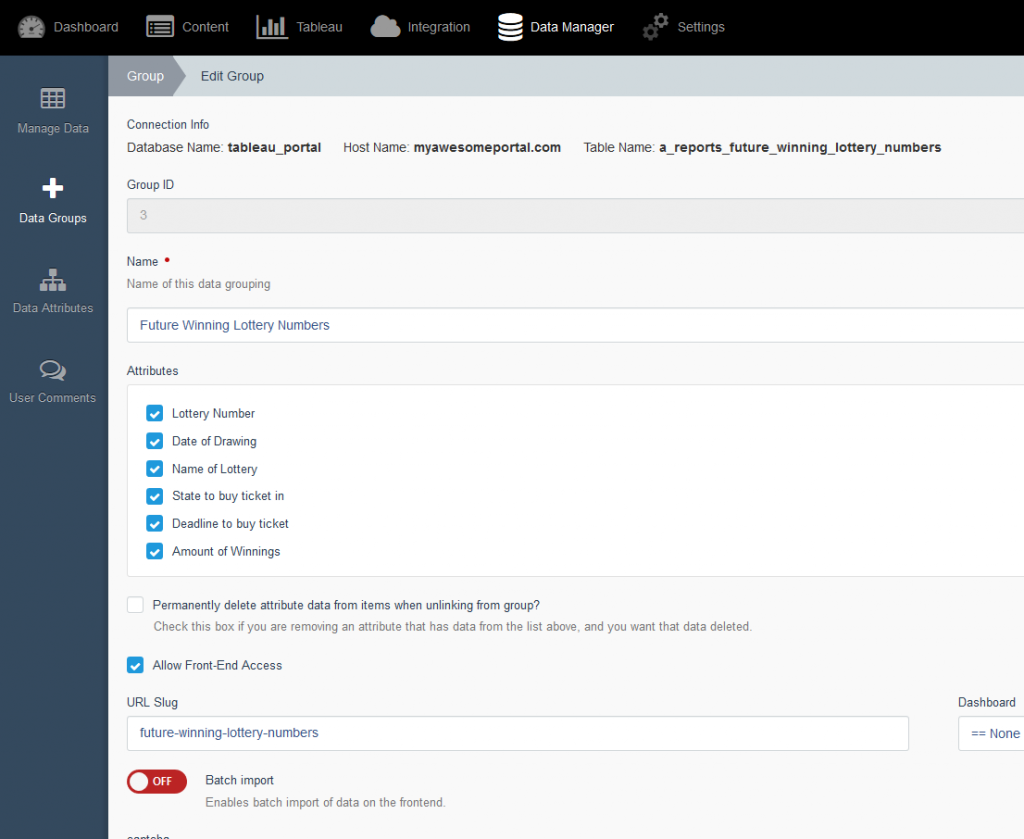
If you select to show it on the frontend, you can give it a descriptive URL slug, which will determine the link to use to get to it. As you enter or modify the slug, you can preview what the final frontend link will look like below it:
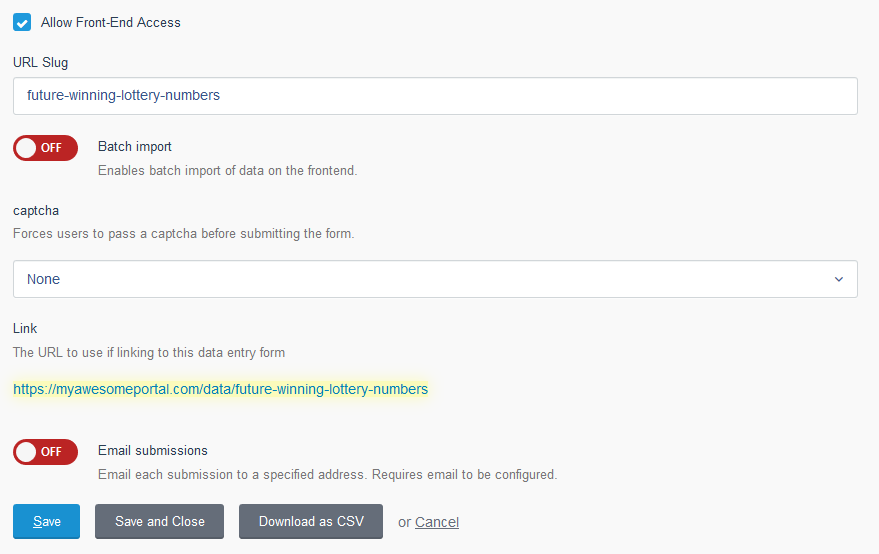
Additionally, there are options to display a dashboard alongside the form or require users to pass a captcha (a thing that’s supposed to prove they aren’t robots) before submitting data. If you have something against robots, you may want to use that feature.
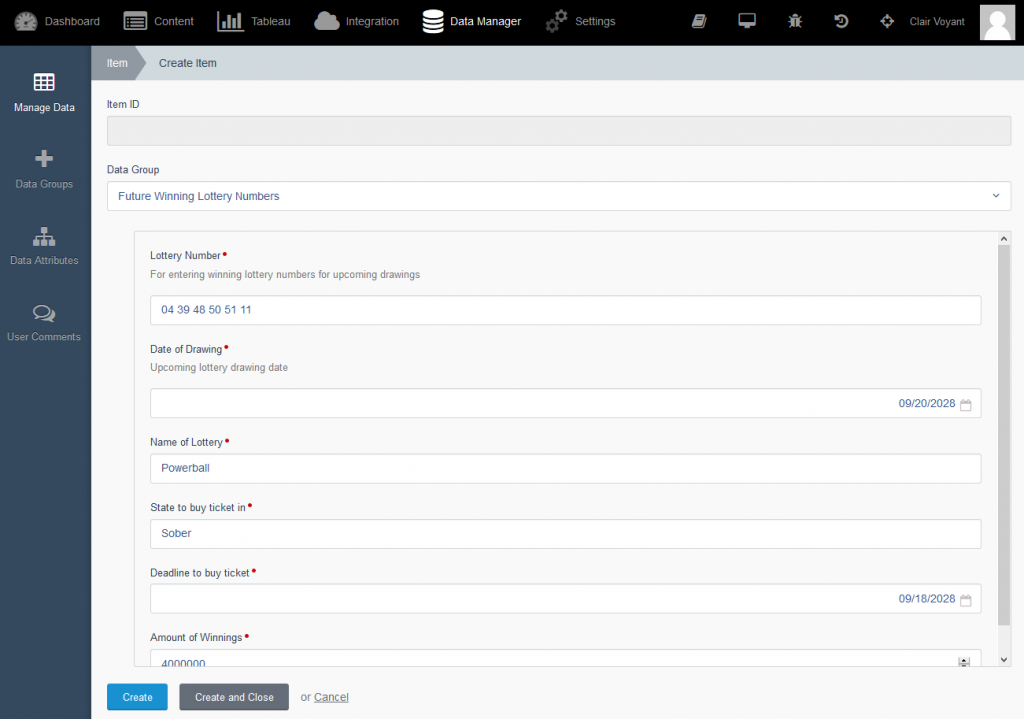
After setting up your group, you are now ready to start entering/collecting data. To enter data from the portal’s backend, navigate to Backend > Data Manager > Manage Data and click on the New Item button. Select the data group you wish to enter data for, and you should see the appropriate fields appear. Fill them out as appropriate and click the Create button at the bottom to submit:
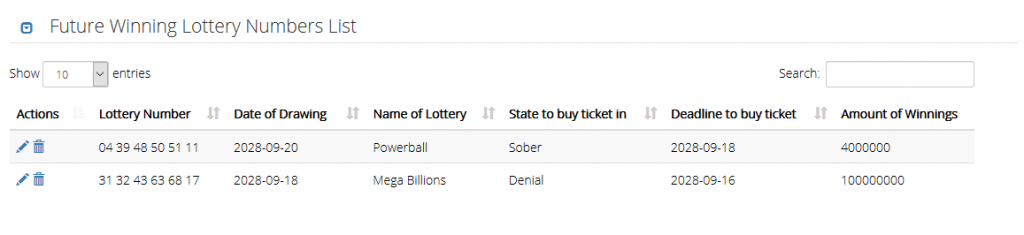
If you configured the group to be accessible from your portal’s frontend, you can use the link it gives you to try it out. You should see the same fields as before:
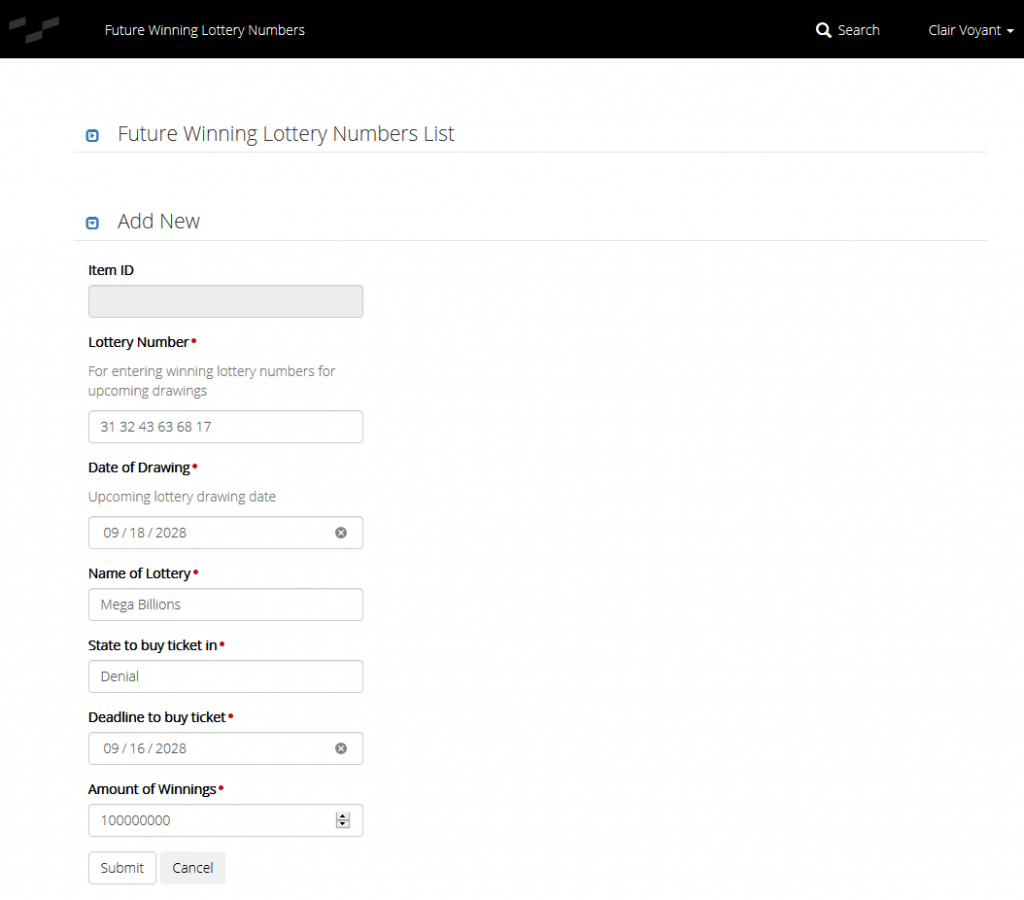
There’s even functionality to edit and delete submissions on the same frontend page by clicking on the appropriate icons on the left: