
One of the more common worries of many IT administrators utilizing file servers is that their end users have the potential to overwrite or delete shared files. For traditional backup method, recovery can be a tedious and time consuming process. Fortunately, Veeam Backup and Replication provides excellent recovery time objectives and can provide granular recovery point objectives. This article shows how to use the Restore guest file (Windows) feature and the ease of use.
Using Restore Guest Files (Windows)
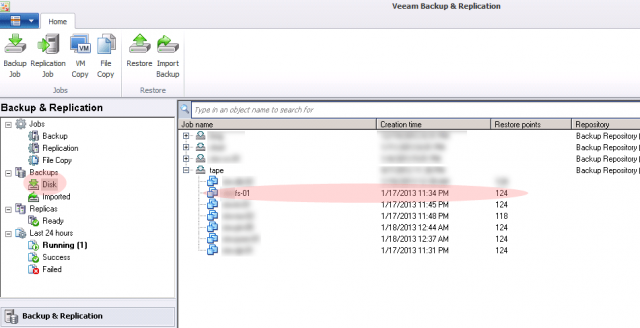
The Veeam B&R UI provides a number of ways to be able to select and restore files from a Windows system. In the example below, I need to recover an excel file that was overwritten the day before.
In the example, I navigated to my Backups, selected Disk, and expand the job containing the VM.
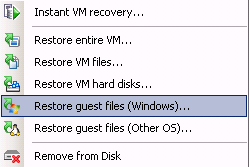
Right click on the desired and Select Restore guest files (Windows)
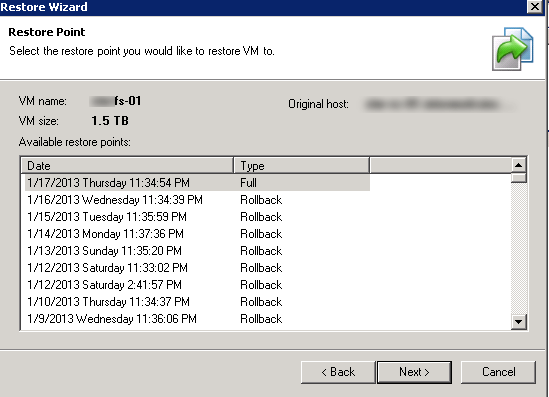
On the next menu, select the desired restore point.
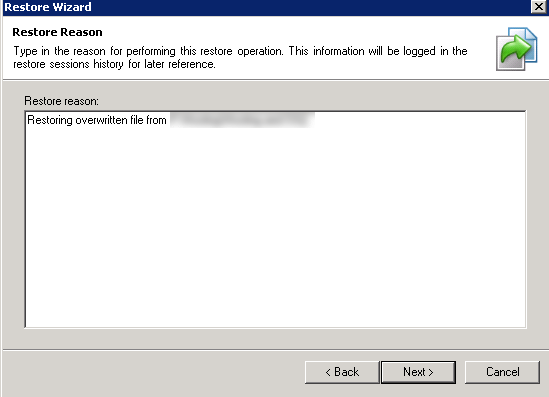
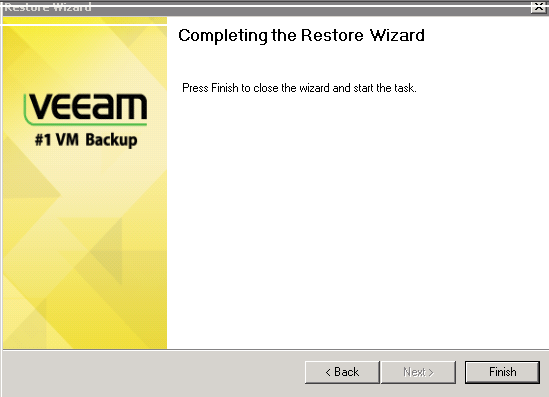
On the next menu, you will be asked to provide a reason to restore any files. It is always a good idea to give a descriptive reason to be able to have an accurate history of events, particularly if you have multiple administrators. As a general rule, I list out the location of the restored file(s) or folder(s).
Next, click Finish.
Veeam will then begin mounting the backup.

Using Veeam B&R Explorer
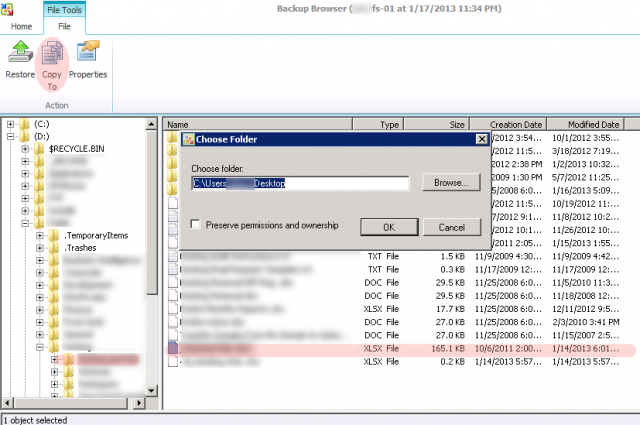
Once Veeam has completed mounting the backup, a Windows Explorer type window will appear. In this case I navigated directly to the folder and selected the excel file I needed to restore. However, had I needed, I could have entire folders as well.
In this particular case, the person needing the restored file needed to compare the older version of the excel file with the most recent version. To accommodate the user, I used the Copy To option and copied the file to a new location, renamed the file, then gave it to the user. If the file needed to be overwritten with an older version, I could have chosen to use the Restore option.
Next, a window will appear with a handful of statistics displaying the original location, the final location, time elapsed, time remaining, bytes transferred, and the transfer rate.
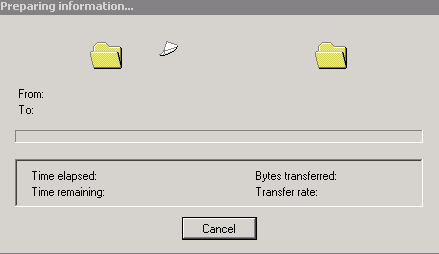
The speed of the recovery process will depend on the resources provisioned to the backup server as well as the size of the file(s). To put some perspective on how quickly the file was restored, the 165.1KB file took about 30 seconds to restore. For this particular backup server containing 7200RPM direct attached storage in RAID 5, it took 30 minutes to recover a 150GB file.
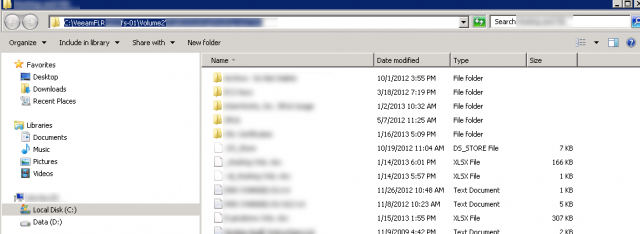
Use Windows Explorer to Restore Files
Additional Resourcse:
Additionally, Videos of Veeam Tutorials can be found on their website at http://www.veeam.com/backup-replication-university.html