
Purpose
This article explains how to migrate existing backups in Veeam 6 to a location so you don’t have to reseed an entire job.
Overview
I recently did work on a Veeam setup that had several local backups that were about +100GB per job. Unfortunately, the hard drive that housed the backups was low on disk space. This was causing the Veeam jobs to fail.
![]()
The space on this hard drive could not be expanded, however there were other drives available that had plenty of space. Unfortunately, you can’t modify the location of an existing repository, but you can migrate your backups to a new one.
Option 1 – Create a New Job and Repository
If a lot of resources are available in your environment, a new job and repository can be created, but in this solution you have to reseed the job. If you’re keeping the older restore points (as opposed to deleting to reclaim some space), then you can to migrate your existing backups to another location then import back into your library. From a management standpoint, this is an inefficient use of disk space and just one more thing that you’ll have to keep track of.
Option 2 – Migrate to a New Repository
In the example shown below, my backups will point to the local box with the OS being Windows.
Remove your Backups from the Backup Library.
Select the entire job, and select Remove from backups. This will remove the backups from being listed in your library. Do not select delete from disk or your backups will get deleted.
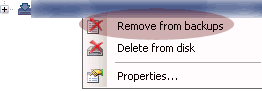
If you don’t do this, Veeam will not allow you to change your repository for the backup job you will be adjusting.
Move your Backup Files
Move all your .vbm, .vrb, and .vbk files from the old folder location to the new location.
Example:
Old Location: D:VeeamBackupsExample Server
New Location: E:VeeamBackupsExample Server
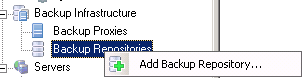
Create a New Repository
- Add a new backup repository.
- Name your job.
- Select type of OS for the server (in my example I’m backing up to a local Windows server)

- Select your Repository server

- Select the Path to the folder. If you put your path to the wrong location, you will have to make a new repository.
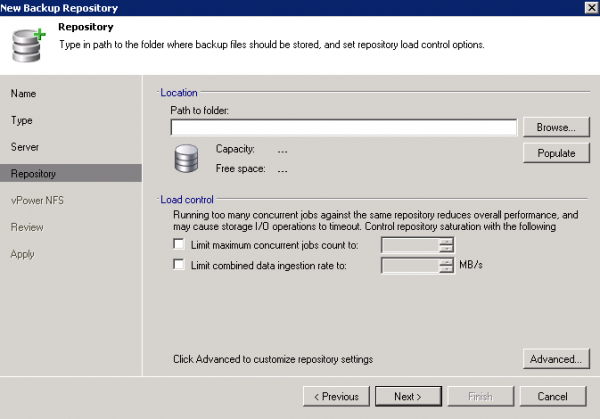
You’ll want this to be in the same location as where you moved your backup files or you can use E:VeeamBackups
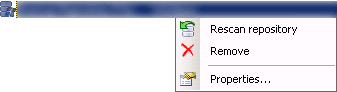
- If you moved your backups, you will want to re-map the existing backups in your library.
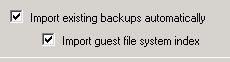
If you’re moving your backup files after you create a new repository, you can always rescan for backup files later.
Adjusting the Backup Job’s Repository
Now open up the properties of your existing job, go to your Storage section, and adjust your backup repository to the new one you just created.
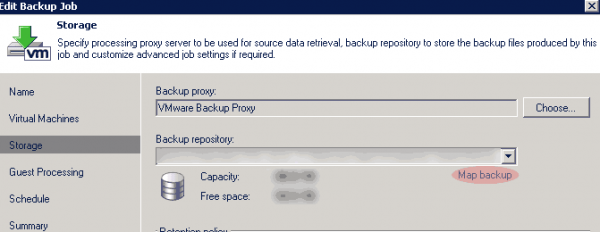
Important Note: Click Map Backup and select the backup job. As noted in a comment below, if you do not use this feature, you will create a full backup on your next run.
Your job should now use your existing backup(s) in the new location.
If you would like to learn more about Veeam Backup & Replication, visit http://www.veeam.com/vmware-esx-backup/vmware-esx-esxi-vsphere-vcenter.html.