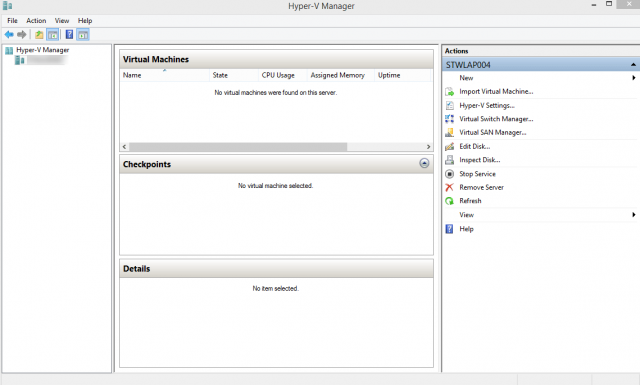
When many organizations switched to Windows 7, they found that many of their legacy applications built for Windows XP no longer worked. One way Microsoft alleviated this issue was by creating Windows XP mode, which can be found here: http://windows.microsoft.com/en-us/windows7/install-and-use-windows-xp-mode-in-windows-7
When Windows 8 and Windows 8.1 were released, many users found that XP mode was no longer being offered with these operating systems. However, Microsoft did include the option to enable Hyper-V Manager. This article explains how to enable Hyper-V for Windows 8 and Windows 8.1.
Uninstall VMware Workstation
If you have VMware Workstation running on your machine, make sure to uninstall the program before installing the Hyper-V role.

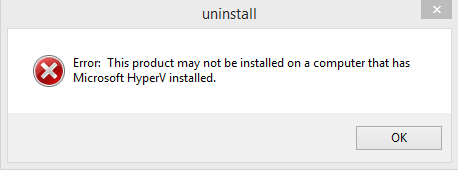
If you try to uninstall VMware Workstation after the HyperV role has been installed, an error will pop up stating: “Error: This product may not be installed on a computer that has Microsoft HyperV installed.“
Enabling Windows 8 / 8.1 Hyper-V
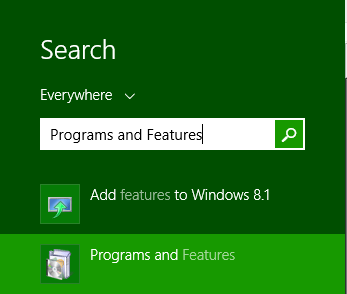
The first thing to do to enable Windows Hyper-V will be to access Programs and Features. This can be done by navigating to Control Panel > Programs and Features or in the example below, click Start and type in Programs and Features.
Once Programs and Features has opened, click on Turn Windows features on or off on the left hand navigation. This will pop open a new window titled:
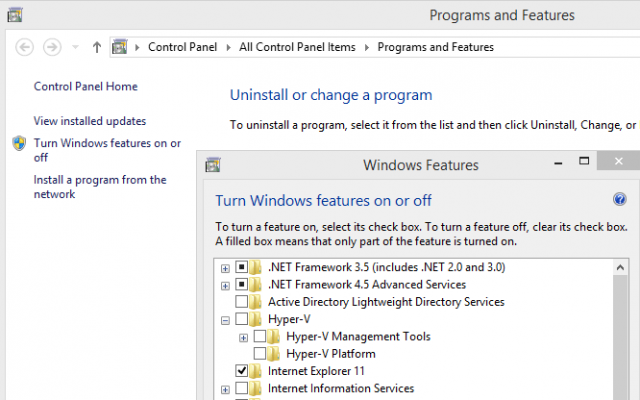
Next, enable the Hyper-V Platform and Hyper-V GUI Management Tools. Although the Hyper-V Module for Windows PowerShell is not a necessary feature for most users, I went ahead and added it for this example.
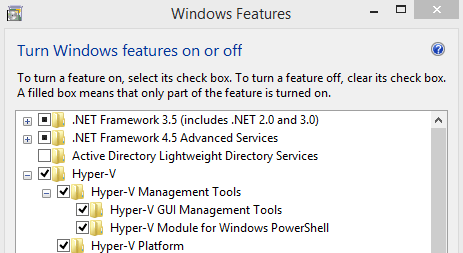
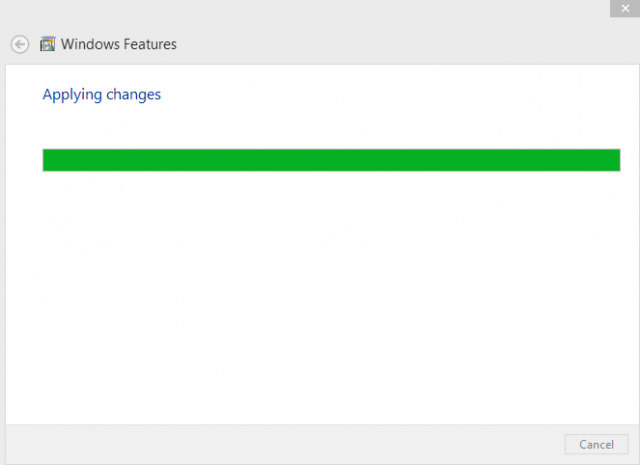
Once the features have been confirmed, it may take a few minutes to enable the newly-added Hyper-V features.
Once the feature set has been enabled, the Hyper-V Manager can now be found via the search bar or can be found at Control Panel > Administrative Tools > Hyper-V Manager.
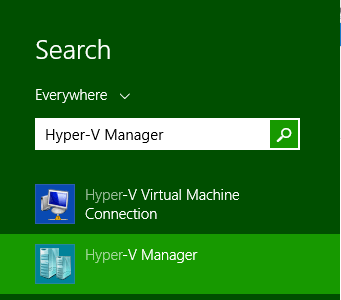
Hyper-V Manager can now be used to create virtual machines on your local machine.
