
I’ve recently worked with several migrations of on-premises Microsoft Exchange to Office 365. Whenever the mail server moves off-site, some on-site services must be reconfigured in order for it to work properly again. Things like scan-to-email from multifunction printers and voicemail-to-email from VoIP servers require either an authenticated Office 365 mailbox or an on-site mail relay to send mail to Office 365 addresses.
Some of the devices I’ve worked with do not support authentication. Additionally, authenticated mailboxes require Office 365 licenses. Mail relays solve these issues but can be more complicated to set up. To simplify deployment, I decided to build a containerized SMTP relay inside Docker and build that inside VMware’s lightweight Photon OS.
Why a Container?
Containerization in an engine like Docker is a way to run applications without requiring a full-size virtual machine for each one. Applications that lend themselves well to containerization are ephemeral. These applications don’t keep much data on disk and they can be torn down and rebuilt in a few seconds. For our SMTP relay application, we don’t have to worry about finding a server in the environment to put our relay on and then rebuilding it when that server is inevitably decommissioned or another function interferes with our relay. Plus, this gives us a chance to play with some cool technology that will be increasingly prevalent over the next several years.
Setting Up Office 365
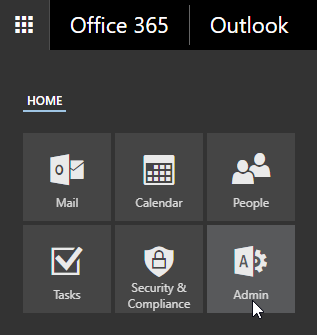
First, we will need to build a connector in Office 365 to authenticate our outbound mail from our on-premises public IP address. Open the Admin application from your Office 365 account:
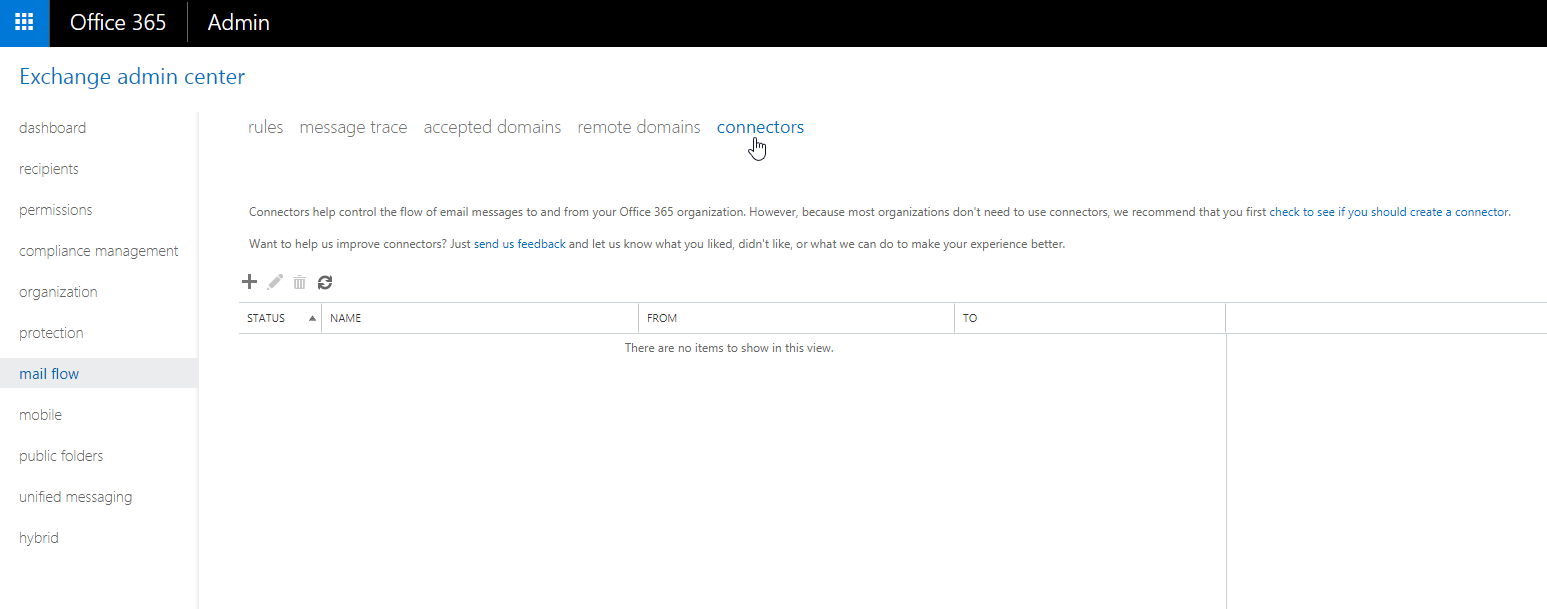
Click Admin Centers, then click Exchange Admin Center on the left navigation menu. We want to configure connectors:
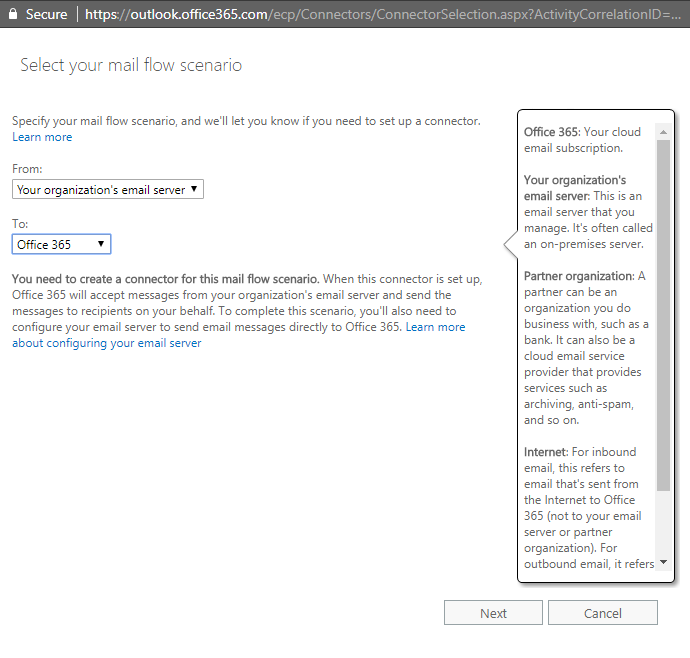
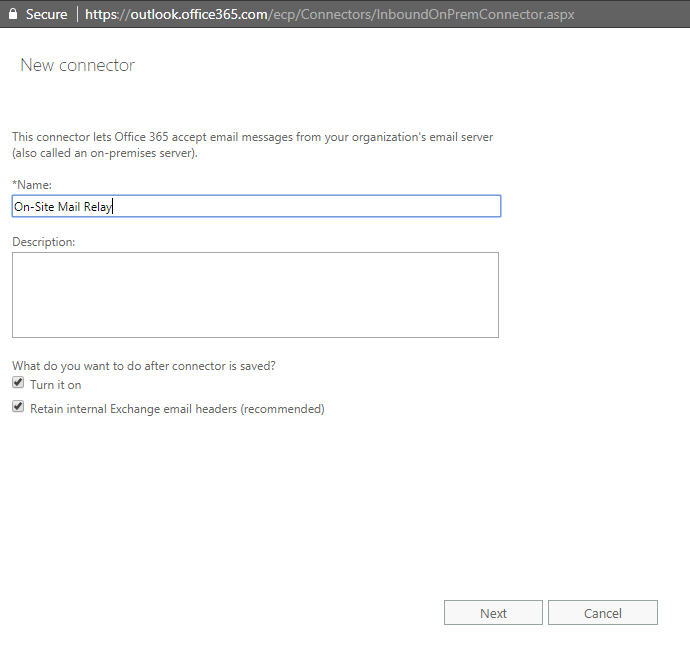
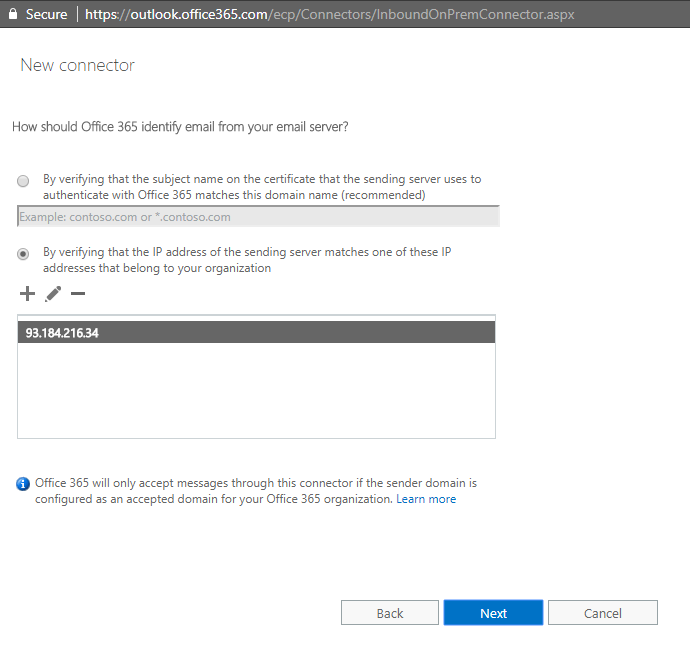
Click the plus sign and configure the new connector using your own public IP:

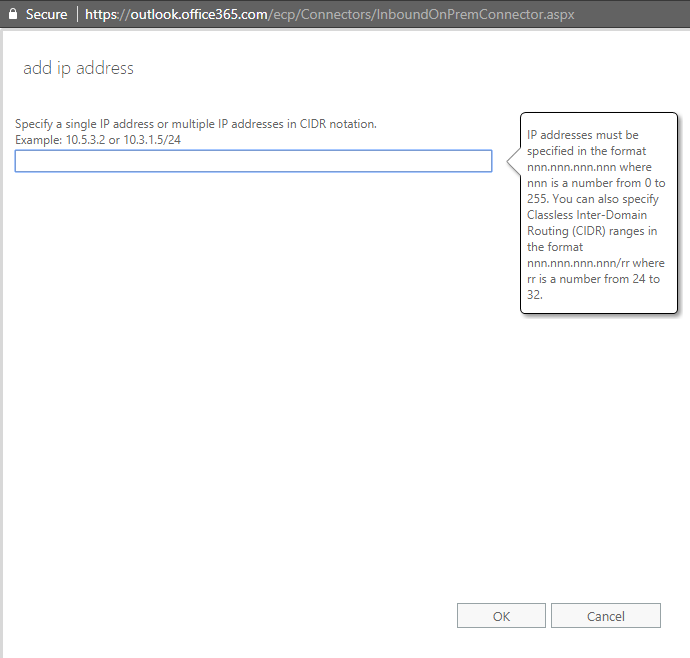
Click the plus sign to add an IP address:
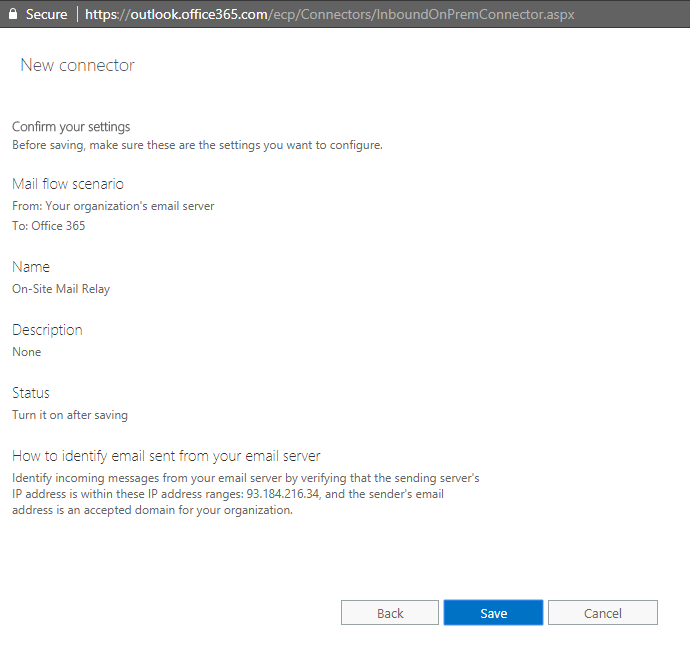
And that’s it for configuring Office 365! The next step is configuring our container host.
Installing and Configuring Photon OS
We’re going to use VMware’s Photon OS for this example because it’s designed as a lightweight OS for hosting containers, and I deal with a lot of VMware environments. One of the benefits of using Docker is that the host OS doesn’t matter. You can build your own container on whichever OS you want such as Ubuntu, CentOS, Alpine or even Windows. Feel free to skip ahead to setting up Docker if you already have a Docker host ready to go.
Before we get started, you’ll want to be comfortable editing text files in vim. There will be some basic Linux filesystem operations as well. Grab the version of Photon OS you want to use and you’ll also want to download PuTTY if you’re on Windows. For this post, I’ll be using the OVA, virtual hardware version 11. At the time of writing, the most recent version is Photon OS 2.0.
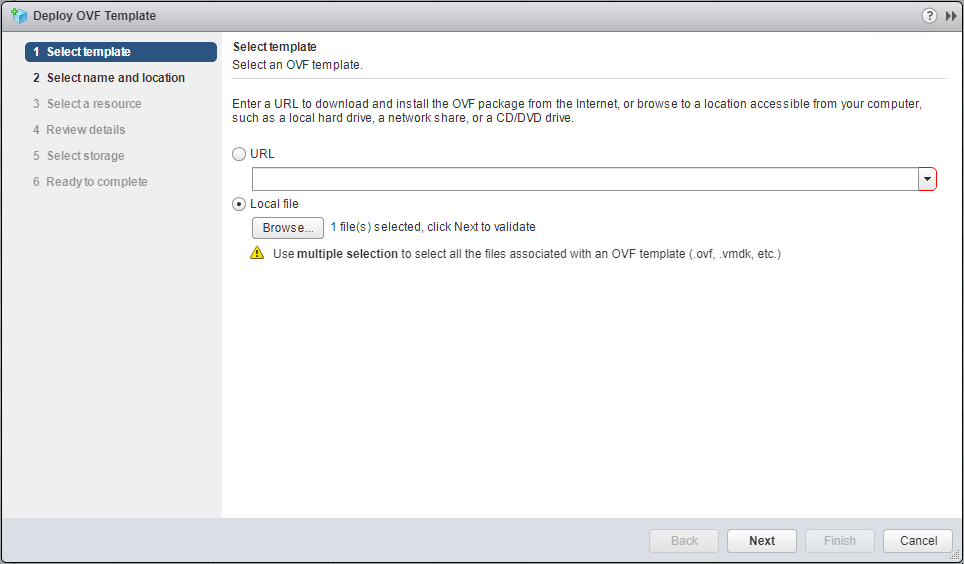
Log in to your vSphere environment via the Flash Web Client. Right-click your cluster and click Deploy OVF Template:

Find the Photon OS OVA file:
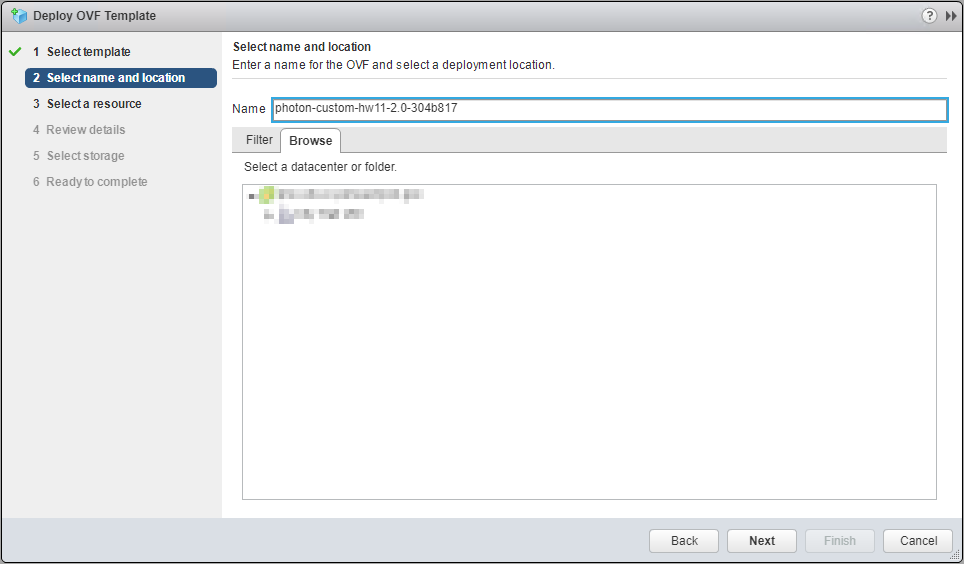
Name the virtual machine and select where it will live:
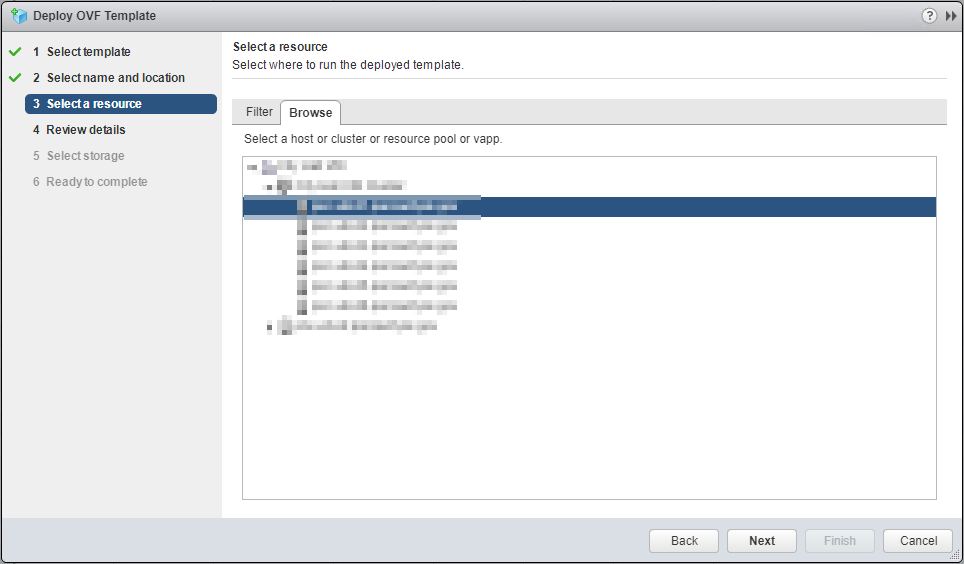
Select the host it will be deployed to:
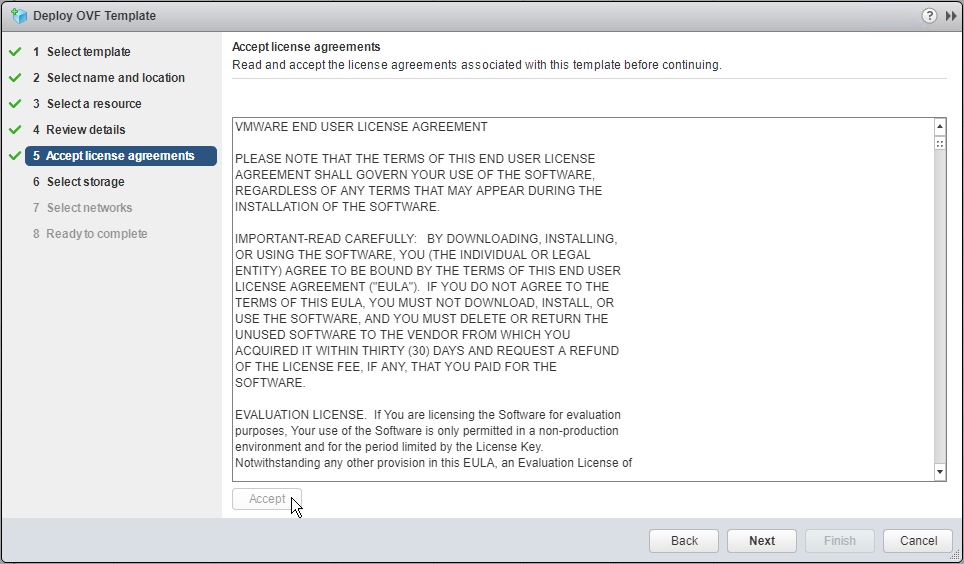
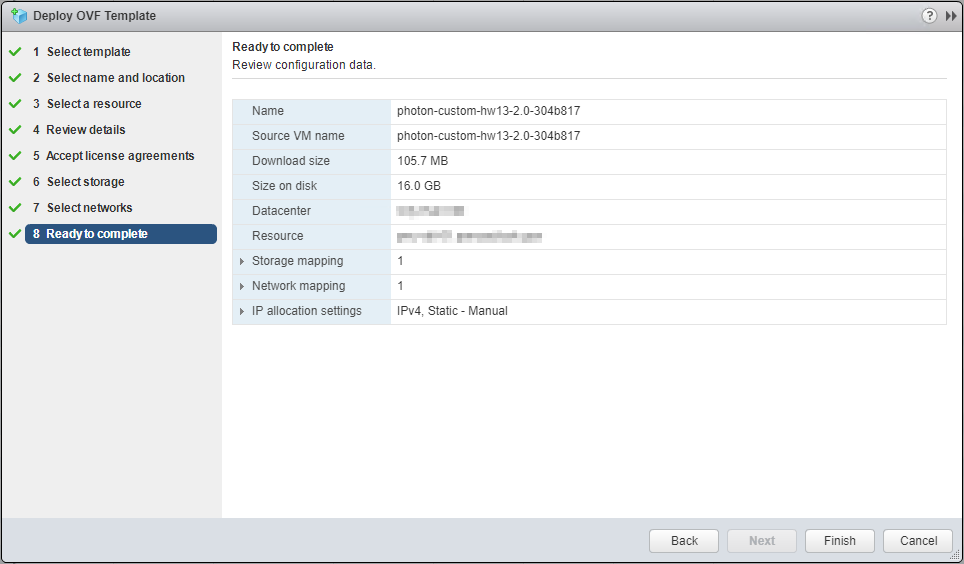
Review the configuration and click Next:

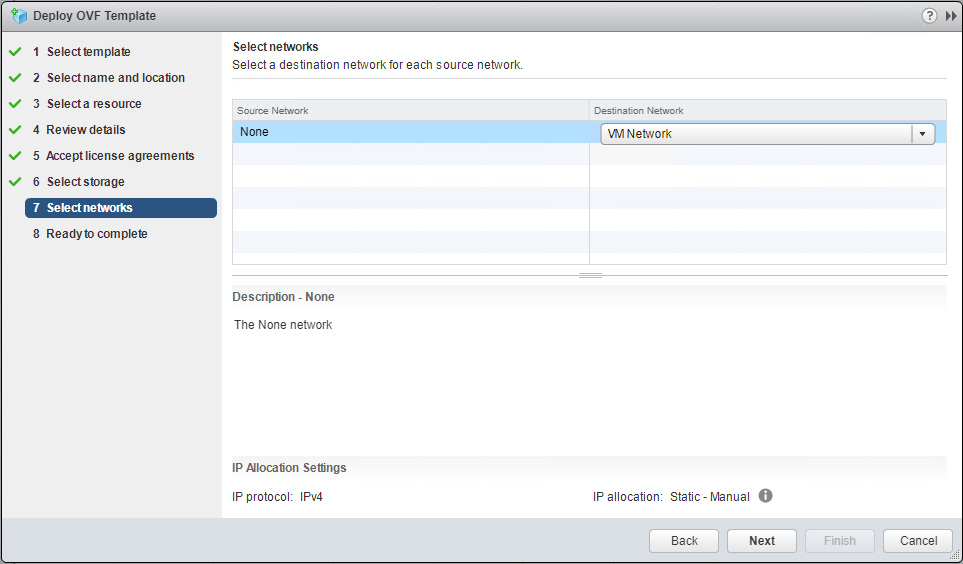
Select the storage and choose the provisioning format:

Click Finish to deploy:
Power the VM on and console into it as the root user with the password changeme. You’ll be prompted to change the password.

Run the command:
cat > /etc/systemd/network/10-static-en.network << "EOF"
Enter your static IP information like this:
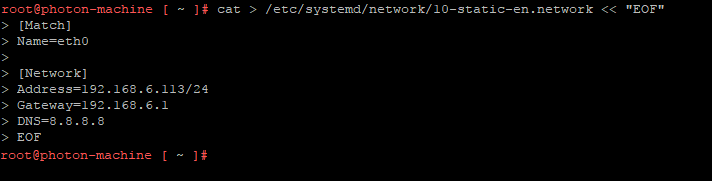
Set the correct permissions and restart the networking subsystem:
chmod 644 /etc/systemd/network/10-static-en.network

systemctl restart systemd-networkd
Open PuTTY and connect to your VM via its new static IP address. This concludes setting up Photon OS. Now, it’s time to configure Docker!
Setting Up Docker
Docker uses a recipe called a Dockerfile to build an image. Containers are created from this image. You can create many containers from one Docker image and the containers all share the same image on disk. Each container gets its own small writable layer that is thrown away when the container is deleted. For more information on the mechanics, check out the Docker user guide. Set Docker to start when the VM boots:
systemctl start docker

systemctl enable docker
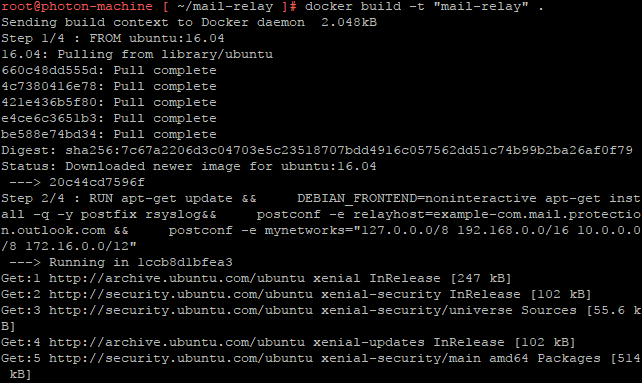
We’re going to create a directory for our container. Move into that directory and create the Dockerfile, making sure the D is capitalized:
mkdir mail-relay

cd mail-relay

vim Dockerfile
Paste the text below into the Dockerfile. Adjust the relayhost line to reflect your Office 365 URL. All RFC1918 private addresses are already declared in the mynetworks line. Adjust that line if you are using something different:
FROM ubuntu:16.04


RUN apt-get update &&

    DEBIAN_FRONTEND=noninteractive apt-get install -q -y postfix rsyslog&&

    postconf -e relayhost=example-com.mail.protection.outlook.com &&

    postconf -e mynetworks="127.0.0.0/8 192.168.0.0/16 10.0.0.0/8 172.16.0.0/12"


EXPOSE 25


CMD ["sh", "-c", "service rsyslog start ; service postfix start ; tail -F /var/log/mail.log"]
Hit Escape, then :wq followed by Enter to save the file. Now, for the fun part. We’re going to build a Docker image from our Dockerfile. This will download the Ubuntu 16.04 image from Docker Hub and run the commands in our Dockerfile to install Postfix. It will also set up the relay configuration and build a Docker image based on the result that we can create containers from.
docker build -t "mail-relay" .

We can now deploy a container based on this image, mapping through port 25 and set the container to start whenever Docker does (which will happen automatically when Photon OS boots).
docker run -d -p 25:25 --restart always mail-relay

Run docker container ls and we can see our container running:

To see logs, run docker logs [containerid] to show the most recent logs from the SMTP relay:
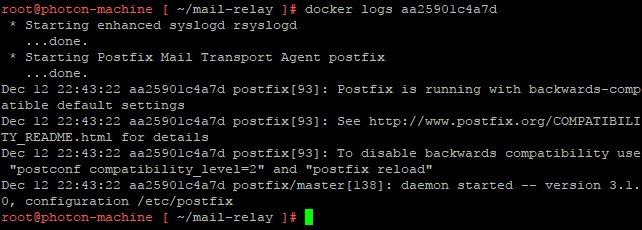
If we add docker logs -f [containerid] to that command, new log entries will print to the terminal until CTRL+C is pressed. This is helpful in troubleshooting mail flow issues in real-time. The relay is successfully running on port 25 at the Photon VM’s static IP address.

You’ll want to set up a DNS A record at your organization pointing to Photon OS’s static IP address. Then, update your on-site devices to send mail to the new static IP or DNS name instead of the old Exchange server.
Summary
In under ten minutes, we configured a host to run Docker containers, built a container to relay mail for us and configured Office 365 to accept this mail for our domain. This by itself is highly useful but also highlights the impact that containerization can have on our datacenters. In this post, our Photon VM is running one container, but it can run many more like compounding the disk, memory, compute and management savings over what multiple full-sized VMs would require. As Docker continues to develop, we’ll keep looking for ways to take advantage of containerization alongside traditional IT infrastructure.