
Please note that Portals for Tableau are now officially known as Curator by InterWorks. You can learn more at the official Curator website.
You’ve been tasked with installing Portals for Tableau, and your IT prefers using AWS CloudFormations. The bad news is that this is all new to you, so you’re not sure how to proceed. The good news is that InterWorks has a CloudFormation template you can use.
Here are steps you can take to set up a portal using our template.
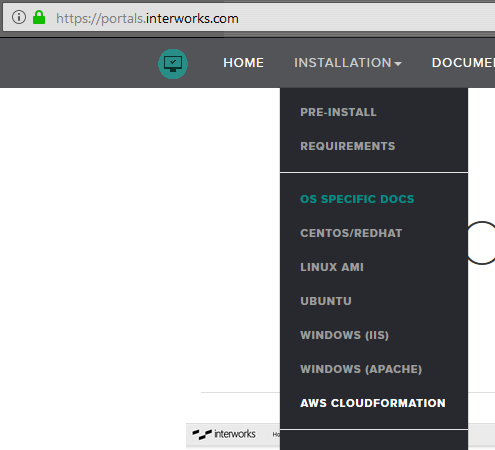
Download the AWS CloudFormation template from https://portals.interworks.com and save it somewhere on your computer. Take note of where you save it.
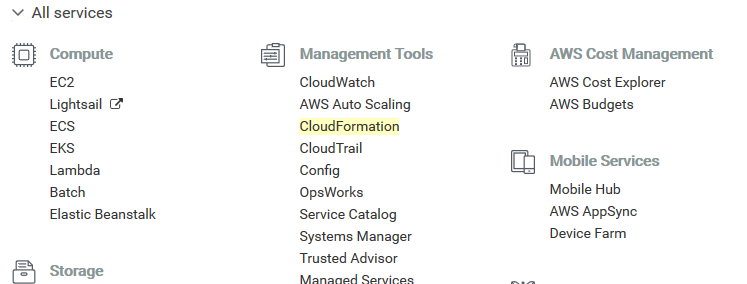
Log in to your AWS account and navigate to CloudFormation:
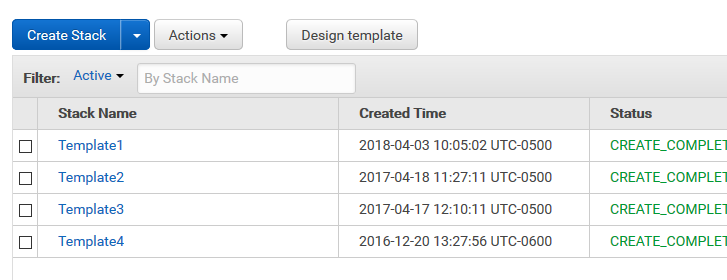
Click on Create Stack to start the process. You will be able to select the CloudFormation template on the next screen.
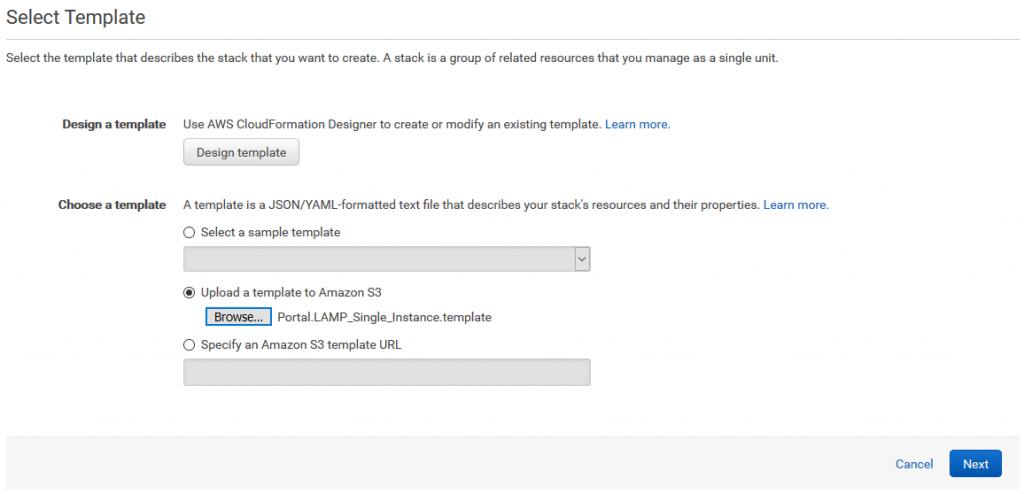
Select the option to upload a template, browse for the file you downloaded from https://portals.interworks.com and click the Next button:
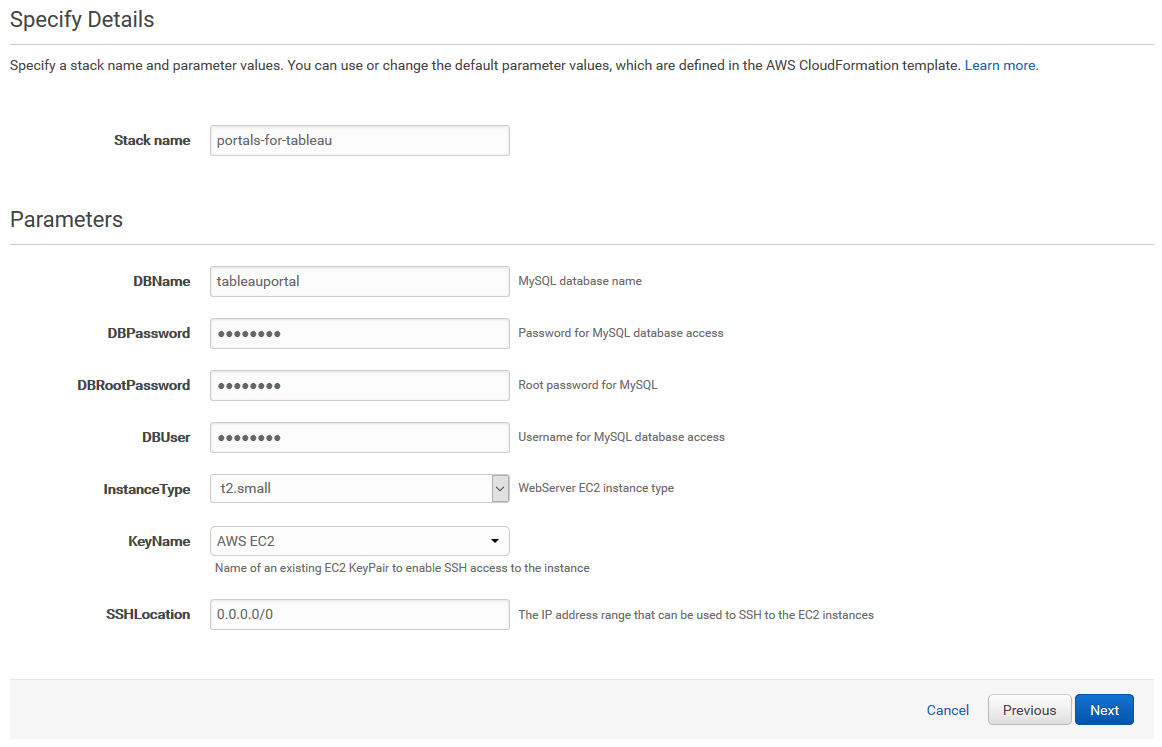
Enter the details of the stack you want to create, and click on the Next button. Be sure to note the database details you use here for use later in the process.
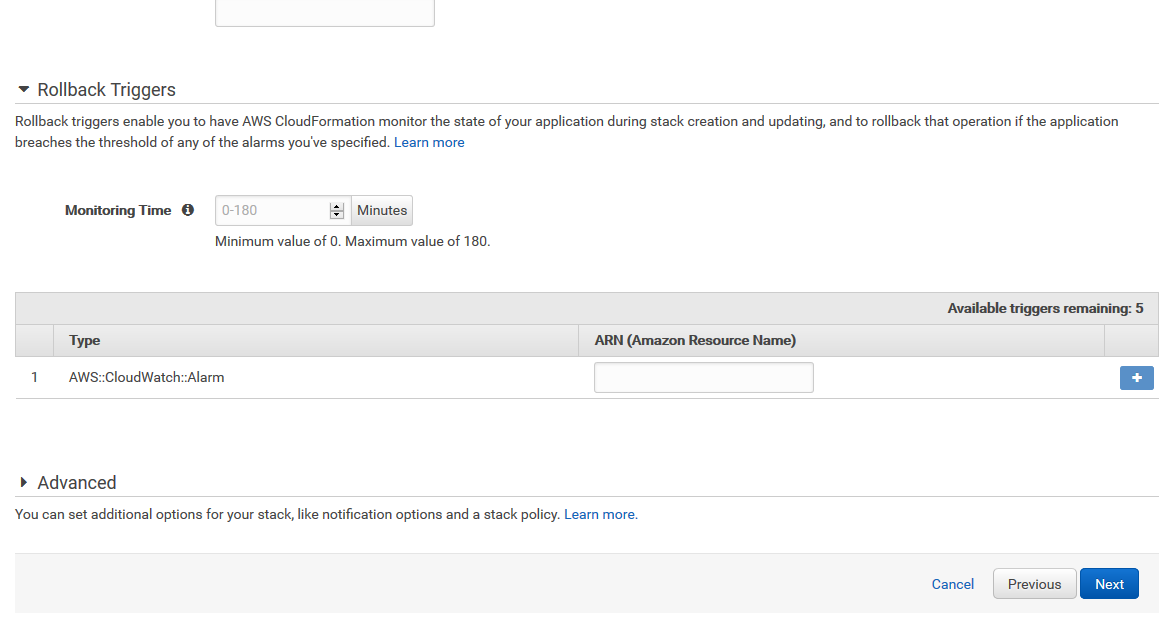
Enter options as needed and click on the Next button. I recommend adding a Name key/pair at the top to name your EC2 instance.
Review the details to ensure everything is correct and click on the Create button.
You should now see the creation in progress, which will result in a new EC2 instance when completed:

After the EC2 instance is created, go to the install page based on your EC2 instance’s IP address or host name. For example, if the EC2’s IP address is 512.256.128.64, then the install page will be located at http://512.256.128.64/install.php.
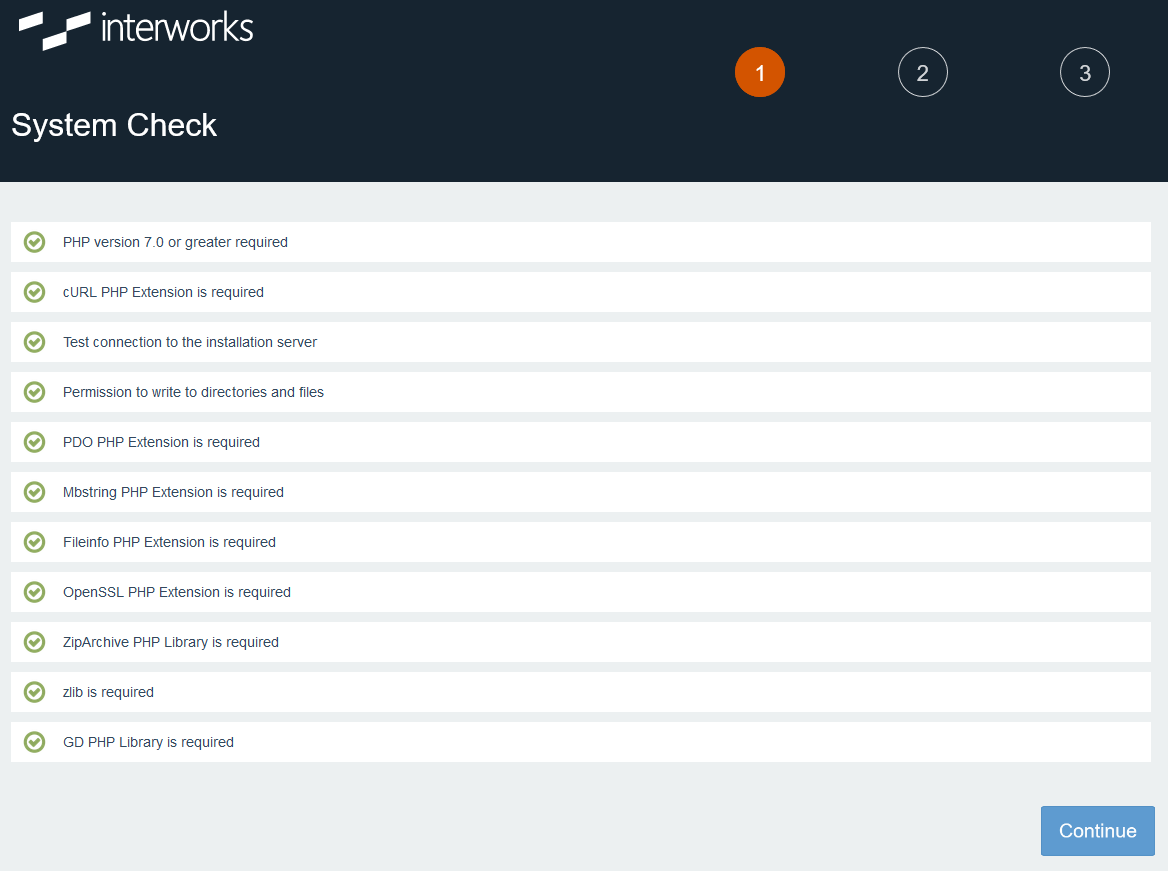
You should see a system check page with all passing tests. Click on the Continue button at the bottom:
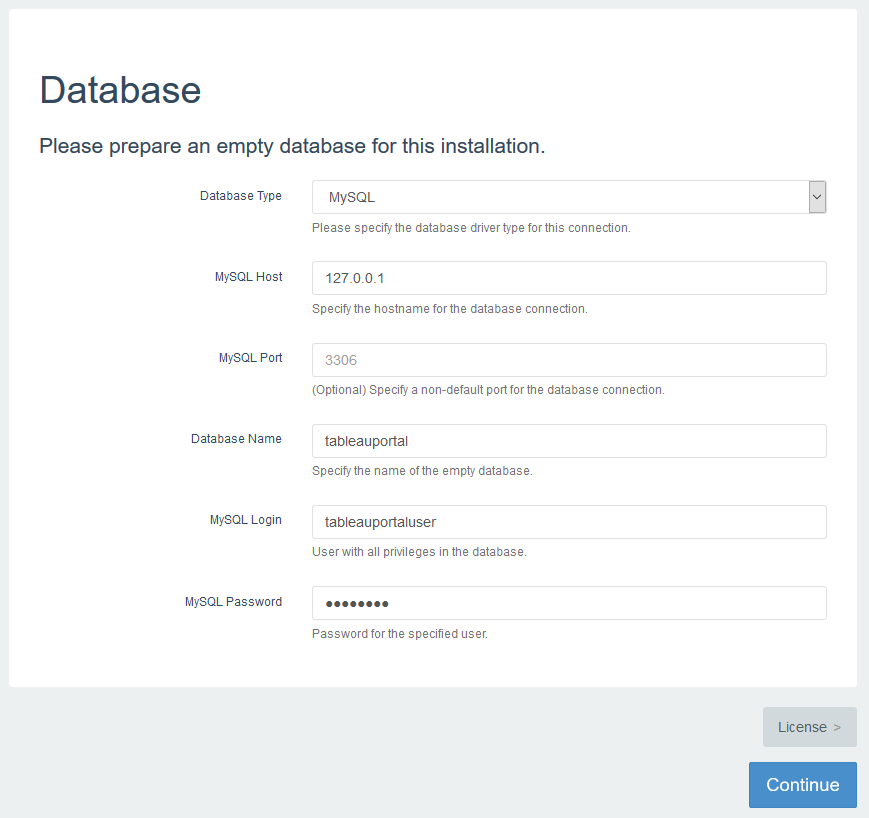
Enter the same database details you entered earlier to connect the portal to its database, and click on the License button:
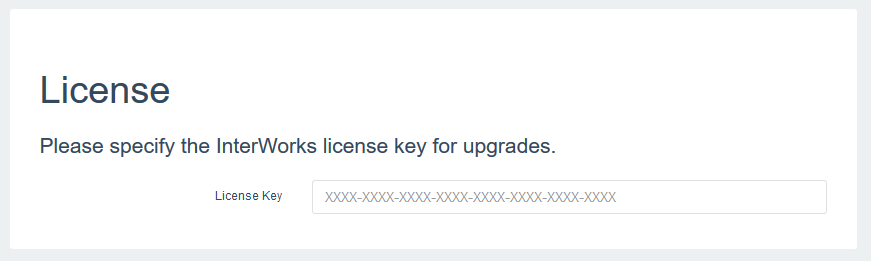
Enter your Portals for Tableau license key and click on the Continue button to install:
When it completes, you should be able to get to your portal’s frontend (ex: http://512.256.128.64/) and backend (ex: http://512.256.128.64/backend).
At this point, you are ready to set up the portal as needed.