Matillion 101 breaks down Matillion to its most fundamental levels and how its interactions with Snowflake and AWS can revolutionize your data practice and ETL processes.
Holt Calder wrote an excellent blog post a couple months ago about why Matillion is so great and why you should be using it. As he writes, “We have been using Matillion for Snowflake with as many of our clients as possible. Here’s why: when you build an extensive data warehouse from the ground up, it can sometimes be tough to hand it off at the end of the gig. Matillion effectively automates most tasks in the ETL process, allowing you to build a data warehouse from the ground up with complex ETL processes, all while leaving very few opportunities for routine errors.”
Getting Started with Matillion
Are you ready to use Matillion but not sure where to start? The cloud environment can be a little intimidating, so let’s walk through how to get set up in Matillion so you can start working some ETL magic.
We’re going to set up and launch a new instance of Matillion (for AWS) on EC2 and then walk through how to log in. If your company already has a Matillion instance set up, you can skip to the bottom and just log in from your EC2 console. While we’re focusing on AWS for this blog, Matillion is also available on Azure and GCP.
Logging into AWS
If you’re doing this on a personal machine or for a personal project, the console URL will be: https://signin.aws.amazon.com/console; if your company has their own AWS infrastructure set up, you’ll want to use their specific URL. Enter your credentials to get logged in to the console.
Next, on the Amazon Marketplace, search for Matillion. You’ll see two options: one for Redshift and one for Snowflake. I’m choosing Matillion ETL for Snowflake:
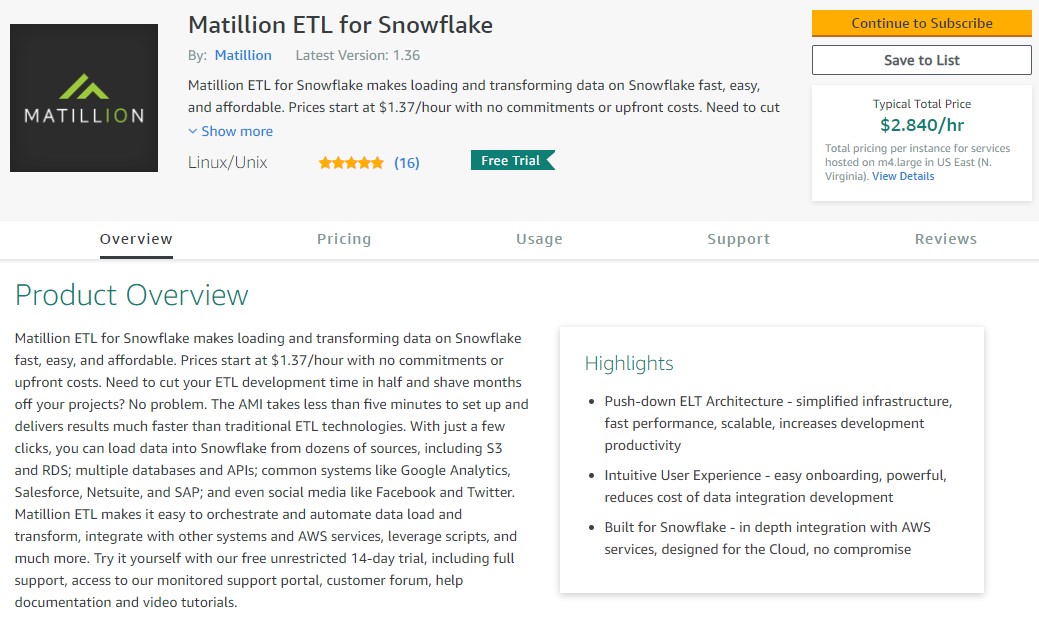
Once found, click Continue to Subscribe then Accept Terms and Continue to Configuration.
Note: In this write-up, I am using the free trial, but after 14 days, there is a cost associated with Matillion; additionally, there is a small fee for using AWS EC2 instances, starting at $0.0464 per hour for t2.medium instance type we’re using here:
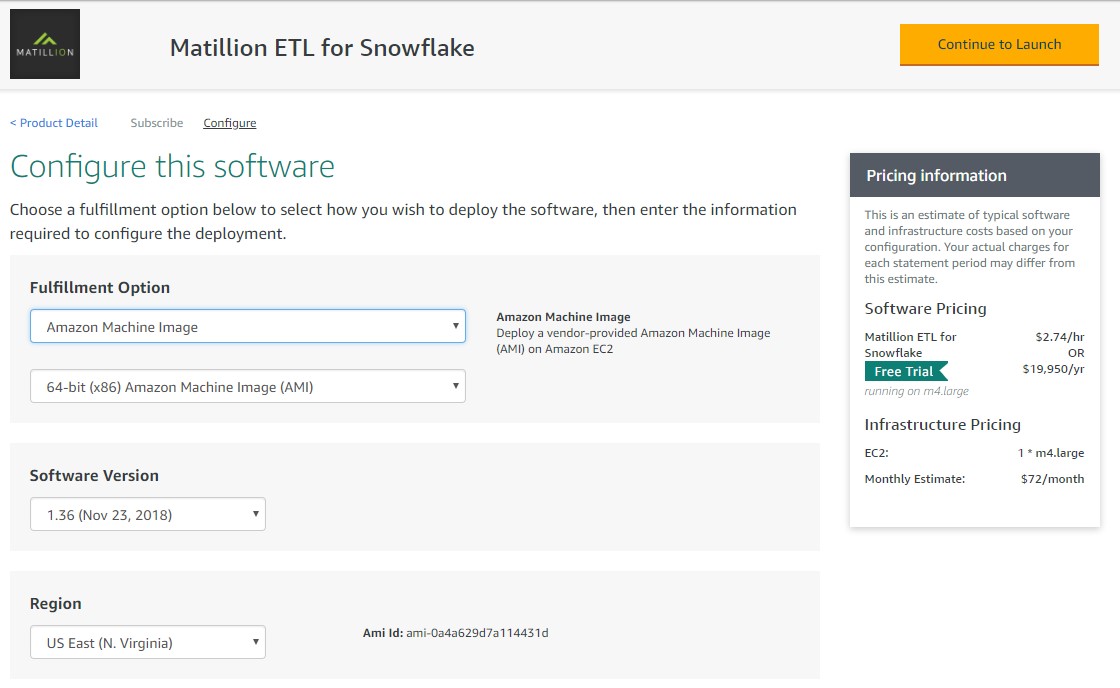
In the configuration, I’m setting this up on an EC2 instance, so I select the Amazon Machine Image as my Fulfillment Option and then Continue to Subscribe. What exactly is an AMI? It’s all the information needed to launch an instance, which is a virtual server in the cloud. You can dig in more on the AWS docs where they detail more specifically what’s included:
- A template for the root volume for the instance (for example, an operating system, an application server and applications)
- Launch permissions that control which AWS accounts can use the AMI to launch instances
- A block device mapping that specifies the volumes to attach to the instance when it’s launched
Other fulfillment options include CloudFormation (which you’d want to use if you were launching your instance using templates) and a Private Amazon Machine Image (this option would be ideal for needing to work with very sensitive data or strict security protocols, such as HIIPA).
Launching Your Matillion Instance
On the final screen, I set my Choose Action to Launch from EC2 console, and I adjust the EC2 instance type to t2.medium since I’m working with very small datasets. Feel free to keep the large size if that suits your use case. Next, launch!
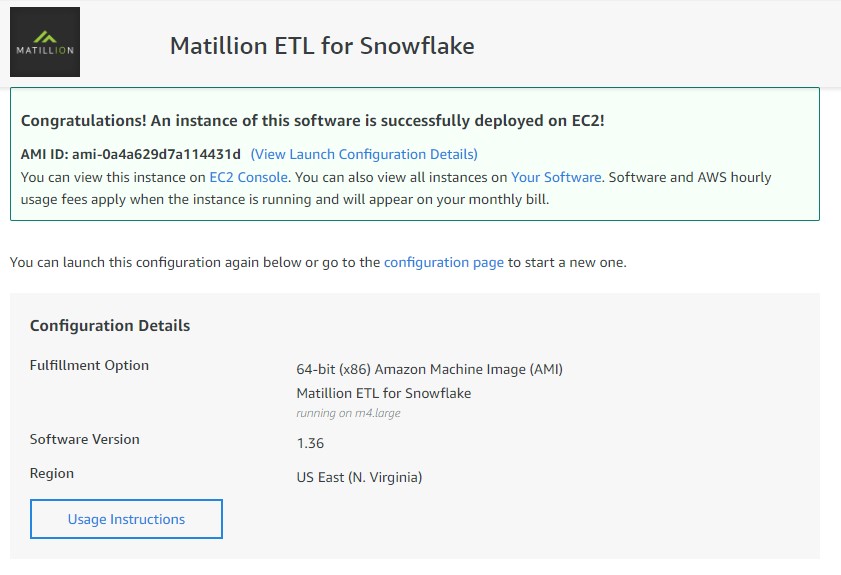
Woo hoo! Successfully deployed!
Next time you log into the AWS console, or if your company already has AWS set up, you’ll want to go back to that AWS console. Look under Compute and select EC2. This will take you to your EC2 console:
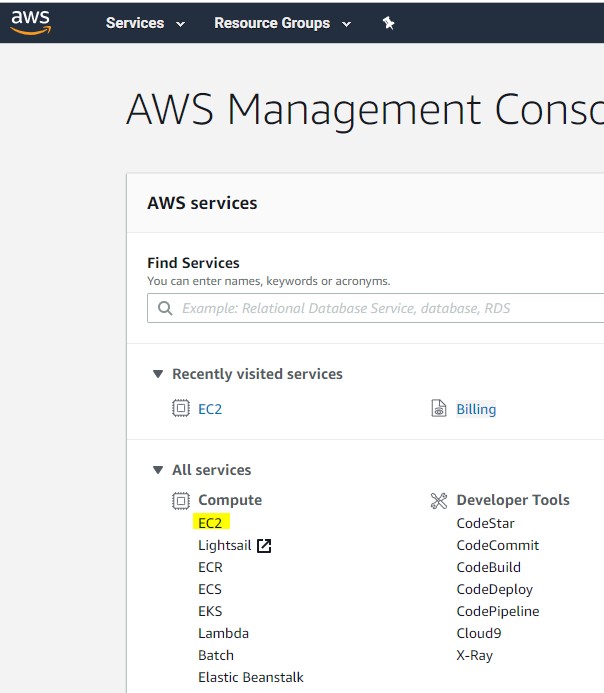
When I click on EC2, I can see I have one EC2 instance running. If I click on 1 Running Instance, I’ll see the Matillion instance I just set up:


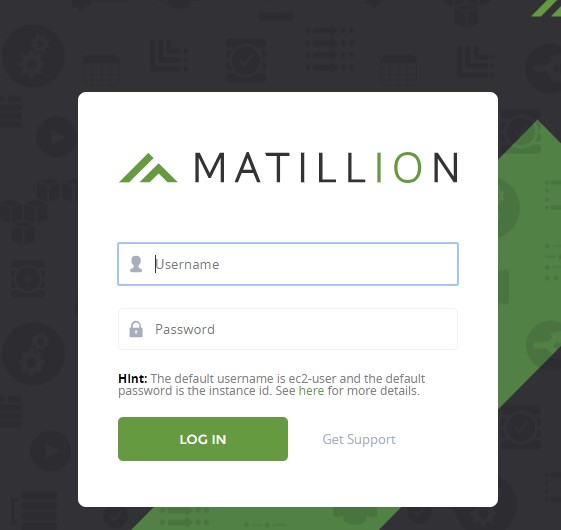
Now, under the Public DNS, I can grab that URL, and once I put it in my browser, I can now log into Matillion:
