
Once vShield and the Symantec Security Virtual Appliance have been successfully deployed in an environment, the VDI policy that the SVA is using (see the Deploying vShield with the Symantec Security Virtual Appliance for where this was set) will need to be configured.
This article is the fifth part of a series explaining how to deploy vShield with Symantec Endpoint Protection for VMware Horizon View.
- How To Deploy OVA / OVF Template Using VMware vSphere Client
- How to Configure VMware vShield Manager and vShield Endpoint
- Deploying vShield with the Symantec Security Virtual Appliance
- Exporting a Policy from Symantec Endpoint Protection Manager
- vShield and Configuring a SEPM Policy
- How to install EPSEC Drivers for vShield
Configuring a SEPM Policy for a VDI
In the example below, I had the following environment variables:
- vSphere 5.5
- ESXi 5.5
- Symantec Endpoint Protection Manager 12.1.4 MP1
- vShield Endpoint 5.1.0-01255202
- VMware vShield Manager 5.5.2 1912200
- Persistent Disk
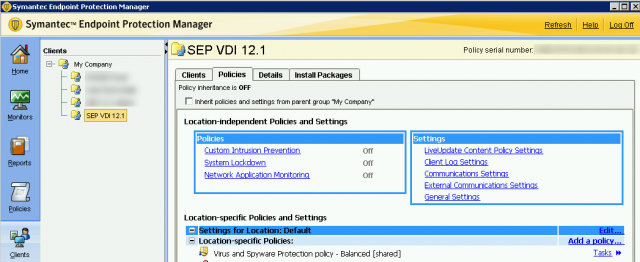
Navigate to the newly created policy for the virtual environment. Modify the Virus and Spyware Protection policy. If a new policy was not created for the virtual environment, it is highly recommended to do so.
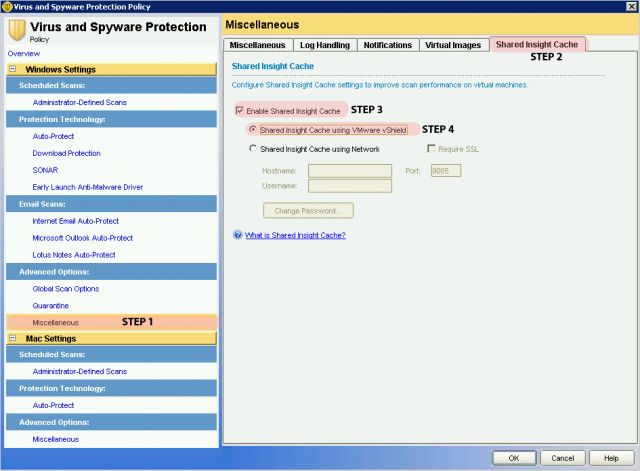
Next, we will want to turn on Shared Insight Cache to reduce the disk I/O and CPU usage. It is very important that you enable this feature for environments. If Symantec runs a scan in the middle of the day on a VDI environment, there is a chance that the additional I/O may cause your VMware View environment to go offline. Shared Insight Cache runs the following:
“The Shared Insight Cache runs in the appliance and lets Windows-based Guest Virtual Machines (GVMs) share scan results. Identical files are trusted and therefore skipped across all of the GVMs on the ESX/ESXi host. Shared Insight Cache improves full scan performance by reducing disk I/O and CPU usage.”
Navigate to Miscellaneous > Shared Insight Cache.
Click on Enable Shared Insight Cache and check Shared Insight Cache using VMware vShield.
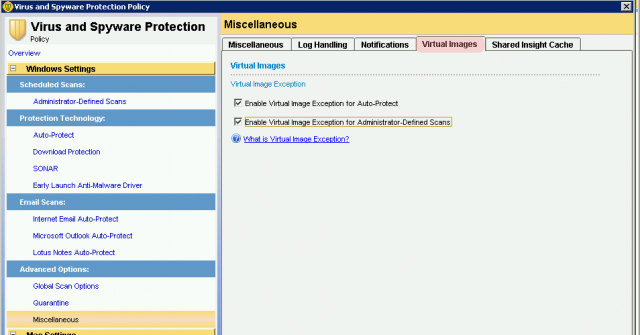
On the Virtual Images tab, check both Enable Image Exception for Auto-Protect and Enable Virtual Image Exception for Administrator-Defined Scans.
In addition to these options, Symantec has best practice guidelines on what options are recommended for a virtualized environment:
- http://www.symantec.com/business/support/index?page=content&id=TECH173650
- http://www.symantec.com/business/support/index?page=content&id=TECH197344
Some of these include enable scan randomization, disable run an active scan when new definitions arrive, and disabling inherit policies and settings from parent group. Be sure to review your policies before moving forward.
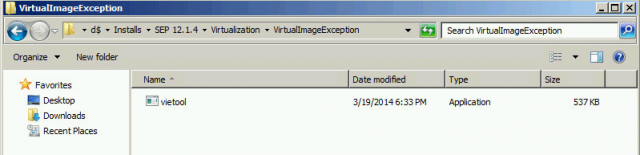
Next, copy the vietool (virtual image exception tool) to the VDI machine golden image / template. You can find this file under: Symantec InstallVirtualizationVirtualImageException. For my purposes, I have placed this file under C:VirtualImageException on the golden image.
At this stage, if you try to run the virtual image exception tool, the tool will error out. You must install SEP on to the golden image.
![]()
To simplify things, I created an install package utilizing the previously created SEP VDI 12.1 policy and installed SEP on to the base/golden image.

Before running the virtual image exception tool, check the Symantec Endpoint Console to verify that the golden image is checking in with the Security Virtual Appliance.
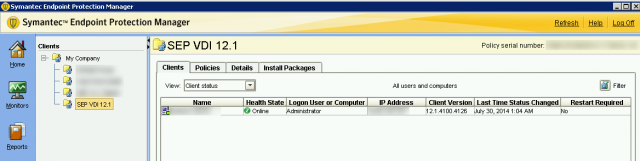
If the image is successfully checking in to SEPM and the SVA, Symantec’s best practice is to run a Full Scan on the base image before proceeding.
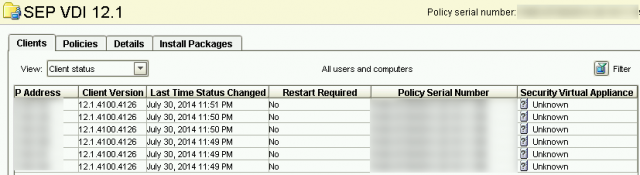
Security Virtual Appliance Displays Unknown Status (Optional Step)
If the SVA is displaying an unknown status, there are a few quick areas to check:
- Make sure that when you installed the SVA, the port number used in the sylink.xml policy is allowed through your firewall. NOTE: Do not use Port 80 for version 12.1.4.
- Verify that the endpoint security (EPSEC) drivers are installed on to the base image. To view how to complete that step, visit the “How to Install” article: http://www.interworks.com/blogs/ijahanshahi/2014/08/12/how-install-epsec…

Running the Virtual Image Exception Tool
When ready to run the virtual exception tool, open up a command prompt with administrative privileges.
Navigate to the location of vietool.exe. Run the command:
vietool.exe
vietool.exe <os volume> --generate --hash
In my example, my OS volume resides on the C-drive so I run:
vietool.exe c: --generate --hash
vietool.exe c: --generate --hash
The very first time this is script is executed, it will take some time to complete. In my example, it took approximately 30 minutes.

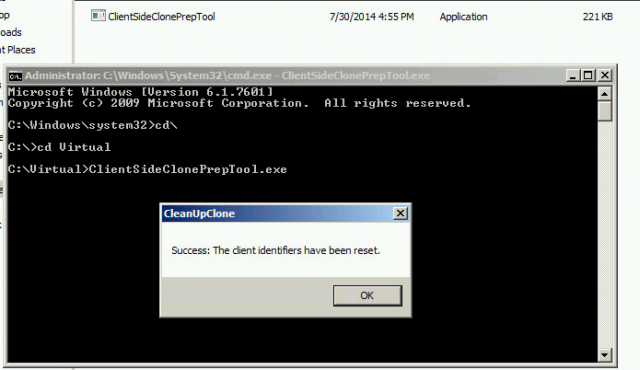
Running the Client Side Clone Prep Tool
Assuming you have no other tasks on the machine that may need to be completed and will require a reboot, we can continue. Once the virtual image exception tool has been completed, and you are ready to push out Symantec Endpoint Protection to your virtual machines, download the ClientSideClonePrepTool:
http://www.symantec.com/business/support/index?page=content&id=HOWTO54706
As stated by Symantec’s How-To article:
“This tool removes all Symantec Endpoint Protection client identifiers and leave the Symantec Endpoint Protection services stopped.”
NOTE: If you run the client-side clone prep tool and reboot the virtual machine for any reason, you will need to run the client-side clone prep tool executable before deploying your template.
For a VMware Horizon View environment, although the new virtual machine will show up in management console, by default the user will show the last logged-on user to the base image until a user logs on to their virtual desktop.
Resources Used:
Best practices for virtualization with Symantec Endpoint Protection 12.1, 12.1 RU1, and 12.1 RU1 MP1, http://www.symantec.com/business/support/index?page=content&id=TECH173650. Accessed July 16, 2016
Best practices for virtualization with Symantec Endpoint Protection 12.1.2, http://www.symantec.com/business/support/index?page=content&id=TECH197344. Accessed July 16, 2016
How to prepare a Symantec Endpoint Protection 12.1.x client for cloning, http://www.symantec.com/business/support/index?page=content&id=HOWTO54706. Accessed July 30, 2016
Symantec Endpoint Protection Integration with VMware Horizon View – Part3. http://thinkingloudoncloud.com/2014/04/symantec-endpoint-protection-integration-vmware-horizon-view-part3/. Accessed July 26, 2016
Using the VIE Tool in conjunction with Insight Cache Server, http://www.symantec.com/connect/forums/using-vie-tool-conjunction-insight-cache-server. Accessed July 29, 2016