One of the most unique and helpful features of Power BI as a visualization tool is its built in page navigator. Traditionally, you would build a navigation button or some other action button in order to switch pages or add a hierarchy to your content, but the page and bookmark navigator makes page navigation simple and easy.
Setting up the Page Navigator in Power BI
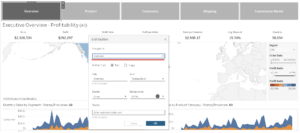
If you’re familiar with Tableau, you’ll be happy to hear that setting up navigation buttons in Power BI can be a much easier process. In the Tableau dashboard below, each of those five navigation buttons has to be individually configured, and you’d need to repeat those steps for each of the five tabs in your dashboard (though some smart copying and pasting of dashboards can save you some time):

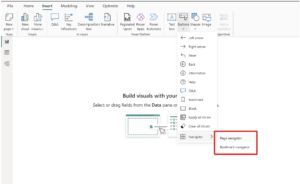
Setting up the Page navigator initially is a much simpler process. All you need to do is click the “Buttons” dropdown on the Insert tab and click on the “Page navigator” button:

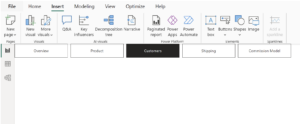
Voila! You have functional page navigation for your report in (almost) one click. Power BI automatically creates a button for each view in your report, but you will also need to repeat this step on each page you’d like the navigator to be present on:

Here are a few features of the Power BI Page navigator that set it apart from Tableau:
- The titles of the buttons automatically match the page display names.
- The ordering of the buttons matches the order of your report pages.
- The selected button is linked to the current page.
- The navigator updates automatically as you add or remove pages in your report.
- The titles of the buttons update automatically as you rename pages.
If you like this article, feel free to check out some of the related content linked below.

