
If you have spent any time working with data, you know that it’s rare when you only have a single table to move. While there are several ways to move tables around, I thought it might be a good idea to share with you a way to keep your Matillion workflow clean and simple.
First, here is an example of a workflow that, with enough tables, could get very messy:
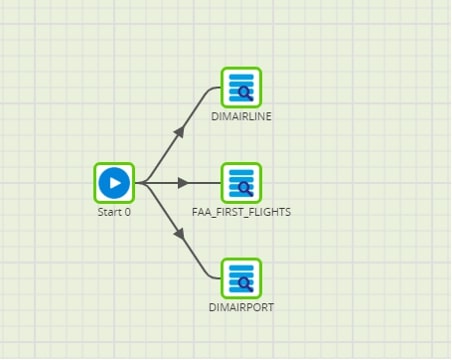
While this doesn’t look that bad, imagine what your workflow would look like if you had 20 or more tables to load! Here’s a better way:
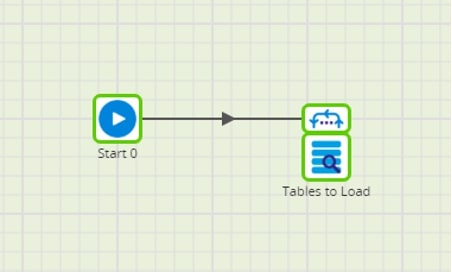
Looks a lot simpler, right? So let’s break it down.
The first thing we need to do is create some job variables:

In this case, I want to create variables for the database, schema and table we will be querying. Make sure to fill out the Value field with the default value you want to use. In this case, I am using the FAA database, PUBLIC schema and CARRIER_SEC as the table. You’ll understand why as you read further.
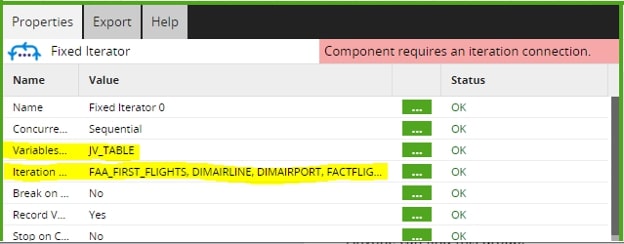
Next, we need to drag in a Fixed Iterator component:

This will allow us to iterate through the table names that we would like to bring into Snowflake from our source database. We will also need to fill out the names of the tables from the source database we need to bring over, as well as the variable we are using inside of our Fixed Iterator:
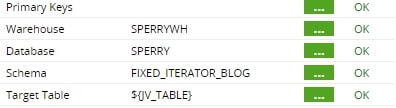
Once we have our iterator set up, we need to bring in a Query Tool to pull our data from the source database. As always, we will need to fill out our connection string, username and password, our SQL Query and the staging and target table information:

Remember to use your table variable for the Target Table section of your Query tool:
Now we can test the query to make sure we’re getting results. This is why we put default values in the variables we created. The default value of the table variable will be used when you test your query:

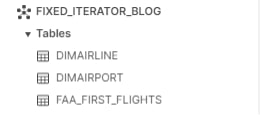
Once we have tested the query and have the results we are looking for, it is time to click OK and run your workflow. Below, you will see the Matillion results and the tables that now exist in Snowflake:
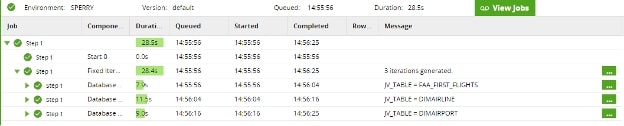
The great thing about this method is that, when you need to add new tables to your warehouse, you simply type the name of the new tables into your Fixed Iterator and run the workflow.
Over the next few weeks, I will be posting a couple more ways to accomplish the same thing. The next few blogs will be even more interesting, so stay tuned as I help you standardize the way you build and maintain your data warehouse.