
Today, I will cover how to make these two great platforms, Tableau and Amazon Athena, work together in just a few steps. We will be using the guides provided by AWS and Tableau as reference points to effectively open a connection from Tableau to a CSV file that will be stored in an S3 bucket.
If you have an IT manager/department/function that takes care of the AWS installation, feel free to skip to the Tableau section, towards the end of the article.
A bit of housekeeping before we start. To follow this guide, you will need:
- An Amazon Web Services account ready for use with permissions to create IAM users, S3 buckets and create Athena assets. Although Amazon offers free tier accounts, note that Athena is not covered under the free plan, so you may need to spare a few cents. More on this here. In my example, we will use just a few dozen rows of data.
- Some exposure to AWS; if you know how to create IAM users and S3 buckets, you will be fine.
- Tableau Desktop installed on your machine and a basic knowledge of how to connect to a Server database.
Important: This article simply aims at helping you get familiar with these platforms and the possibilities afforded by them, especially when working in conjunction with each other. The setup we will follow here is not suitable for a production environment.
All right, let’s get started! There are effectively three areas where we will work: First, we will need to install some software on our computer. Then we will need to set up AWS, and lastly, we will connect to AWS from Tableau. Let’s make it happen!
Java and Tableau Athena Driver Installed
First off, make sure Java is installed on the machine where Tableau Desktop will be used. You can find all the details on how to do it here. Should be straightforward. If you suspect Java is already installed, you can check the version before you get started.
Next, download the JDBC driver. For Tableau Desktop 2020.2 – 2022.1, you need to download the JDBC Driver with AWS SDK (.zip file). Be sure to download the version with AWS SDK.
Once you open the.zip you will find a .jar file named something like AthenaJDBC41 or AthenaJDBC42. Depending on your operating system, you need to move this file to:
For Windows C:\Program Files\Tableau\Drivers
For Mac ~/Library/Tableau/Drivers location
AWS Setup
Here, we will effectively:
- Create some access keys that we can use later in Tableau to access our data.
- Create two S3 buckets and upload data.
- Set up Athena to speak with the data in the S3 buckets.
Note that throughout the setup, I will be using us-east-1 region. Pick whichever AZ works best for you ,but keep it consistent. Make sure that your AWS IAM has the right permissions to conduct all these operations.
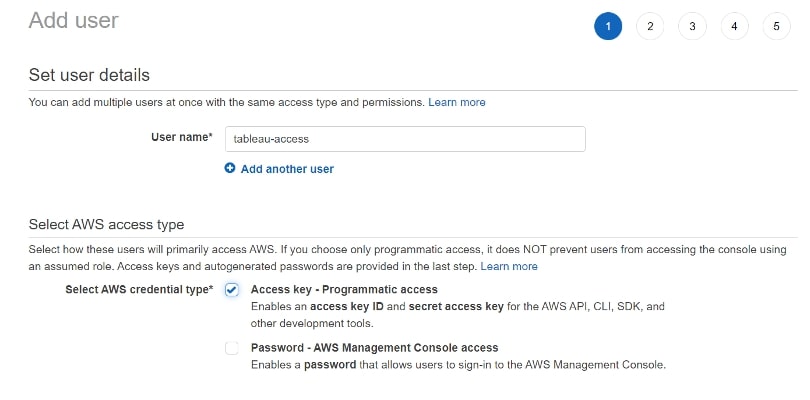
First, let’s create some access keys. Remember—where possible, avoid using root or admin credentials. If you don’t know how to create such keys, this is a good starting point. For the purposes of this demo, I assume you know how to go about it. In my case, I created an IAM user named tableau-access with Programmatic access:
In step two, and following best practices, we will attach two managed policies to allow this user to have access to S3 and Athena. Click on Attach existing policies directly:

And find AWSQuicksightAthenaAccess and AmazonS3FullAccess from the drop-down menu:
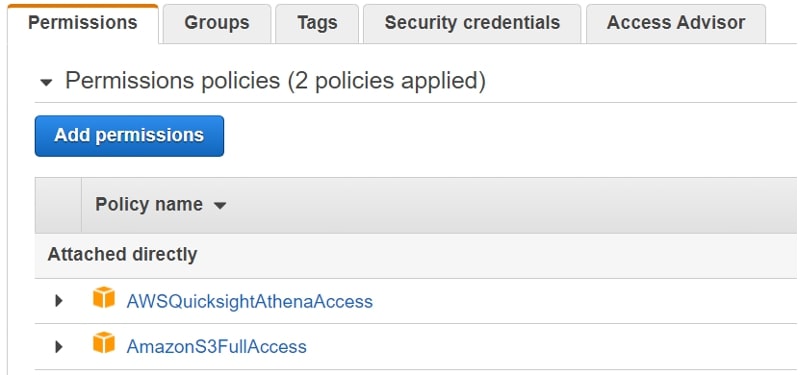
Here, I am using a very open-ended permission setup (not in line with least privilege best practices principle), but it helps keep things simple. Also, we will delete all the resources we create after the demo.
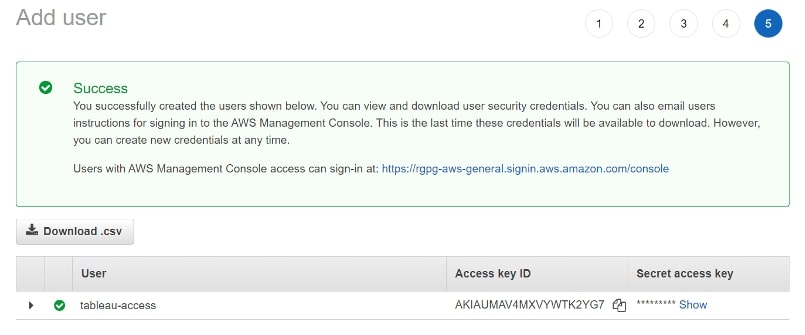
Next, skip the tags section and in the Review screen, click Create user. You will be prompted with the below screen. AWS will only show these details once, so make sure you copy the Access key ID and Secret access key somewhere safe. This is sensitive data, so please treat it as such:
Access Key Example
Example access key ID: AKIAIOSFODNN7EXAMPLE
Example secret access key: wJalrXUtnFEMI/K7MDENG/bPxRfiCYEXAMPLEKEY
We will come back to these details later. For now, let’s just store them somewhere safe. Side note: If you ever decide to use access keys in the future, make sure you rotate these keys for security purposes.
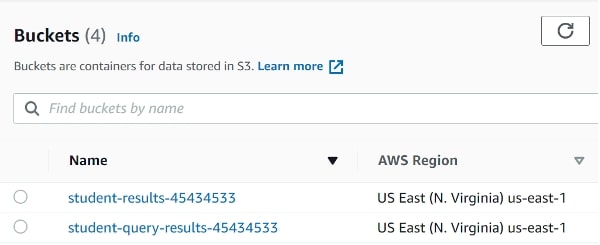
Now let’s create two S3 buckets: one to upload data on, the other for Athena to store its query results. If you’ve never done it before, this is a good read about it. Ensure the region of these buckets is consistent.
I included the name student in the buckets for reference. More on this later:
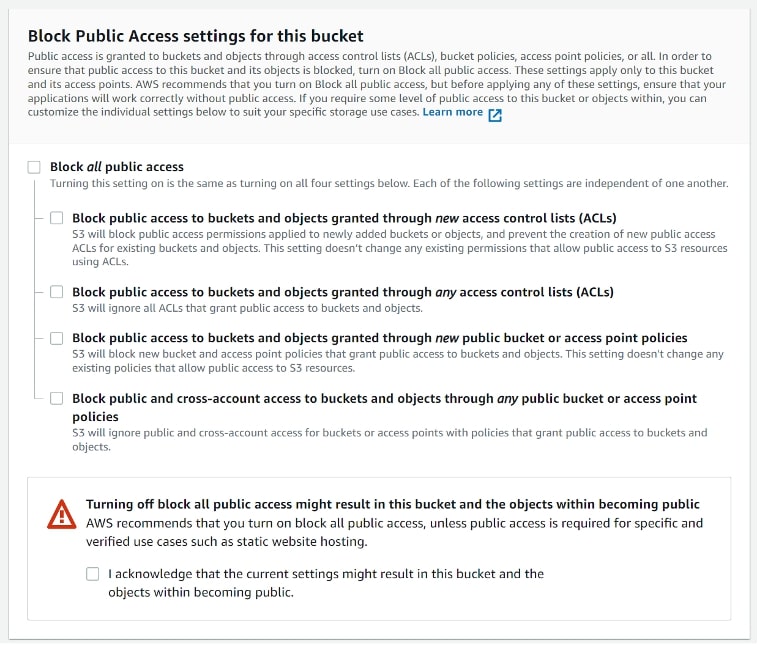
I am going to unblock the public access of these buckets. This is something that AWS does not like in general (and for a good reason!), but for the purposes of this illustration, we will go ahead with it. Remember, we will delete all these resources later:
Last step on S3: time to upload data. For the remainder of this article, I will be using the contents and materials of this great guide by AWS. In that link, you will find a link to download a file (student-db.csv) about student data. The file in question is here.
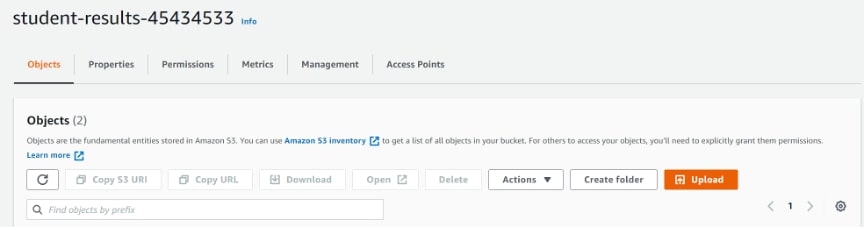
So head onto one of the buckets (in my case, student results) and simply upload this CSV file:
Great. Just to recap, thus far you have created two S3 buckets, generated a set of access keys and uploaded a CSV file onto the cloud. Next, let’s head onto Athena.
Amazon Athena
If you are using AWS Free Tier, please be aware that Athena is not covered under this plan. Depending on the amount of data you upload, there may be a small charge. More on this here.
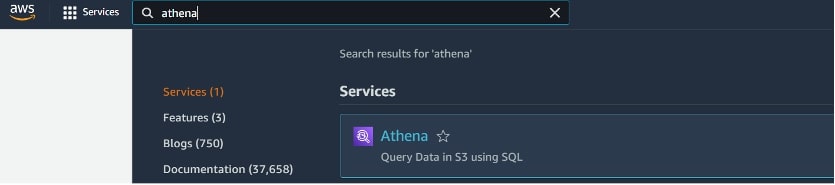
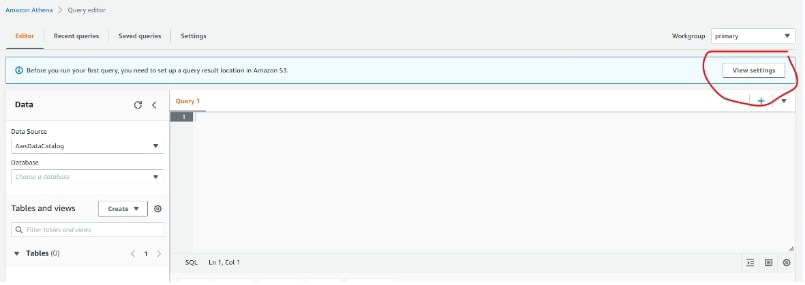
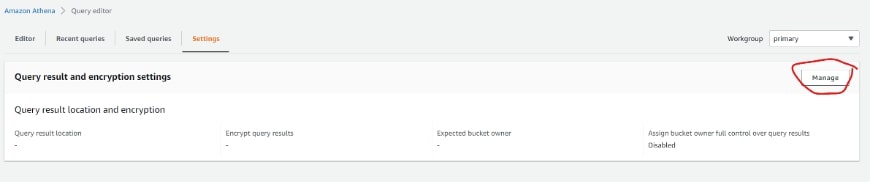
If you have never used Athena before, we will need to do some basic configuration. For this part of the article, I will be using the contents and materials of this great guide by AWS. Go ahead and click the orange button, Explore query the editor, then View Settings and Manage:
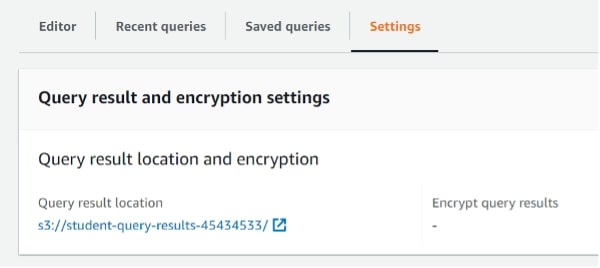
Next, click on Browse S3 and select the other bucket. That is, the one that is still empty. In my case, I uploaded the CSV file to the bucket student-results. So here I am selecting student-query-results, so Athena can store the query files in it. Copy this query result location link into your clipboard as we will need it later:
Last bit: let’s create a few items in Athena. Its interface is a SQL editor, so you can run SQL code as per any other editor. Make sure you run each query individually and in the right order.
Query 1: Create a Database
CREATE DATABASE studentdb;
Query 2: Create a Table
CREATE EXTERNAL TABLE student(

  `school` string,
  `country` string,
  `sex` string,
  `age` string,
  `studytime` int,
  `failures` int,
  `preschool` string,
  `higher` string,
  `remotestudy` string,
  `health` string)
ROW FORMAT DELIMITED
  FIELDS TERMINATED BY ','
STORED AS INPUTFORMAT
  'org.apache.hadoop.mapred.TextInputFormat'
OUTPUTFORMAT
  'org.apache.hadoop.hive.ql.io.HiveIgnoreKeyTextOutputFormat'
LOCATION
  's3://<your_bucket_name_goes_here>/'
TBLPROPERTIES (
  'has_encrypted_data'='false',
  'skip.header.line.count'='1',
  'transient_lastDdlTime'='1595149168')
Note: Above, you will need to replace your_bucket_name_goes_here with the name of the bucket where you loaded the CSV file. Do NOT include the file name in the path. So, it will have to be something like: ‘s3://student-results-45434533/’.
Query 3: Create a View
 CREATE OR REPLACE VIEW student_view AS

SELECT
  "school"
, "country"
, "sex"
, "age"
, "health"
, "studytime"
,"failures"
FROM
  student
Great job! Now you have a database, a table and a view that we can point Tableau to! To check that everything is running as normal, try:
SELECT * FROM "studentdb"."student_view" limit 10;
If you see some results being returned, then you are good to go!
Tableau Section
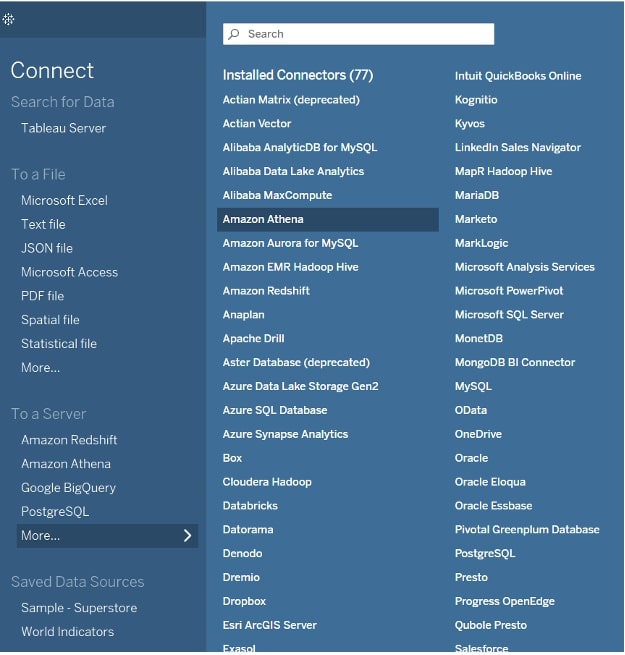
Let’s connect to our data! Launch Tableau and head to To a Server and Amazon Athena:
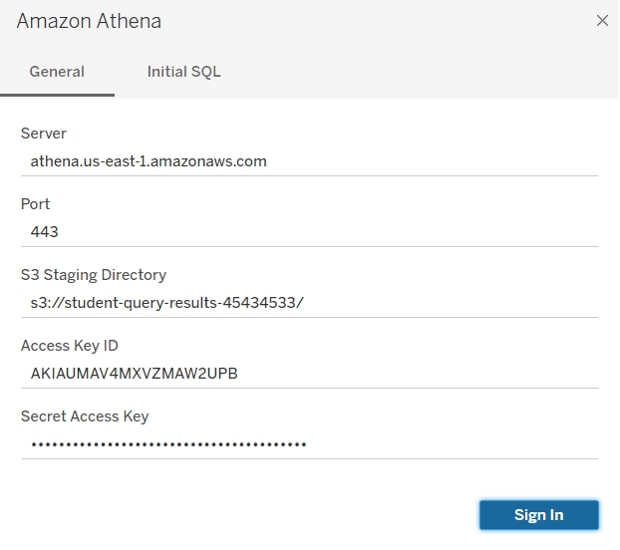
This will open the below menu, which you will need to fill with:
Server: athena.us-east-1.amazonaws.com *(please replace this with the right AZ/region you are using)
Port: 443
S3 Staging Directory: This is the “query result location” where you did not upload the .csv file
Access Key ID and Secret Access Key
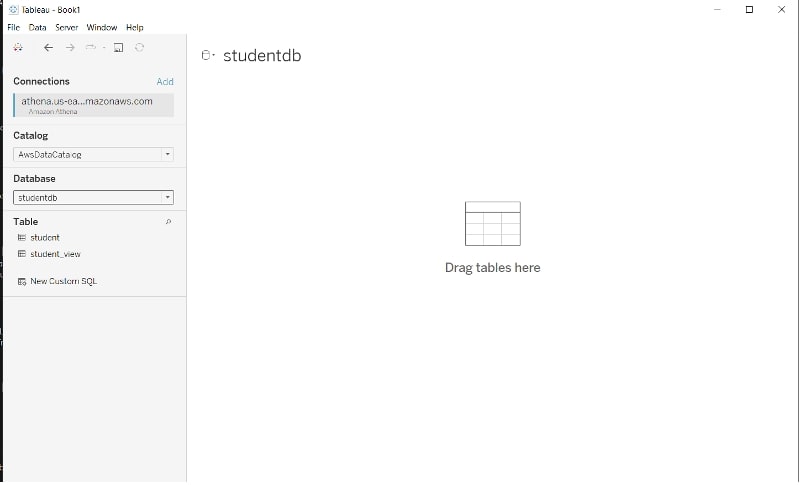
From here, you will be in the standard Data Connections tab from Tableau. Simply select studentdb from the Database dropdown and drag in the tables to get started, like below. Remember, when possible, to create and use a Tableau extract to avoid live connections to Athena:
Before we end, please make sure you delete all the AWS resources (dropping the Athena views, tables and databases, deleting the IAM user and S3 buckets).
Happy dashboarding!